Activating a Subscription
To activate a subscription, first move all line items to the Pending Activation status. The Activate button appears when all line items are in Pending Activation status. After you set the effective date on the Activation change order and check each line item, the subscription becomes active. For fundamental information about change orders, see SuiteBilling Change Orders.
Change orders are date-sensitive.
-
NetSuite uses the effective date for future charges.
-
You can choose to have the subscription start date set when you create the first activation change order. For details, see Optional Preferences for SuiteBilling.
To activate a subscription:
-
Go to Transactions > Subscriptions > Create Subscriptions > List.
Tip:You can create saved searches to ease finding subscriptions. You also can:
-
Look in the Recent Records tab for recently completed subscriptions.
-
Enter the subscription name or subscription ID into the Global Search field.
-
-
Click the subscription name you want to activate to open the subscription in edit mode or click Edit.
-
For optional lines in the Not Included status:
-
On the Lines subtab, check the Include preference.
-
Click OK.
-
-
Change the Status field from Draft to Pending Activation.
-
Click Save.
-
Repeat these steps for each line item.
-
At the top of the page, click Activate.
-
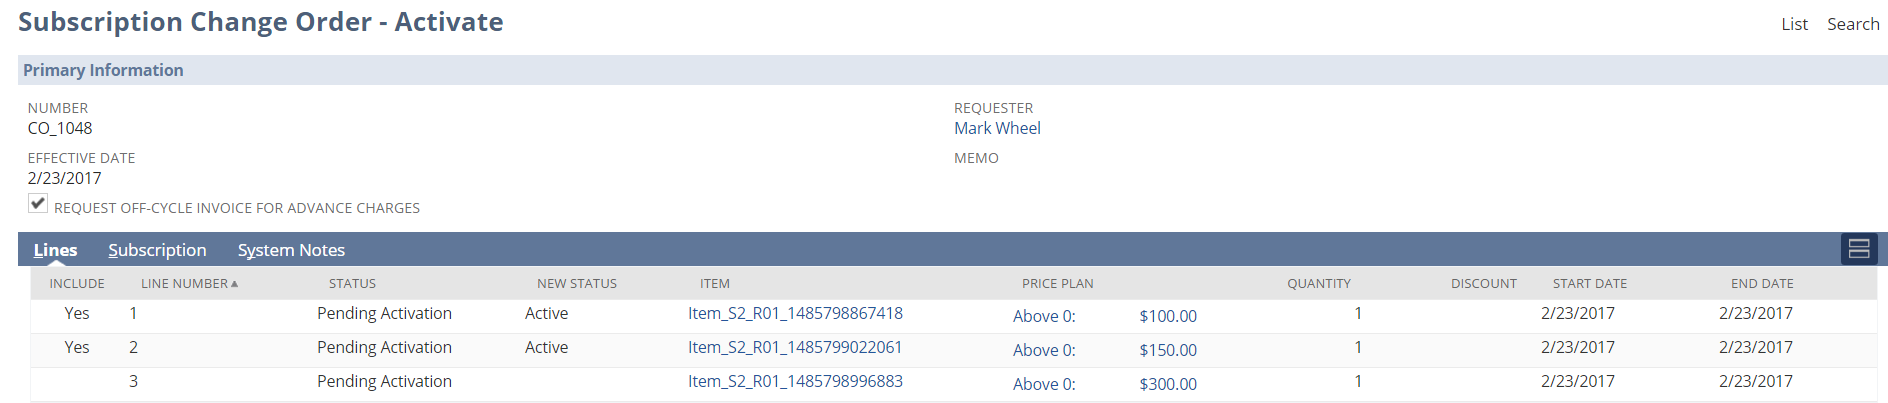
On the Subscription Change Order - Activate page, check the Apply preference for the items you want to activate. All line items must be in Pending Activation status.
-
Click Save.
Related Topics
- Creating a New Stand-alone Subscription
- Creating a Subscription from a Transaction
- SuiteBilling Change Orders
- Updating a Subscription on a Transaction
- Activating a Subscription
- Adding Line Items to an Existing Subscription
- Creating Usage Records
- Managing Rating Runs
- Terminating a Subscription Line Item
- Suspending a Subscription Line Item
- Reactivating a Subscription Line Item
- Modifying Pricing
- Renewing a Subscription
- Adding Renewal Information to Subscription Plans
Invoicing and Allocating Before Activating a Subscription Line
Subscription businesses often sell projects, hardware, and subscriptions together. Hardware items and projects are often delivered and invoiced before subscriptions are activated or the service starts. You can invoice the first service period amount and allocate the revenue before activating a subscription line. To invoice and allocate before activation, generate charges and create revenue elements in pending activation status instead of at activation.
To set up a subscription line to invoice the first service period:
-
Go to Setup > Accounting > Invoicing Preferences.
-
On the Subscription Management tab, enter a number in the Days prior to Subscription start date field to populate the first bill date.
-
The value can range from 365 days before to 365 days after the subscription line start date.
-
If you enter 0, the First Bill Date column of the subscription line is empty and charges are generated at activation.
-
The First Bill Date must be before the subscription end date.
-
-
Click Save.
-
Go to your subscription in the Draft status.
-
Click Edit.
-
You can generate charges before activation on any recurring, one-time, overage, or prepay subscription lines with a defined bill date. In the Status column, change to the Pending Activation status and click OK.
You can't set the First Bill Date on usage lines.
-
On any usage lines or other lines that you want to charge at activation:
-
Set the First Bill Date column to equal the subscription line Start Date.
-
Change the Status column to the Pending Activation status and click OK.
-
-
Click Save.
-
Go to the Related Records tab.
-
For the lines using the first bill date functionality, notice:
-
The Charges subtab shows the charges generated for the subscription lines.
-
The Bill Date column is automatically filled based on the value set in step 2.
-
The Charge Stage column shows the Ready status for the first service period. Remaining service period charges are set to Hold until activation.
-
-
For usage lines and lines not using the first bill date functionality, notice:
-
There are no generated charges.
-
The First Bill Date column is empty. When the First Bill Date equals the subscription line start date and you saved the subscription, the First Bill Date value is removed. Subscription line charges are generated at activation.
-
-
In the Lines tab, you can set the First Bill Date on the subscription line, creating an offset between the First Bill Date and the line's start date. If a line's start date changes while in the Draft or Pending Activation status, the First Bill Date changes by the offset amount. The First Bill Date stays unchanged when activating the subscription, even if the First activation change order sets the start date preference is checked.
After invoicing the first charge's service period, the First Bill Date locks per line in the Pending Activation status. First Bill Date only updates the Bill Date for the first charge per subscription line. Subsequent charges are set to the Hold status until the subscription line is activated.
To turn off the functionality for generating charges before activation:
-
Go to Setup > Accounting > Invoicing Preferences.
-
On the Subscription Management tab, in the Days prior to Subscription start date field, enter 0. This field specifies the first bill date.
Alternatively, on the Subscription record Lines tab, you can either remove the value in the First Bill Date column or set it to the line's start date.
-
Click Save.
To show the revenue and invoice functionality for this feature:
-
After setting the Sales Order to the Pending Fulfillment status with one product item and one subscription, go to the Sales Order record for the subscription.
-
Go to the linked subscription, which is in the Pending Activation status. Lines with a first bill date that isn't null or doesn't match the subscription line start date can generate revenue elements.
-
Go to Transactions > Financials > Update Revenue Arrangements and Revenue Plans to generate Revenue Elements and Revenue Arrangements.
-
Click the Revenue Elements tab. Notice that the revenue elements are generated while the subscription is in the Pending Activation status and the revenue arrangement is generated.
-
After the revenue element for the subscription is generated, you can merge it with the sales order revenue element into one revenue arrangement.
-
Go to the invoice.
-
Generate an invoice for the charge for the first service period of the subscription.
-
Go back to the subscription.
-
Click Related Records. The charge is updated to the Processed status.
-
When you activate the subscription, the first charge updates with any amount changes and creates adjustments when needed.
Revenue plans aren't generated until activation. Subscription revenue can be allocated with other revenue streams such as sales orders or projects without requiring the activation change order. However, revenue for the subscription line can't be recognized until an activation change order for the subscription line is created.