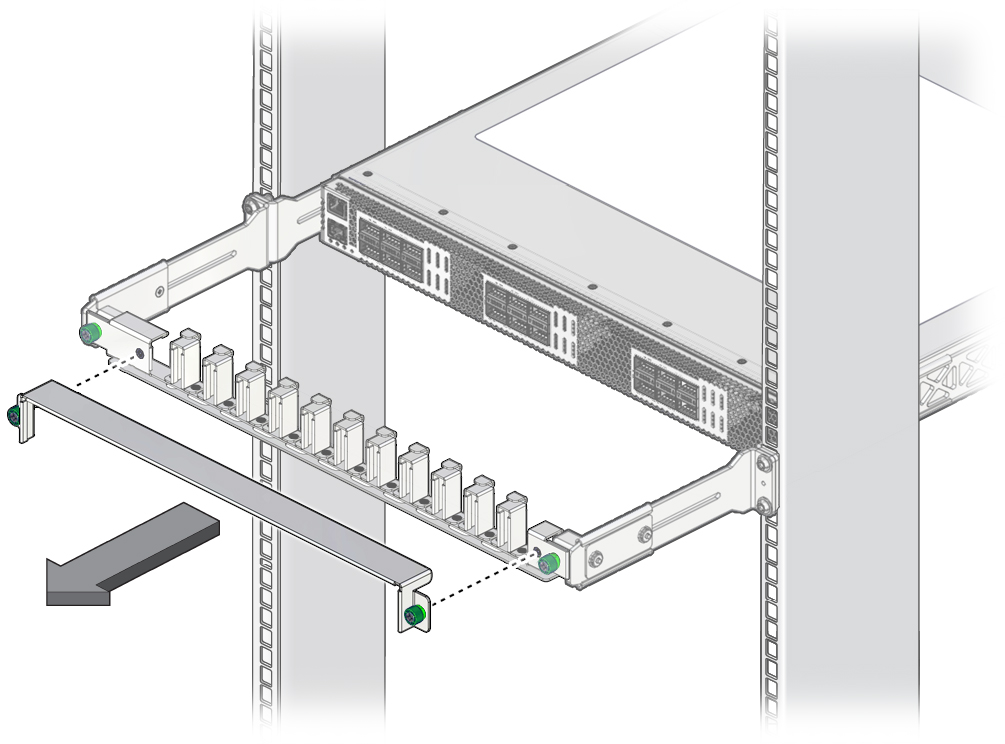
Remove a Data Cable
This procedure describes how to remove the cables from the switch chassis, so that a cable can be replaced. If you are removing all cables for switch replacement, label each cable with its socket number, then start removing the cables from the left side of the switch, working your way to the right.
- If
the switch has a CMA, loosen two thumbscrews to remove the CMA cover.

- Locate the cable to be removed.
- Grasp the cable connector to support its weight and apply the removal force.
- Disconnect the cable from the connector.
- Carefully move the cable out of the cable management hardware.
- Gently lower the cable to the
floor.

Caution - Do not allow the cable to drop or strike the floor. Jerking, bending, pulling on, or dropping the cable can damage the cable.
- For a dual-part QSFP+ module assembly, remove the optical transceiver module from the slot.
- Consider your next step:
- If you are
removing a single cable for replacement, install the new cable.
See Install a Data Cable.
- If you are disconnecting all cables for switch replacement, repeat from Step 2 for all cables.
- If you are
removing a single cable for replacement, install the new cable.
Related Information
Switch Installation, understanding data cabling