Connect Data Cables
- Identify the prerequisite and subsequent installation tasks that you must perform in conjunction with this procedure.
-
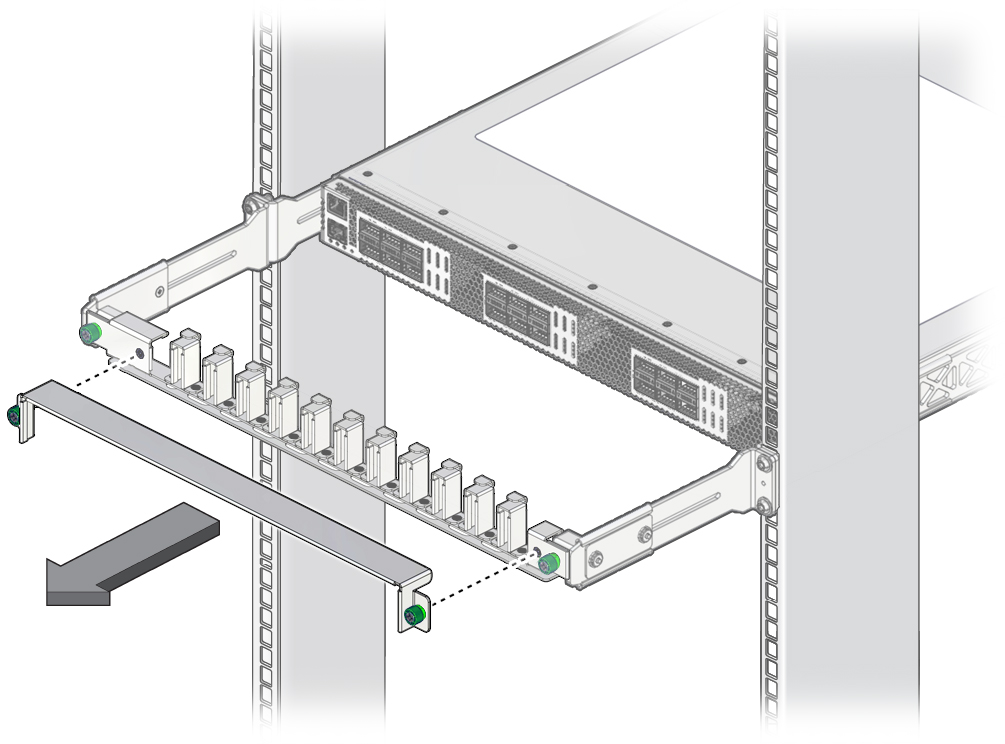
If you are using the CMA, loosen the inner green captive thumbscrews and
remove the CMA cover.

-
Identify where the cable installs.
See Cable Connections (Oracle Switch ES2-72) or Cable Connections (Oracle Switch ES2-64).
-
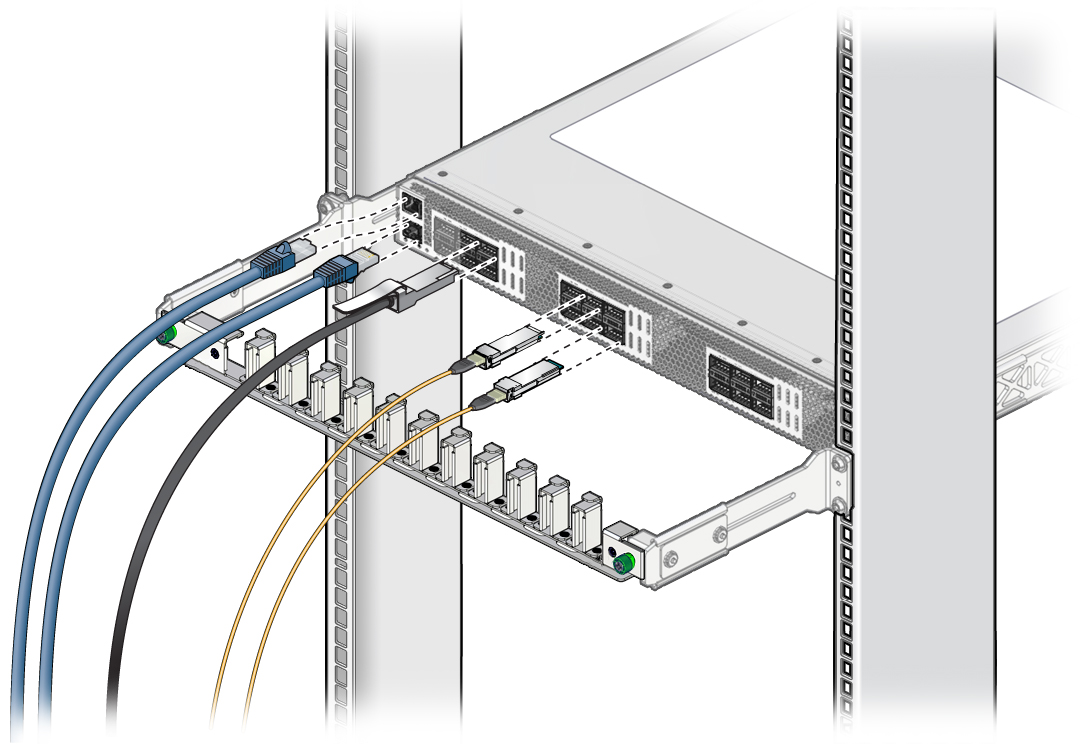
Install a cable.
- If installed, remove the protective dust cap on the cable.
-
Inspect the cable connector.
The shell should not be bent and should be parallel to the inner boards. If the connector is bent or damaged, use a different cable.
-
Hold the transceiver or connector, and slide it into the
opening.
- Orient a QSFP or QSFP+ cable with the tab up.
- Orient a 10GBASE-T connector with the tab up or down, according to the slot orientation.

- Applying even pressure to both sides of the connector, push the cable in until it is firmly seated and clicks in the slot.
- Repeat Step 3 through Step 4 for all connectors.
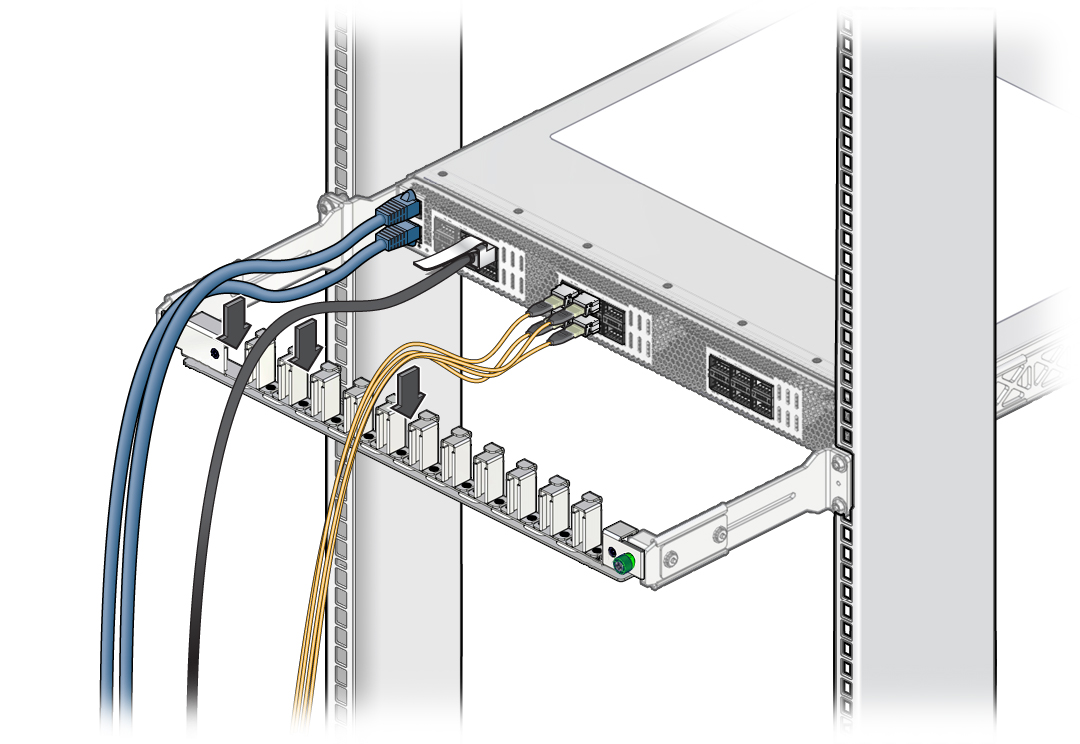
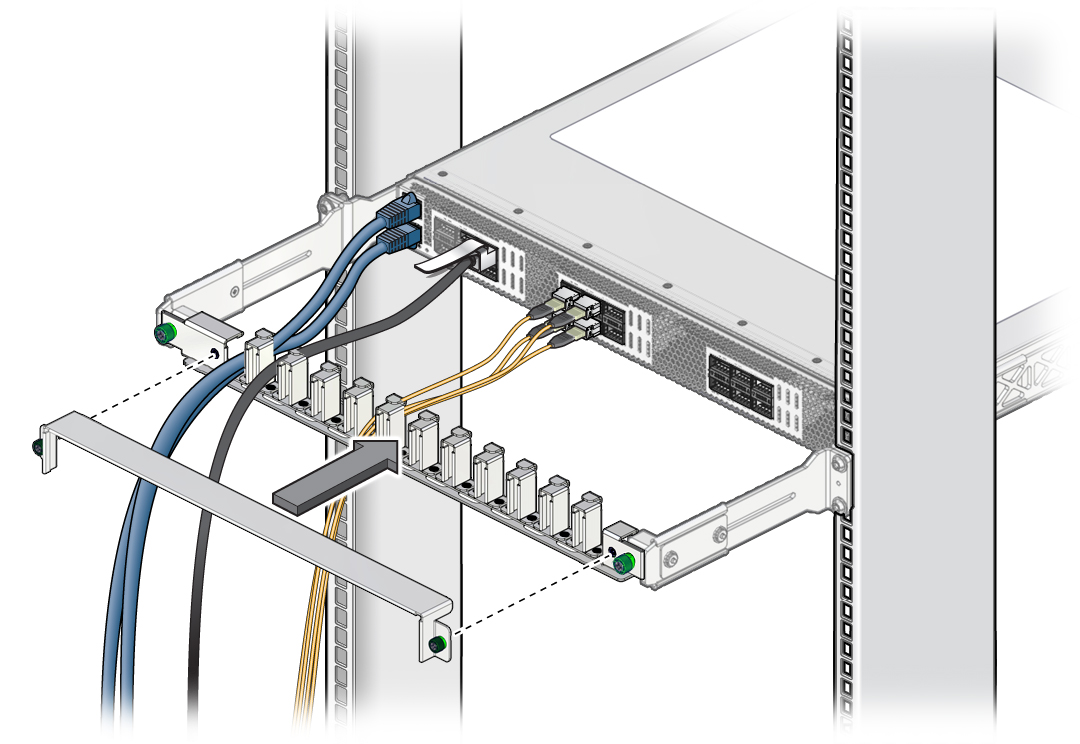
- If you are using the CMA, arrange the cables in the CMA.
- If there is a possibility of heated air recirculating into the switch, place longer rack units above and below the switch to direct heated air out of the cabinet.
-
Power on the switch.
See Power On the Switch.

