3.1 Account Search

Search for Corporate accounts and view the account details by following the instructions provided in this topic. It provides a snapshot view of the account.

  1. Click Corporate Account Enquiries, and under Corporate Account Enquiries, click Account Search.
    The Account Search page displays.
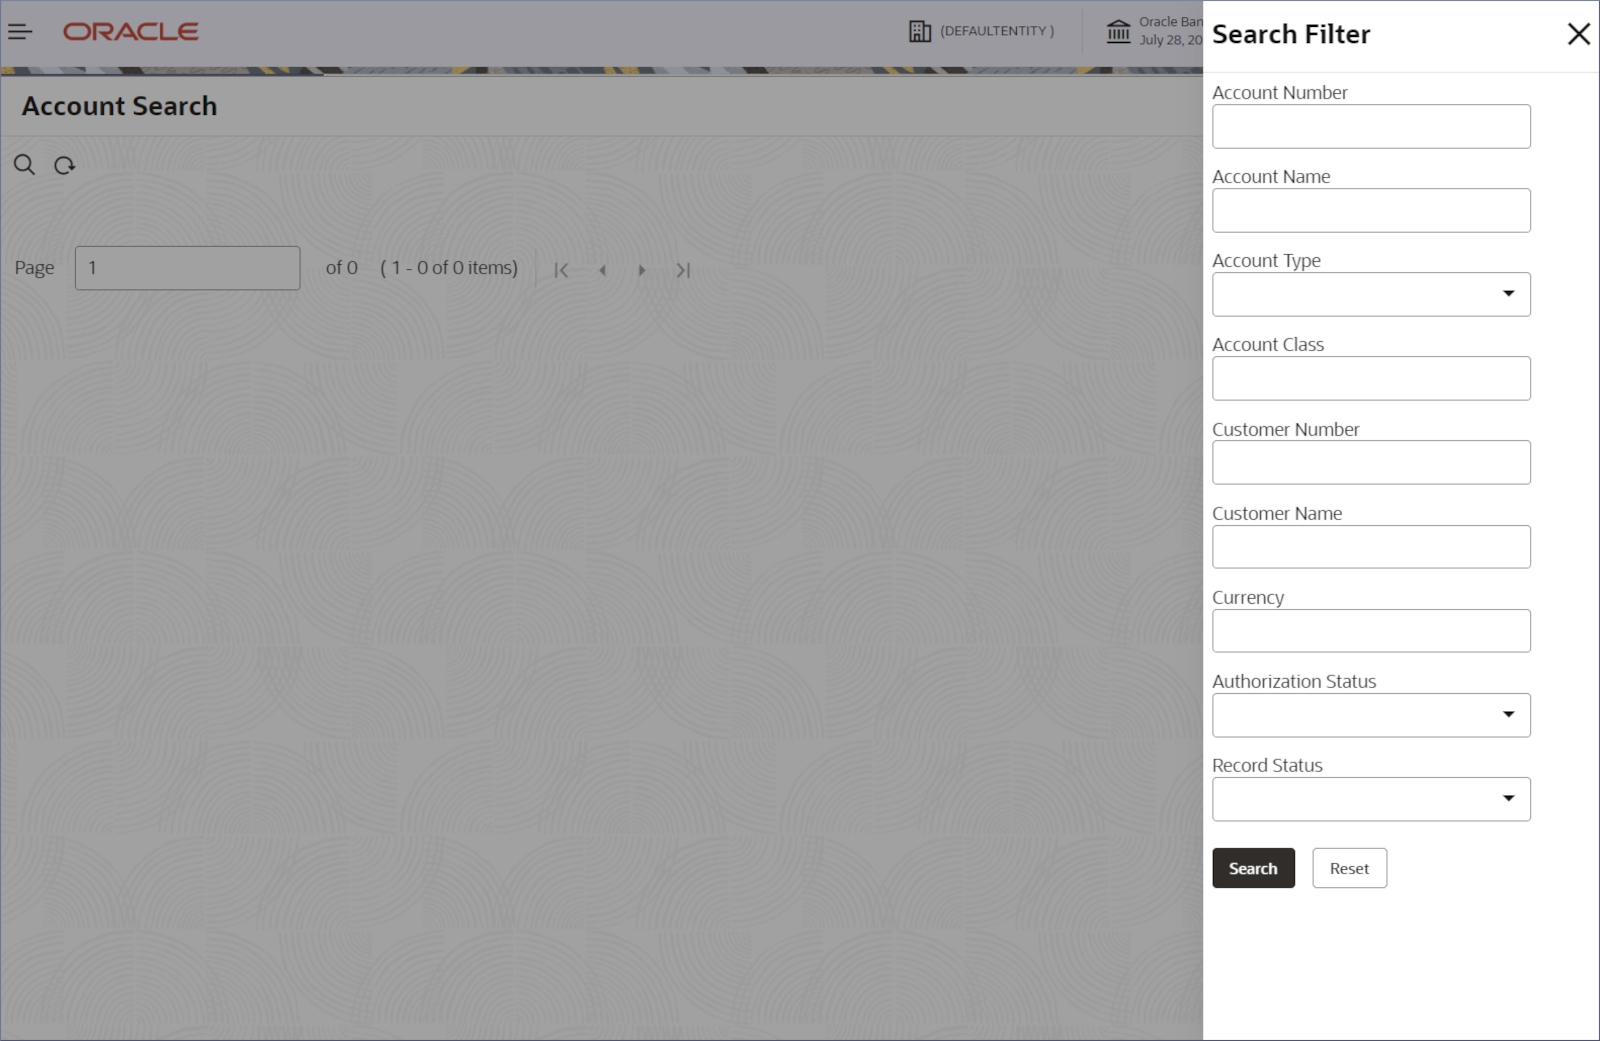
  2. Click the Search icon at the top left of the page.

    The Search Filter dialog displays.

  3. Specify some or all of the details on the Search Filter dialog to narrow your search results and find the required account.

    Note:

    Click Reset to clear the filters and apply new filters.

    Table 3-1 Account Search - Field Description

    Field Description
    Account Number Specify the account number.
    Account Name Specify the account name.
    Account Type Specify the account type from the drop-down list.
    Account Class Specify the account class.
    Customer Number Specify the CIF number of the customer.
    Customer Name Specify the customer name.
    Currency Specify the operating currency of the customer account.
    Authorization Status Specify the authorization status from the following:
    • Authorized
    • Unauthorized
    Record Status Specify the record status from the following:
    • Open
    • Closed
    • In Progress
  4. Click Search.
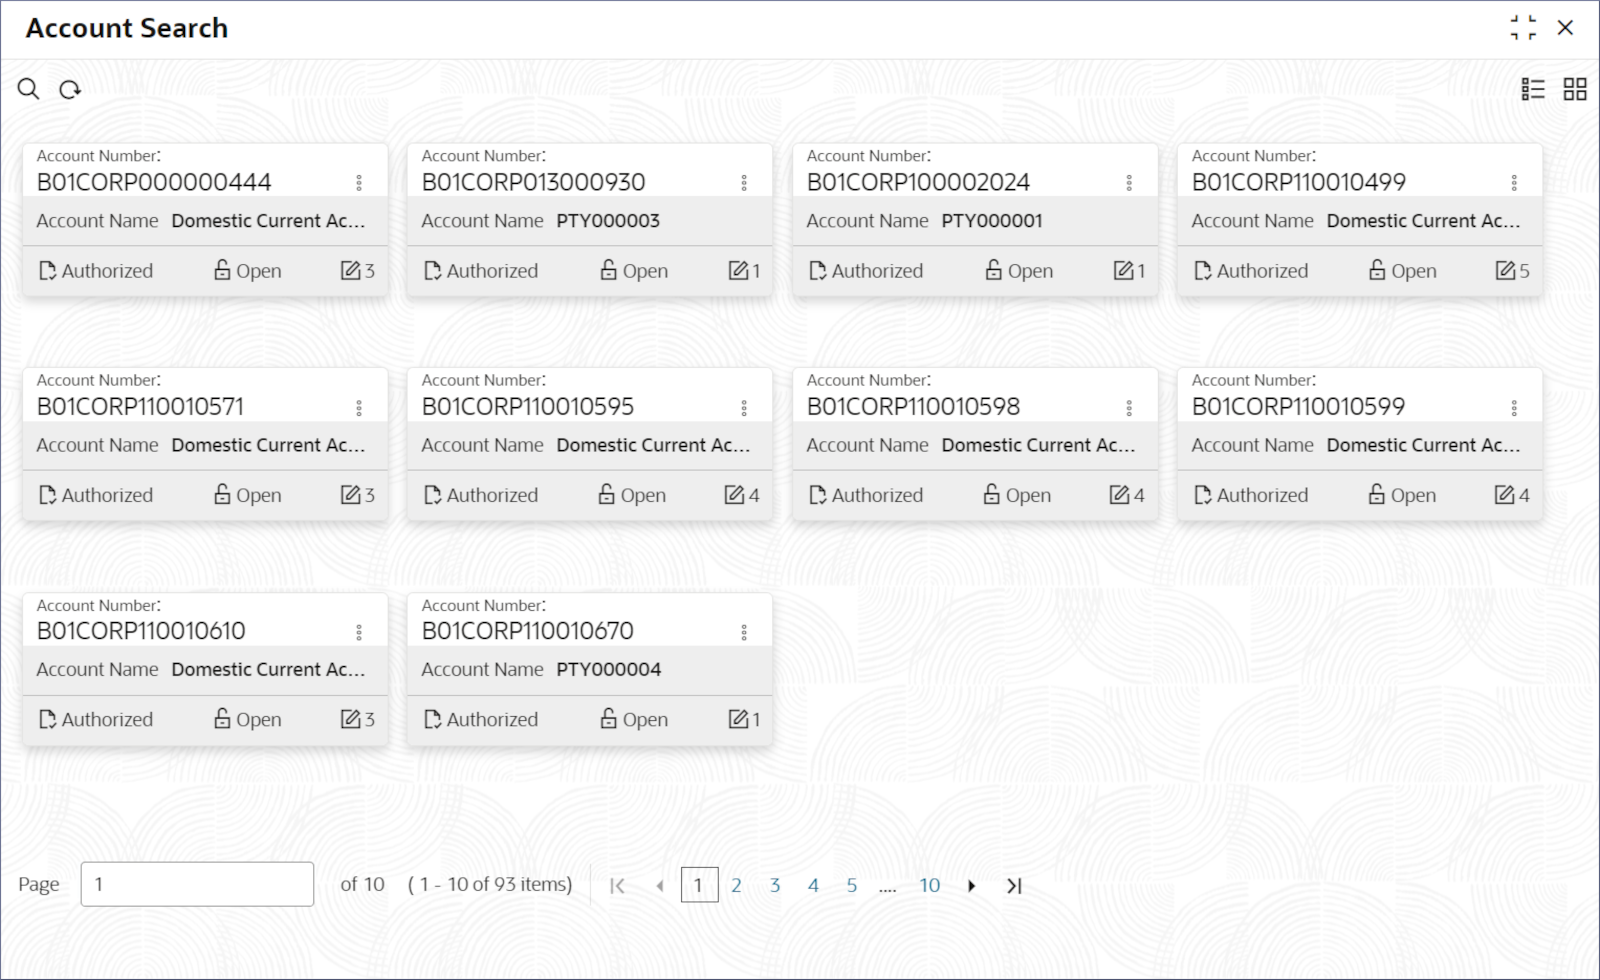
    The Account Search page displays the accounts matching the search filters in the Tile view.

    Tip:

    Change the view between the Tile view and the List view, by selecting the options available from the top right corner of the page.

    Figure 3-2 Account Search Results


    Tip:

    Click Tile view or List view to switch between the Tile view and the List view.

    Table 3-2 Account Tile Details- Field Description

    Field Description
    Account Number Displays the account number.
    Account Name Displays the name of the account.
    Status Displays the status of the record.

    The following table describes the action items in the More Options (More Options menu icon) menu and the action items on the page.

    Table 3-3 Action Items Description

    Action Item Description
    Unlock Unlock a record and make amendments.
    Close Close a record to prevent it from being unlocked and amended.
    View View the details of a record.
    Delete Delete a record.

    Note:

    Once deleted, the record can no longer be used to define an entity. But entities already defined using the record can continue to use it.
    Reopen Reopen a closed record.
    Authorize Authorize a record to make it active and available to define entities.

    Note:

    Creator of a record cannot authorize the component. Another user with authorize permissions can.
    Audit Select to view the Maker, Checker, Status, and Modification Number of the record.
    Errors and Overrides Select to view all existing errors or warnings on the page.

    Note:

    The actions you can perform depend on your role and the record status.
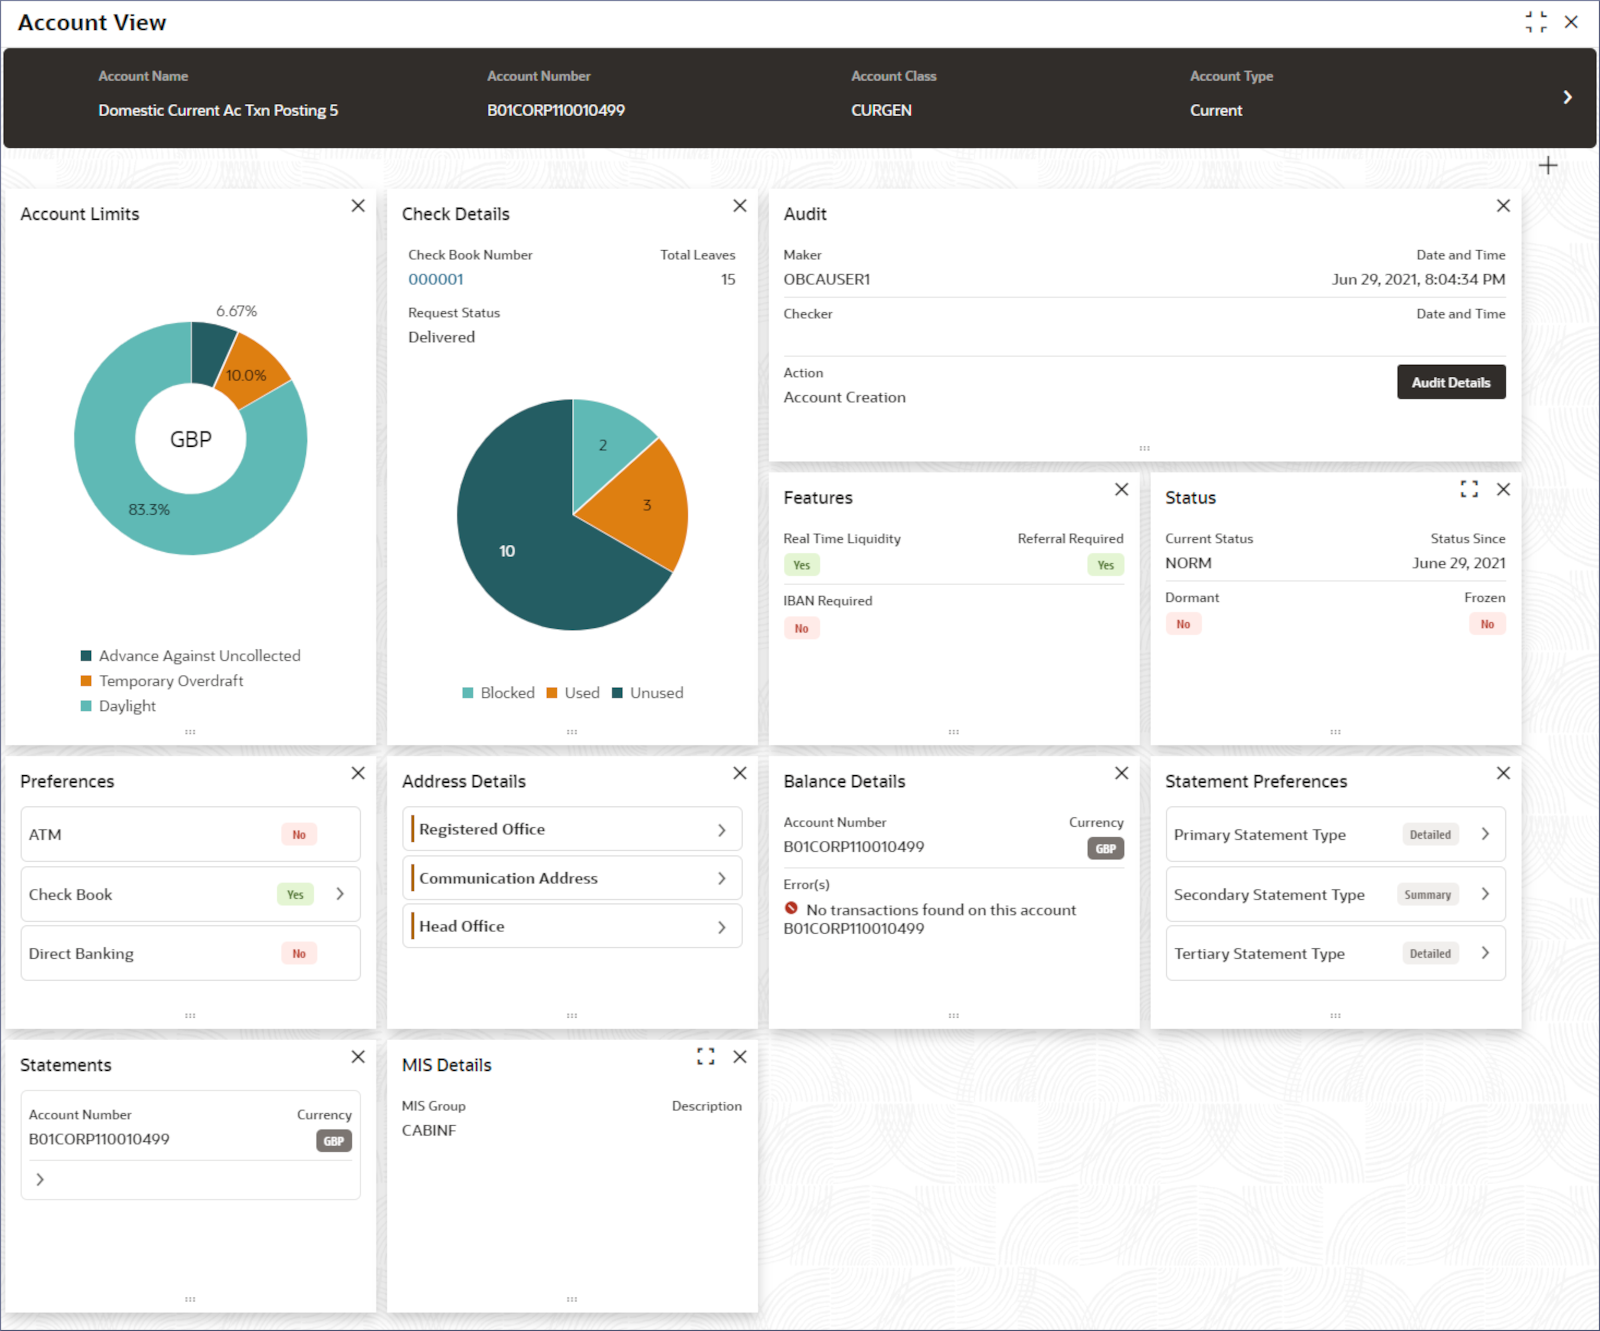
  5. To view an Account details, click More Options menu icon and select View.
    The Account View provides a comprehensive 360 degree of the Account details in different tiles also referred to as widgets. The basic details of the account are visible at the top of the page. The Widgets that display in the Account View depend on your user permissions.

    Figure 3-3 Account Record Tile - View


    You can perform the following actions on each tile:
    • Position the tiles on the page. Click and hold ":::" at the bottom of a tile, then drag and drop the tile to the required position.
    • Click Expand button on a tile to view the field details in a pop-up dialog.
    • Click the Scroll buttons to the left (<) and right (>) of a tile to scroll through the details.
    • Hover over linked field values (blue text) or fields with the > icon and click the Hand icon that appears to view the field details in a pop-up dialog.

    Note:

    Actions available on a tile are context sensitive and not all actions are available on all tiles.
  6. Add or Remove a tile from the page.
    1. Click X at the top right of a tile.
      The tile is removed from the page.
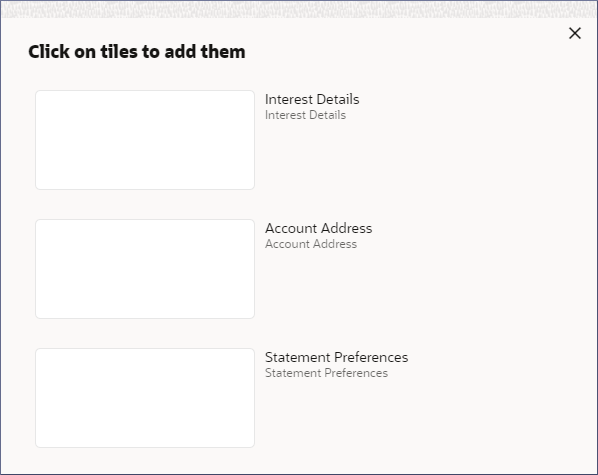
    2. Click + at the top right of the page.
      A dialog displays the tiles that are not present on the screen.
    3. Click the required tile.
      The tile is added to the page.
The following sub-topics describe each tile in more detail.