Enable and Configure SNMP (Original PDU)
Use the HTML interface to enable SNMP, specify SNMP community hosts, and set repeating SNMP trap durations.
- Access the PDU metering unit from a system on the network.
-
Click on the Net Configuration link and log in as an admin user.
You are prompted to log in as an admin user. By default, both the admin user name and password is admin.
-
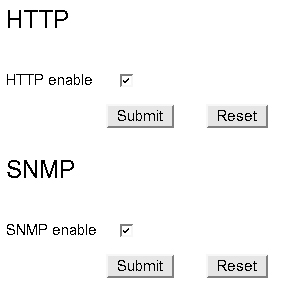
Scroll down the page until you see the SNMP heading.

-
Click the SNMP Enable checkbox to enable SNMP.
If desired, you can disable HTTP access to the PDU by deselecting the HTTP enable checkbox located just above the SNMP heading.
-
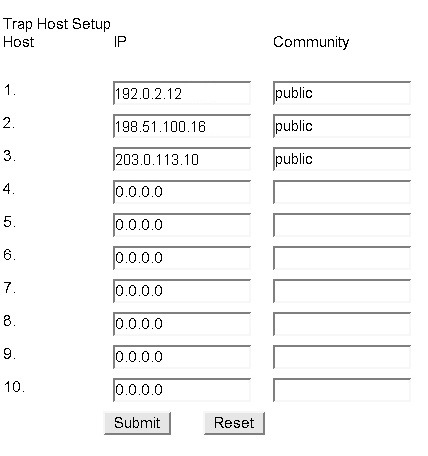
Under the Trap Host Setup heading, define up to 10 SNMP hosts.
Once configured, the metering unit sends SNMP traps to these hosts. For each host, type in the IP address and the SNMP community name. An SNMP community name identifies which SNMP group the host belongs.

-
Provide values to the repeating trap settings.
Here is a description of these repeating trap settings.
SettingDescriptionPermitted ValuesThe number of seconds between repeating the KeepAlive trap.0 - 60Repeating Time for Traps0 - 60Number of trapsThe number of times the same trap can repeated to the same host.0 -255 - Click the Submit button to enable these SNMP settings.
