- WebServices Installation Guide
- Deploy Application Interface WebServices
- Deploy Webservices
2.4 Deploy Webservices
The following section details the steps to be followed for the deployment of WebServices in Enterprise Manager.
2.4.1 Deploying WebServices in Enterprise Manager
- Download and unzip the WebServices -
ofsllxws.zip. - Following is a mapping of which EAR is needed for which service:
Table 2-3 Mapping of EAR
dbkls-xxws.ws.app-dt.ear dbkls-xxws.ws.app-ds.ear dbkls-xxws.ws.app-ro.ear DT Interface: To receive loan application from dealer track DS Interface: To receive edocs application update RO Interface: To receive loan application from route one DT Interface: To receive loan application/deal update from dealer track DS Interface: To receive edocs comment update RO Interface: To receive loan application/deal refresh from route one DT Interface: To receive comments from dealer track DS Interface: To receive edocs location update RO Interface: To receive comments from route one LOSPostStatusRequestService: To post comments to dealer track LOSPostStatusRequestService: To post comments to route one LOSPostStatusRequestService: To post application status to dealer track LOSPostStatusRequestService: To post application status to route one ILOSPostDealerDetailsService: To post dealer details to dealer track ILOSPostDealerDetailsService: To post dealer details to dealer track LOSEContractService: To recieve contract information from RouteOne - Unzip all the ear files present:
- dbkls-xxws.ws.app-dt.ear
- dbkls-xxws.ws.app-ro.ear
- dbkls-xxws.ws.app-ds.ear
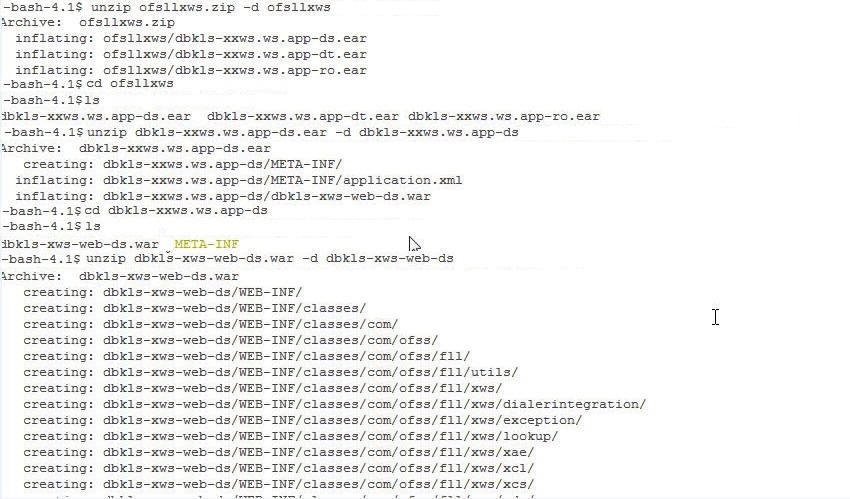
- Open each of the unzipped files and unzip the war file.
Figure 2-21 Deployment in EnterpriseManager 1
- It creates a WEB-INF file.
Figure 2-22 Deployment in EnterpriseManager 2
After unzipping the war file to directory, the directory will have the following structure.
- / dbkls-xxws.ws.app-ds / dbkls-xxws.ws.app-dt / dbklsxxws.ws.app-ro
WEB-INF (directory)
---->classes (directory)
- config
- class files (in package folders)
-----> lib (directory)
- OfsllCommonCSF.jar
------> wsdl (directory)
- *.wsdl
-----> *-java-wsdl-mapping.xml
-----> web.xml
-----> weblogic.xml
-----> weblogic-webservices.xml
-----> weblogic-webservices-policy.xml
-----> webservices.xml
- / dbkls-xxws.ws.app-ds / dbkls-xxws.ws.app-dt / dbklsxxws.ws.app-ro
- To edit the web interface config files, navigate to the above WEB-INF > classes
> config. Edit the following configuration files with the application url and
port.
For complete details on configuration parameters, refer to Configuration parameterssection in Appendix chapter.
- ds_servlet_init.conf-This is the configuration file only for edocs
servlet interface
Figure 2-23 Deployment in EnterpriseManager 3
- dt_servlet_init.conf- This is the configuration file only for dealer
track servlet interface
Figure 2-24 Deployment in EnterpriseManager 4
- ro_servlet_init.conf- This is the configuration file only for route one
servlet interface
Figure 2-25 Deployment in EnterpriseManager 5
- ds_servlet_init.conf-This is the configuration file only for edocs
servlet interface
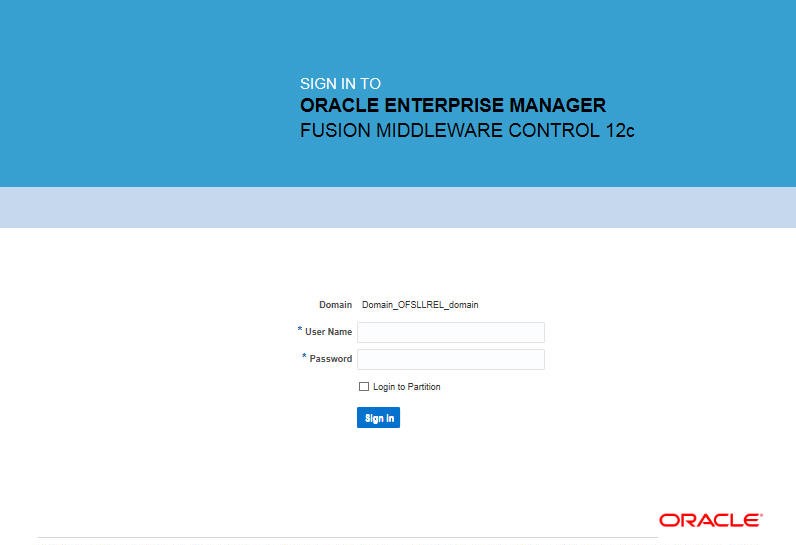
- Login to Web Logic application server enterprise manager
(e.g.:http://hostname:port/em).
Figure 2-26 Deployment in EnterpriseManager 6
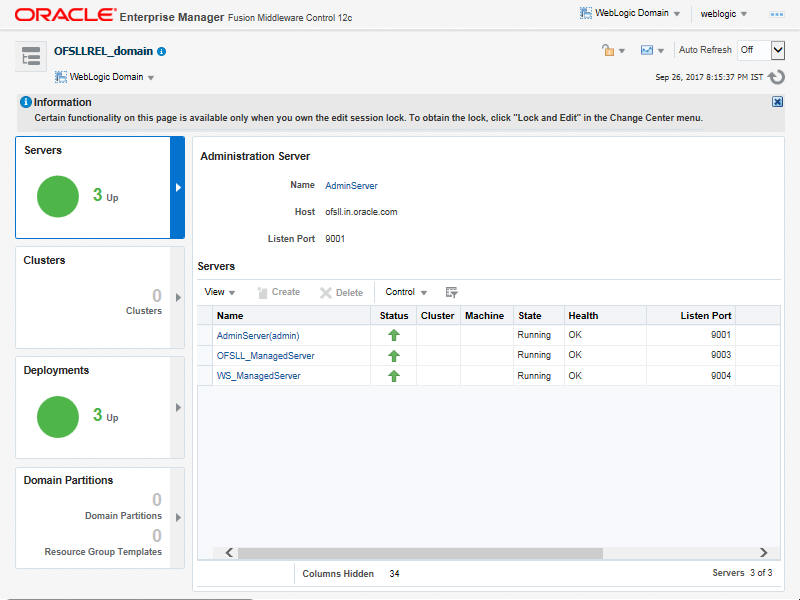
- Enter valid login credentials. The following window is displayed.
Figure 2-27 Deployment in EnterpriseManager 7
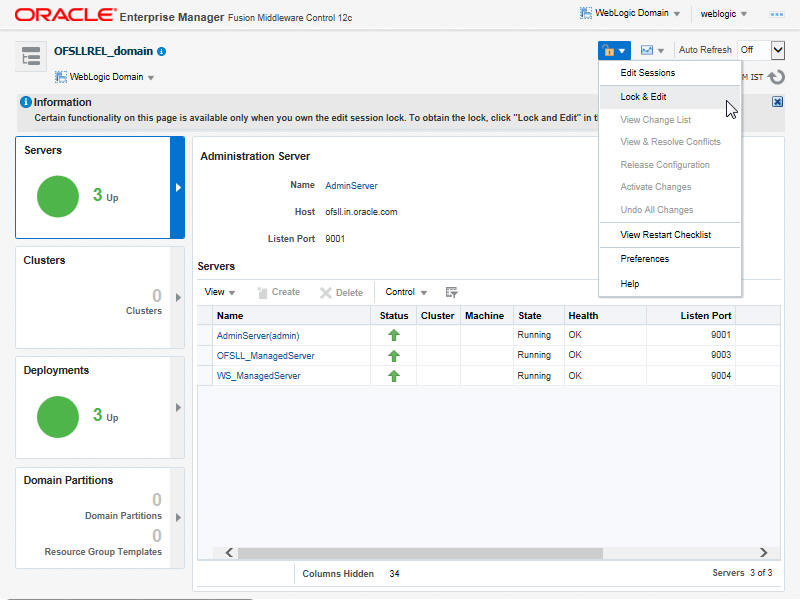
- Expand the weblogic domain present in the left pane. The following window is displayed.
Figure 2-28 Deployment in EnterpriseManager 8
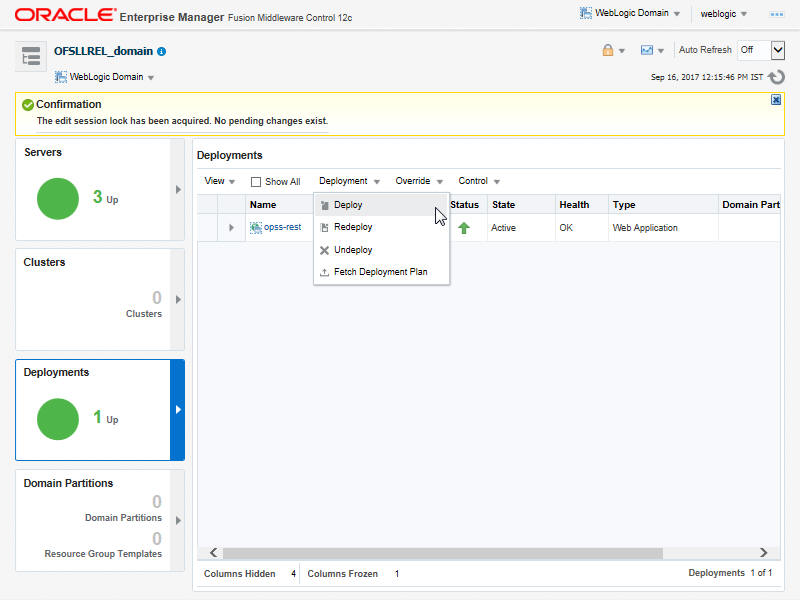
- Right click on WS_ManagedServer in left panel, select
Application Deployment > Deploy.
Figure 2-29 Deployment in EnterpriseManager 9
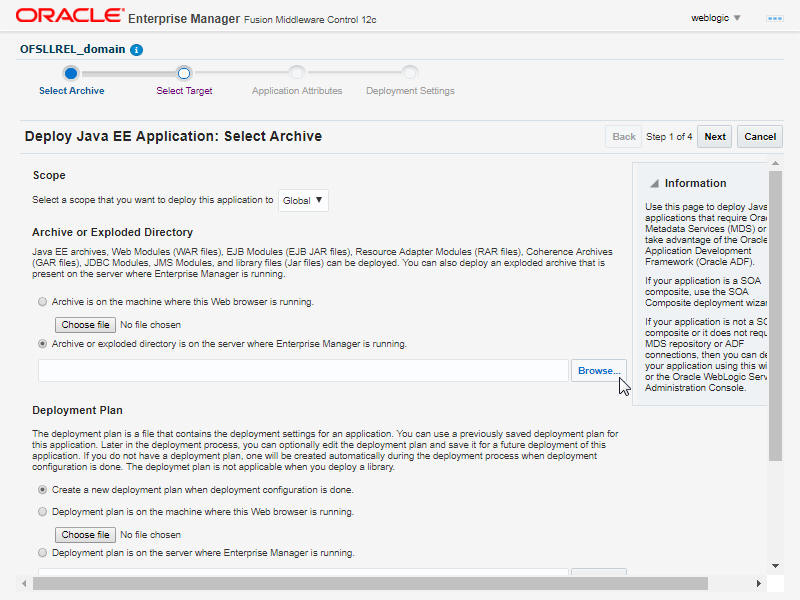
- The following window is displayed.
Figure 2-30 Deployment in EnterpriseManager 10
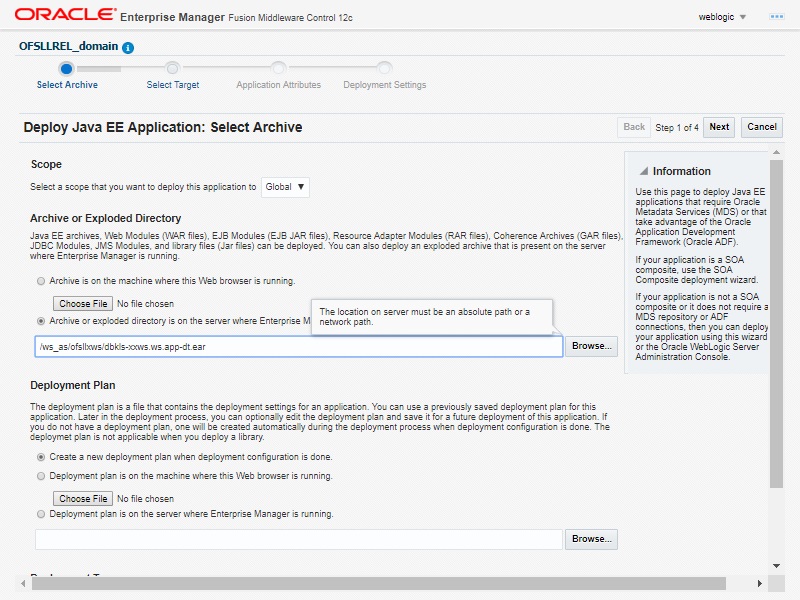
- Browse to the folder containing the WebService. Eg:/ws-as/ofsllxws/dbkls-xxws.ws.appClick Next.
Figure 2-31 Deployment in EnterpriseManager 11
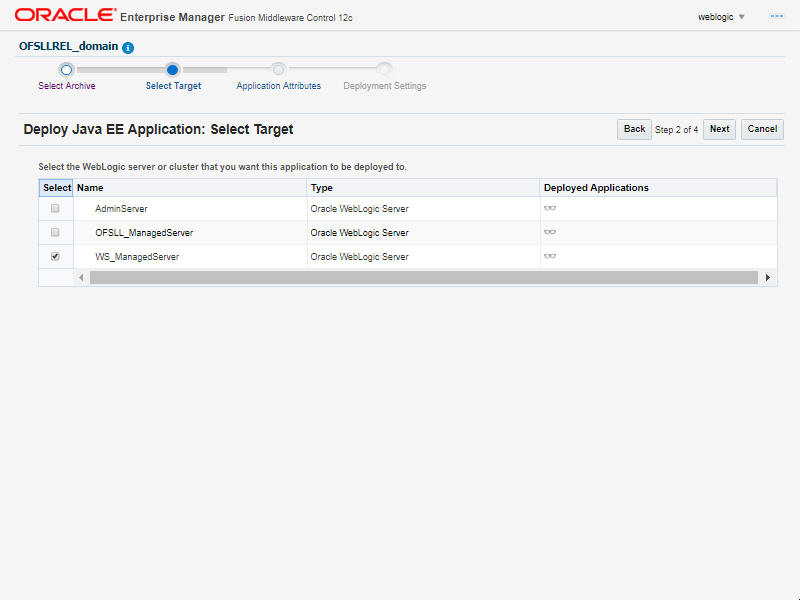
- The following window is displayed. Select the server on which the WebService
needs to be deployed. Click Next.
Figure 2-32 Deployment in EnterpriseManager 12
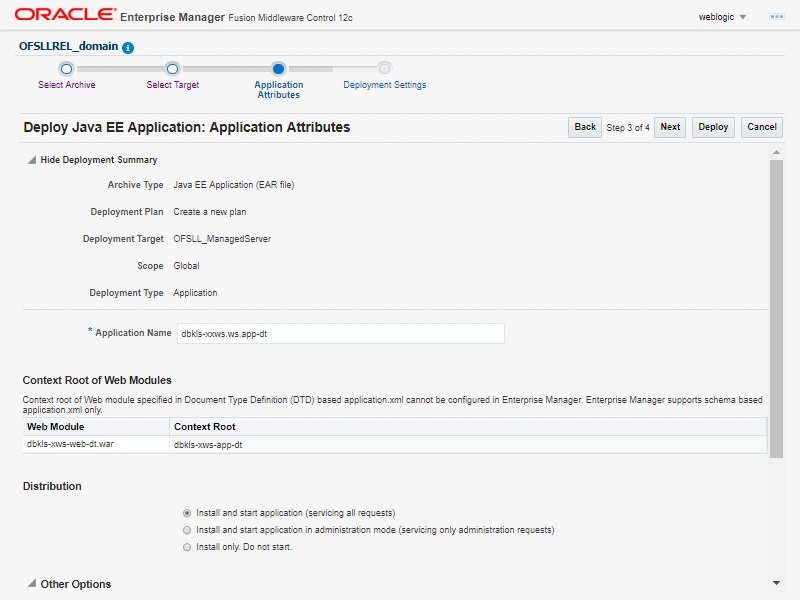
- The following window is displayed. Check the context root and select the
Distribution option as Install and start application (servicing all
requests). Click Next.
Figure 2-33 Deployment in EnterpriseManager 13
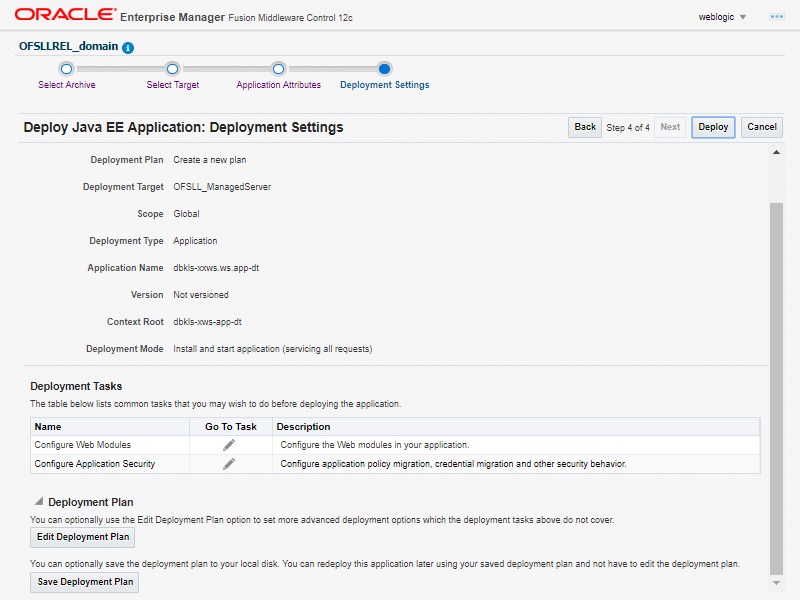
- The following window is displayed. Click Deploy.
Figure 2-34 Deployment in EnterpriseManager 14
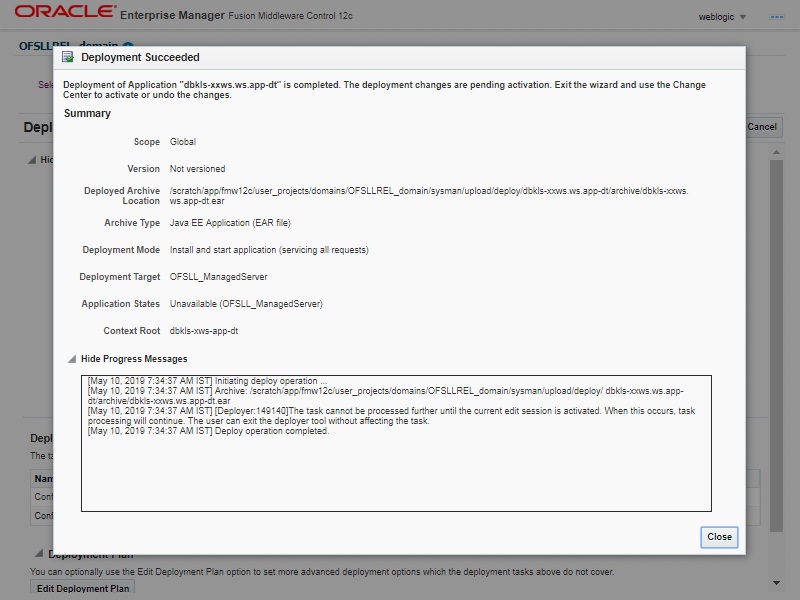
- The following window is displayed. Click Close.
Figure 2-35 Deployment in EnterpriseManager 15
- If required, similarly deploy rest of the WebServices.
- In case the context root has to be changed for the WebServices, it can be changed by editing the application.xml or through the console. To change through console, login to WebLogic Server 12c console (http://hostname:port/console).
- Go to Deployments > <select the service deployment> > Configuration General
and modify the context root to the recommended name as follows:
Table 2-4 Service EAR
Service Service EAR Recommended Context Remark Edocs Interface dbkls-xxws.ws.app-ds.ear dbkls-xws-app-ds If this the recommended context name is not used, then the Service URLs in the configuration files needs to be changed Dealer Track Interface dbkls-xxws.ws.app-ds.ear dbkls-xws-app-dt If this the recommended context name is not used, then the Service URLs in the configuration files needs to be changed Route One Interface dbkls-xxws.ws.app-ro.ear dbkls-xws-app-ro If this the recommended context name is not used, then the Service URLs in the configuration files needs to be changed - Ensure that the application status is Active.
Parent topic: Deploy Webservices
