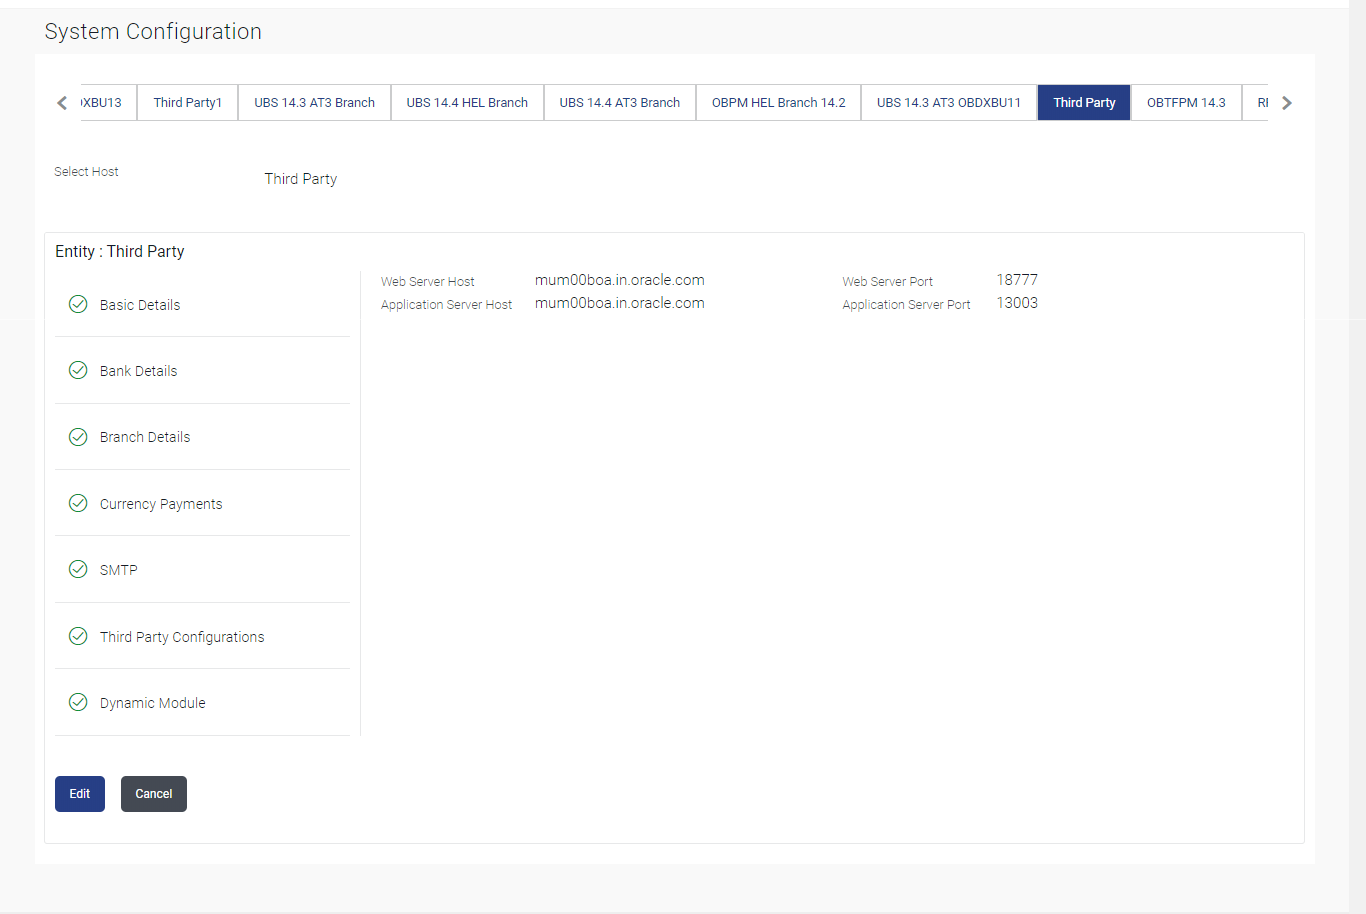
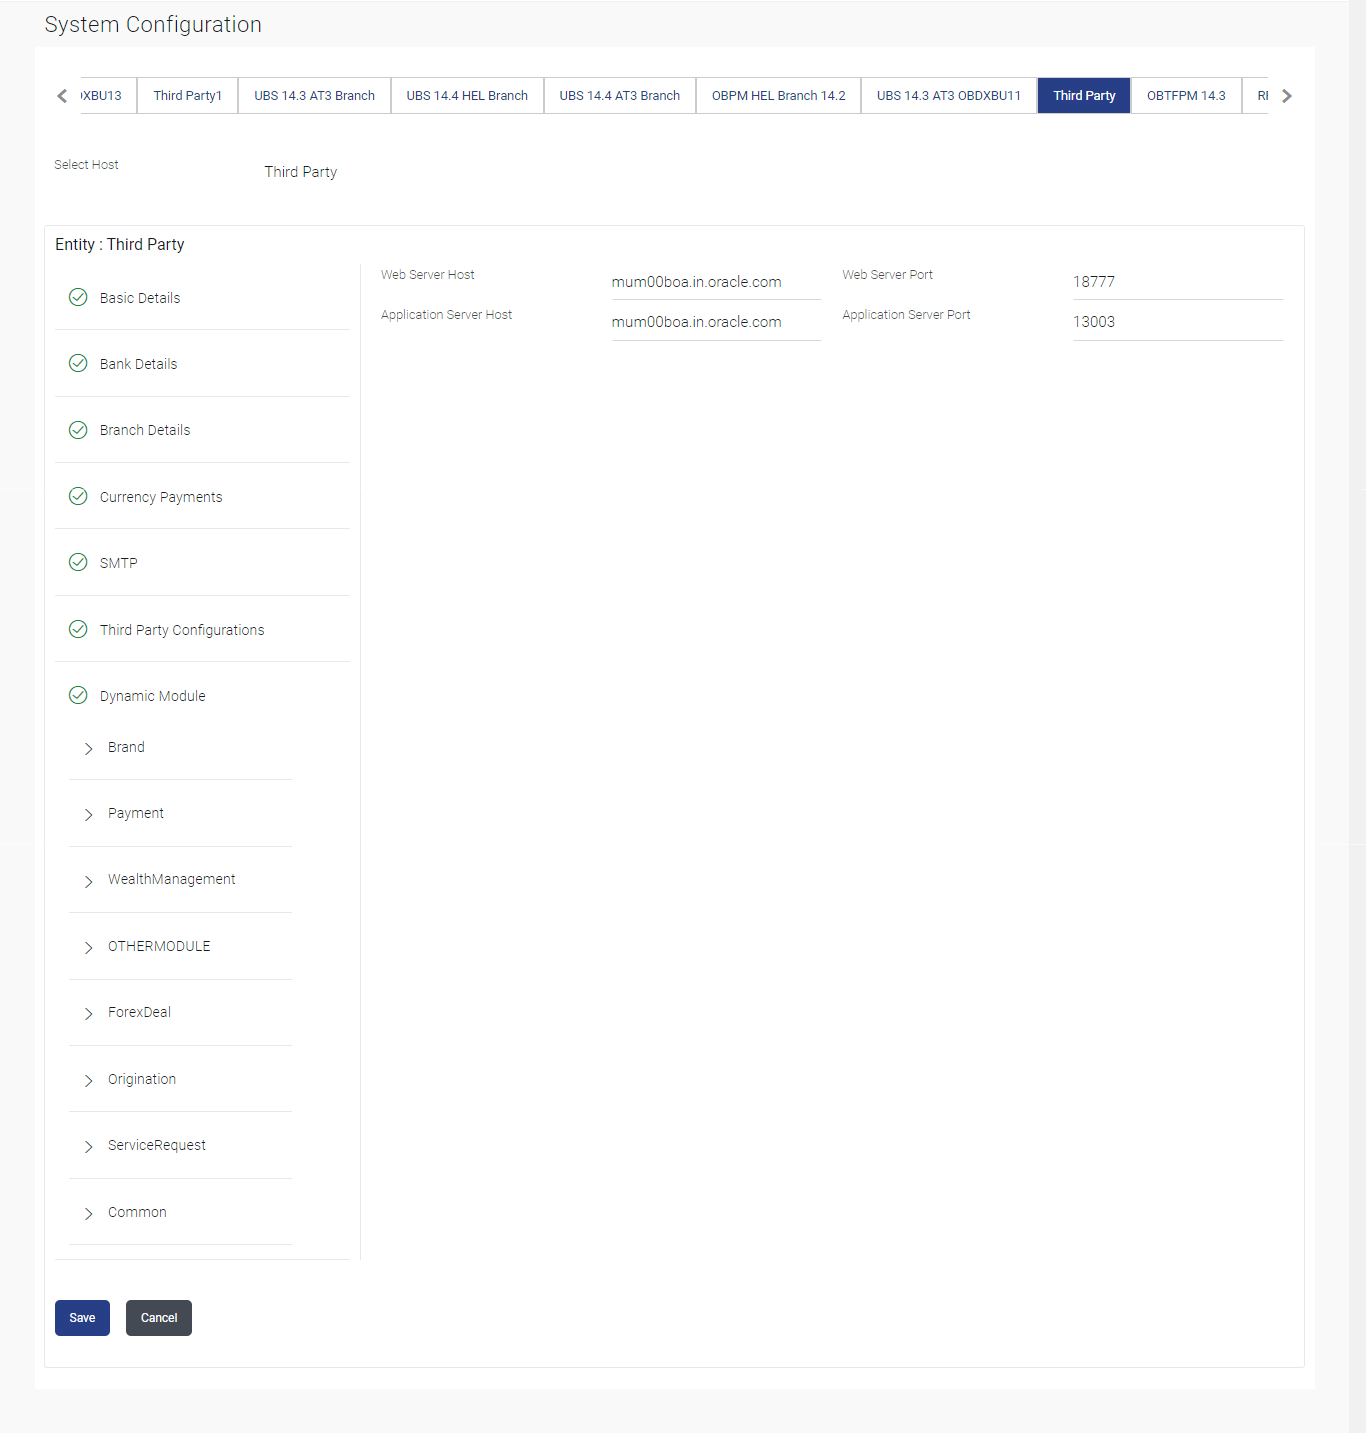
6.1 System Configuration – Third Party – View and Edit
This topic describes the systematic instruction to System Configuration – Third Party – View and Edit option.
Using this option the system administrator can view and edit the system
configuration details that have already been created.
- System Configuration - Bank Details - View and Edit
This topic describes the systematic instruction to System Configuration - Bank Details - View and Edit option. - System Configuration - Branch Details - View and Edit
This topic describes the systematic instruction tot System Configuration - Branch Details - View and Edit option. - System Configuration – SMTP – View and Edit
This topic describes the systematic instruction tot System Configuration – SMTP – View and Edit option. - System Configuration – Third Party Configurations - Host Details – View and Edit
This topic describes the systematic instruction to System Configuration – Third Party Configurations - Host Details – View and Edit option. - System Configuration - Third Party Configurations – Queue Configuration – View and Edit
This topic describes the systematic instruction to System Configuration - Third Party Configurations – Queue Configuration – View and Edit option. - System Configuration – Dynamic Module
This topic describes the information about System Configuration – Dynamic Module. - System Configuration – Dynamic Module – Brand - View and Edit
This topic describes the systematic instruction to System Configuration – Dynamic Module – Brand - View and Edit option. - System Configuration – Dynamic Module - Payment – View and Edit
This topic describes the systematic instruction to System Configuration – Dynamic Module - Payment – View and Edit option. - System Configuration – Dynamic Module – Wealth Management – View and Edit
This topic describes the systematic instruction to System Configuration – Dynamic Module – Wealth Management – View and Edit option. - System Configuration – Dynamic Module – Other Module – View and Edit
This topic describes the systematic instruction to System Configuration – Dynamic Module – Other Module – View and Edit option. - System Configuration – Dynamic Module – Origination – View and Edit
This topic describes the information about System Configuration – Dynamic Module – Origination – View and Edit . - System Configuration – Dynamic Module - Service Request– View and Edit
This topic describes the systematic instruction to System Configuration – Dynamic Module - Service Request– View and Edit option. - System Configuration – Dynamic Module – Common – View and Edit
This topic describes the systematic instruction to System Configuration – Dynamic Module – Common – View and Edit option.
Parent topic: System Configuration – HOST System as Third Party

