3.2 Microsoft Power BI Service
Configure Microsoft Power BI Service to connect to Oracle Database.
Microsoft Power BI Service runs in the Microsoft 365 cloud. Power BI service uses an on-premises data gateway, also known as Power BI gateway, to connect the Power BI service to Oracle databases. The gateway is hosted on Windows, either on-premises or in a cloud virtual machine, such as in Oracle Cloud Infrastructure or Azure.
These instructions use 64-bit unmanaged Oracle Data Provider for .NET (ODP.NET) for data access. They work for on-premises database and both dedicated and serverless ADB. The instructions for on-premises databases setup also apply to Oracle Database Cloud Services and Oracle Exadata Cloud Service.
Overview
These are the general steps to setup Oracle database connectivity with Microsoft Power BI Desktop:
- Provision Oracle database or ADB.
- Download database credentials to Windows client. (See Database Client Configuration Files.)
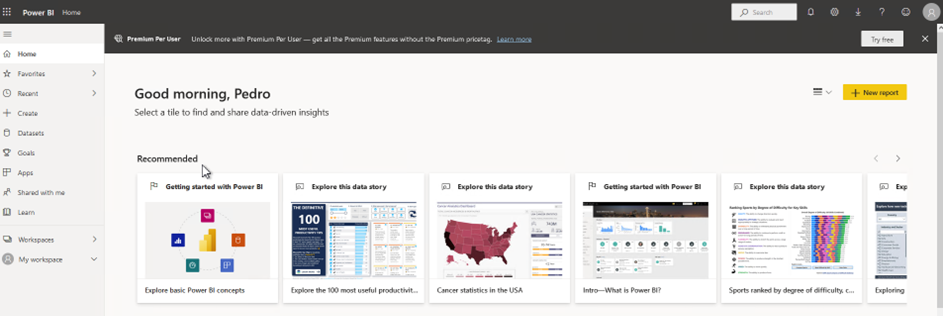
- Create Power BI service in Microsoft 365 Cloud.
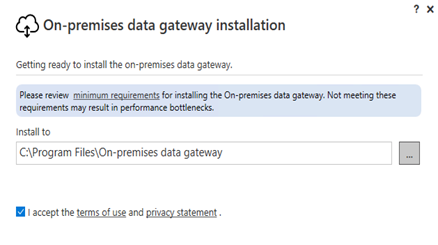
- Install and configure Power BI gateway.
- Install and configure ODP.NET on Windows client with OCMT. (See Installing and Configuring Oracle Client for Microsoft Tools.)
- Validate Power BI service connects to Oracle database or ADB.
This section covers how to complete steps 4 and 6, and assumes you have already completed all other steps. Database Client Configuration Files covers step 2. Installing and Configuring Oracle Client for Microsoft Tools covers step 5.
- Installing and Configuring Power BI Gateway
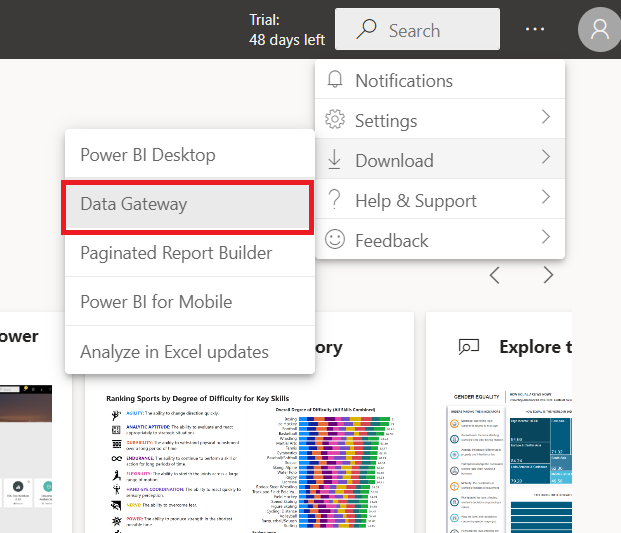
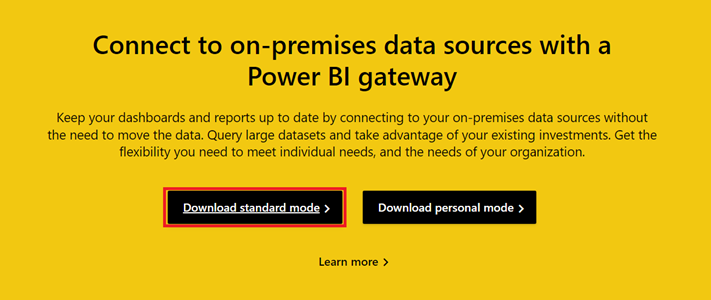
Download Power BI Gateway from the Power BI website. - Validating Power BI Connects to Oracle DB
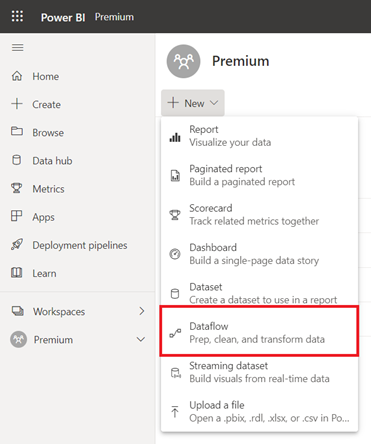
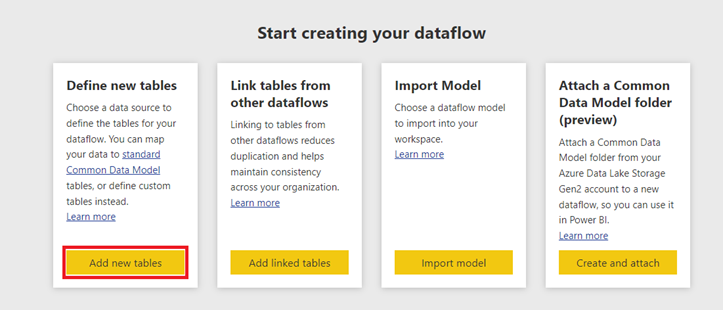
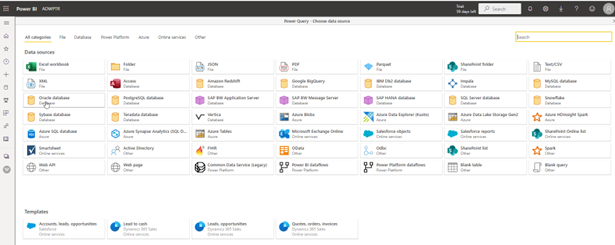
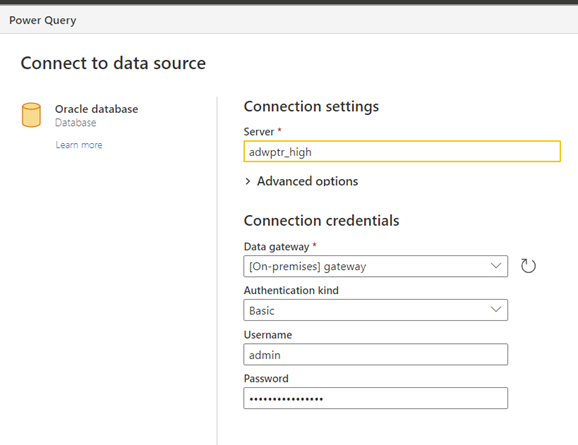
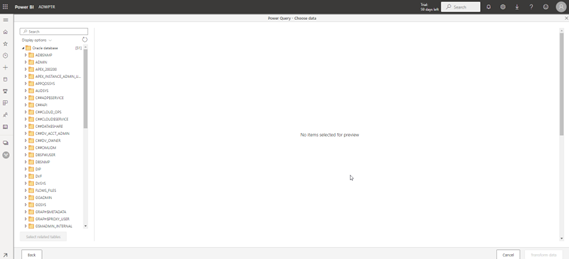
Configure and validate the Power BI Service connection to Oracle Database.
Parent topic: Connecting with Microsoft Tools
3.2.1 Installing and Configuring Power BI Gateway
Download Power BI Gateway from the Power BI website.
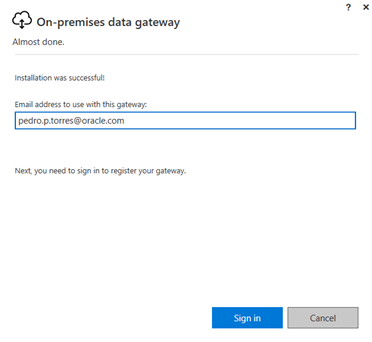
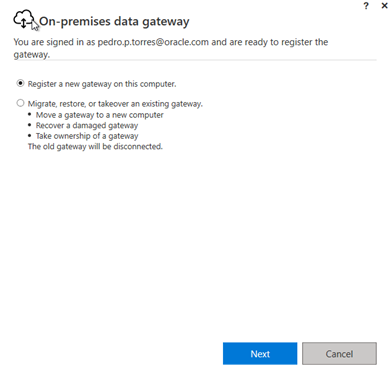
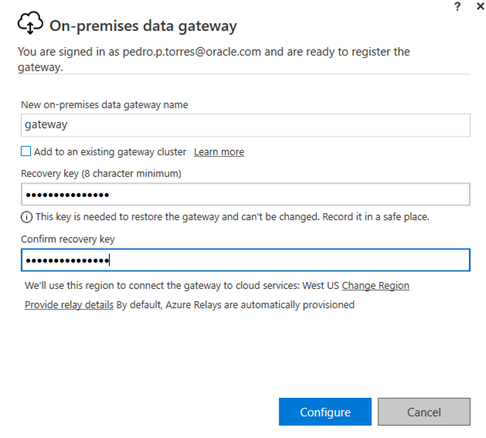
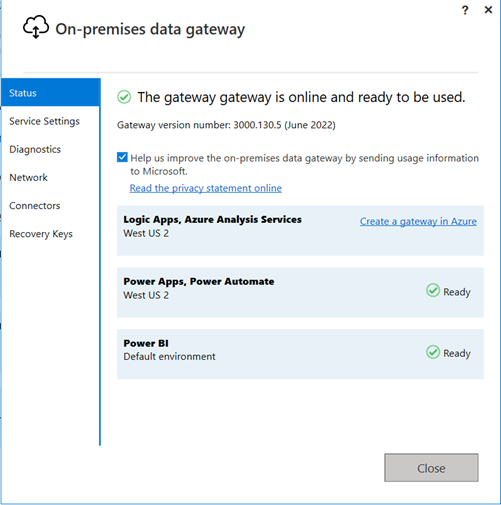
To install and configure Power BI Gateway:
Parent topic: Microsoft Power BI Service
3.2.2 Validating Power BI Connects to Oracle DB
Configure and validate the Power BI Service connection to Oracle Database.
Parent topic: Microsoft Power BI Service
