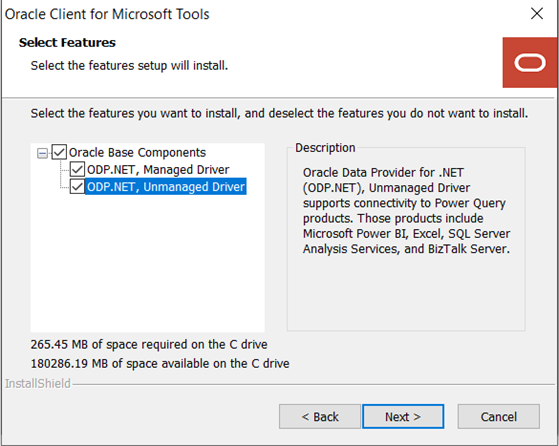
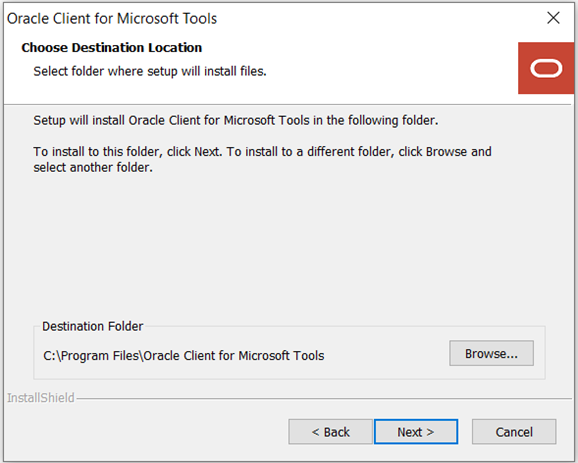
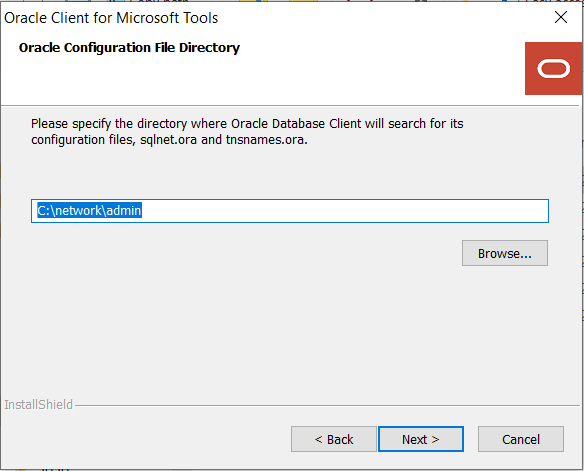
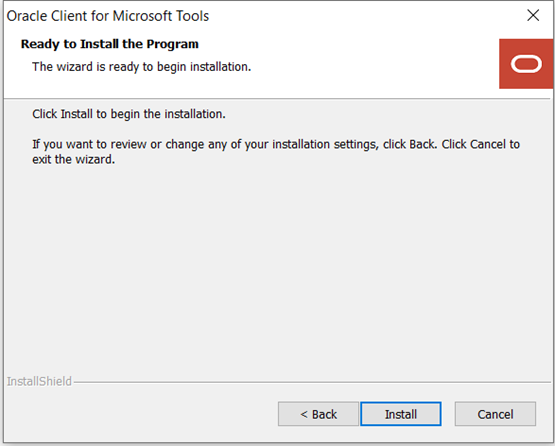
1 Installing and Configuring Oracle Client for Microsoft Tools
Learn about Oracle Client for Microsoft Tools, including determining the correct install type and installation instructions.
- About Oracle Client for Microsoft Tools
Learn about Oracle Client for Microsoft Tools, supported Microsoft tools, and how to select the appropriate Oracle Client for Microsoft Tools install type. - Installing Oracle Client for Microsoft Tools
General steps for installing Oracle Client for Microsoft Tools.
1.1 About Oracle Client for Microsoft Tools
Learn about Oracle Client for Microsoft Tools, supported Microsoft tools, and how to select the appropriate Oracle Client for Microsoft Tools install type.
Introduction
- Power BI Desktop
- Power BI service
- Excel
- SQL Server Analysis Services
- SQL Server Data Tools
- SQL Server Integration Services
- SQL Server Reporting Services
- BizTalk Server
These instructions work for on-premises database and both dedicated and serverless ADB. The instructions for on-premises database setup also apply to Oracle Database Cloud Services and Oracle Exadata Cloud Service.
Compatibility
Power BI Desktop, Power BI service, Excel, SQL Server Analysis Services, and BizTalk Server use unmanaged ODP.NET to connect to Oracle database. If you use a 64-bit product, you must use 64-bit OCMT to install 64-bit unmanaged ODP.NET. If you use a 32-bit Microsoft product, you must use 32-bit OCMT to install 32-bit unmanaged ODP.NET.
SQL Server Data Tools, SQL Server Integration Services, and SQL Server Reporting Services use managed ODP.NET. Managed ODP.NET works with both 32-bit and 64-bit apps, which allows you to use either 32-bit or 64-bit OCMT with any of these Microsoft products.
- Example: Determining the Bitness of a Microsoft Product
Determine the bitness of a Microsoft product.
1.1.1 Example: Determining the Bitness of a Microsoft Product
Determine the bitness of a Microsoft product.
If you are using unmanaged ODP.NET, determine whether you are using the 32-bit Microsoft product or the 64-bit Microsoft product so you can install the matching bitness of ODP.NET.
Let's use Power BI Desktop as an example. In Windows, start Power BI Desktop. On the menu, select Help , then About to see a window like the following: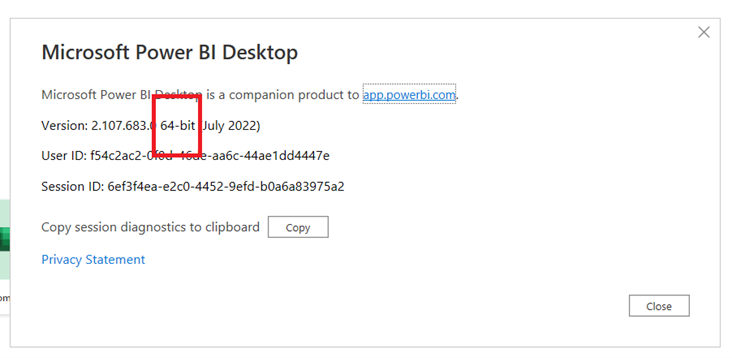
Description of the illustration example-microsoftpowerbiversion.png
The above screenshot notes that this is 64-bit Power BI Desktop. That means 64-bit unmanaged ODP.NET must be installed and configured for Power BI to connect to an Oracle Database.
If you are using 32-bit Power BI Desktop instead, you must install 32-bit unmanaged ODP.NET.
Parent topic: About Oracle Client for Microsoft Tools
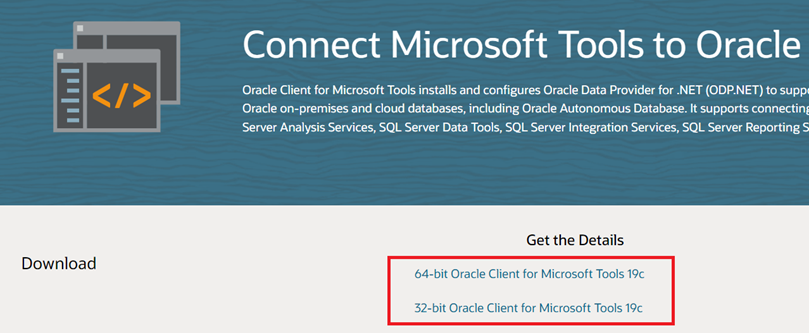
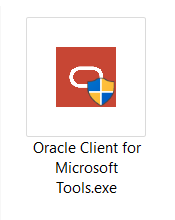
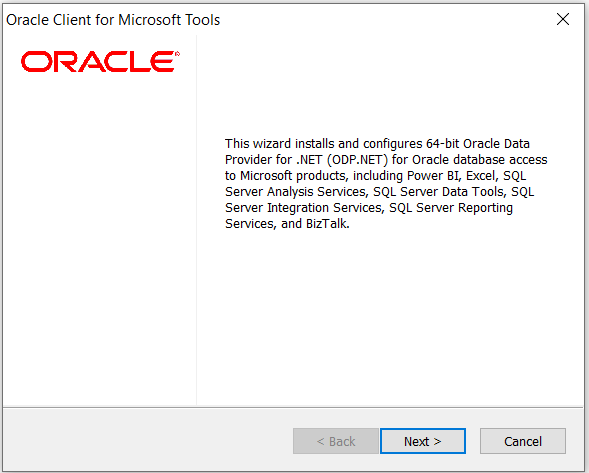
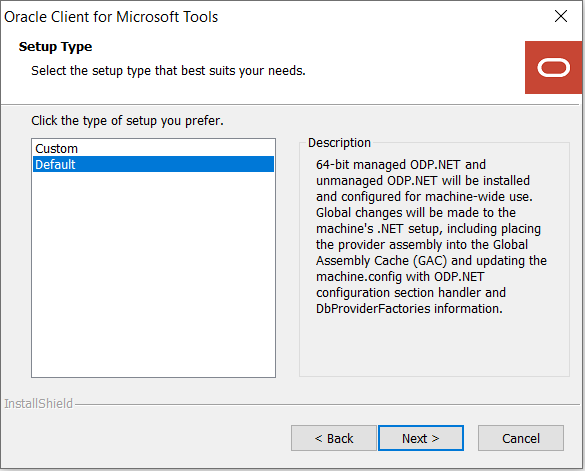
1.2 Installing Oracle Client for Microsoft Tools
General steps for installing Oracle Client for Microsoft Tools.
Note:
Screenshots may differ slightly between 32-bit OCMT and 64-bit OCMT.Note:
For more information on connecting specific Microsoft tools, see Connecting with Microsoft Tools.