Convert a Mobile App to a Web PWA
To be able to use your mobile apps beyond 2024 (when they reach End of Life), you must convert your existing mobile app to a web app and deploy it as a PWA.
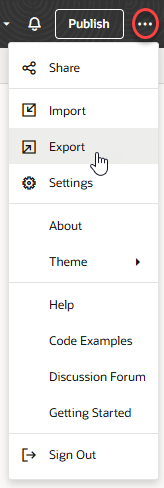
- Open the visual application containing your existing mobile application, then export the application to download it as a ZIP archive to your local file system.
Note:
Create a backup of the application's ZIP archive, so you have a copy you can use in case you run into issues. - Extract the contents of the archive. You should see something similar to this directory structure:
businessObjects/ mobileApps/ settings/ .gitignore Gruntfile.js package.json Readme.md visual-application.json - Create a new
webAppsdirectory (take note of the capitalization) in the extracted folder. - Copy the contents of your
mobileAppsdirectory into thewebAppsdirectory. For example, if yourmobileAppsdirectory contains ahrmobileappfolder, copy thehrmobileappfolder to thewebAppsdirectory. - Go to the mobile app directory you copied into the
webAppsdirectory (hrmobileappfor example) and remove these files:manifest.jsonsettings/appShellCache.jsonsettings/build-configurations.jsonsettings/mobile-build.jsonmobile-build-templates/*(if it exists)
- Compress the
webAppsdirectory into a new archive (for example,webApps.zip).Tip:
If you're working on a Mac, use these steps to create an archive:% cd <Visual Application Directory> % find . -name '.DS_Store' -type f -delete % zip -r webApps.zip webApps - With your mobile application open in the Designer, import the
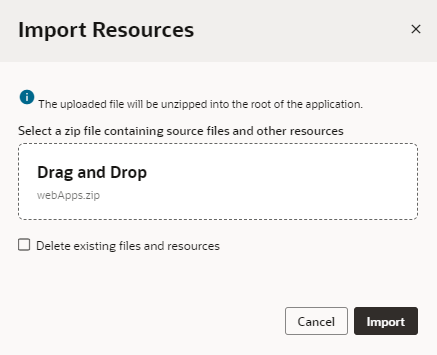
webAppsarchive you created. Don't select the Delete existing files and resources option:Your new web app should now show up in the Web Apps pane. - Enable PWA support for your new web app:
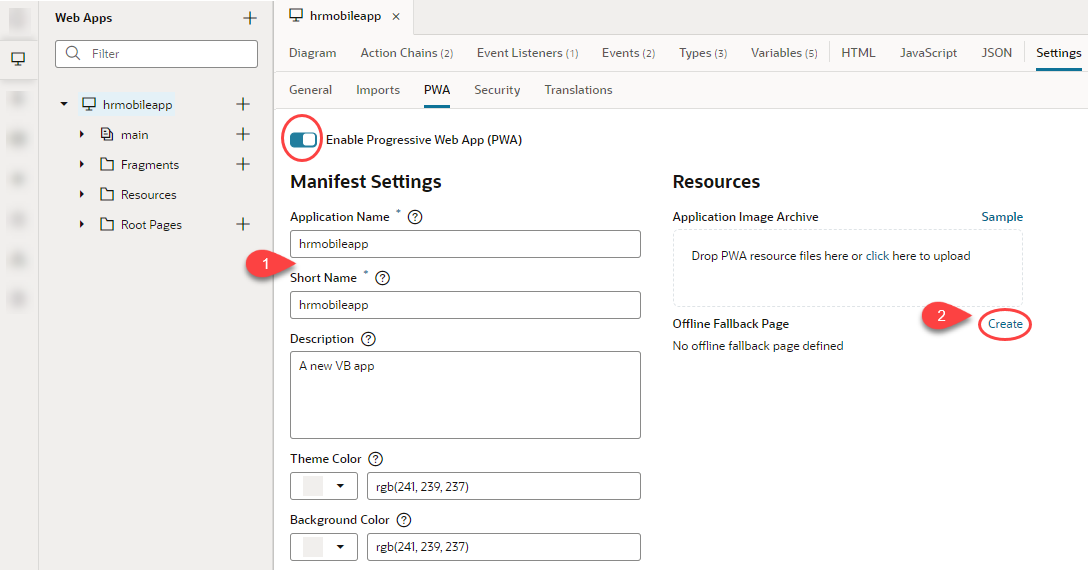
- Select the app's <app name> node in the Web Apps pane, then click Settings and PWA.
- Click the Enable Progressive Web App (PWA) toggle to disable and re-enable PWA support.
- Review PWA settings for your web app. You might want to change the Manifest Settings and create an Offline Fallback Page.
- Now share your application to test and make sure everything works as expected.
Your new web PWA should work the same way as your original mobile PWA. When your PWA-enabled web app opens in a browser:
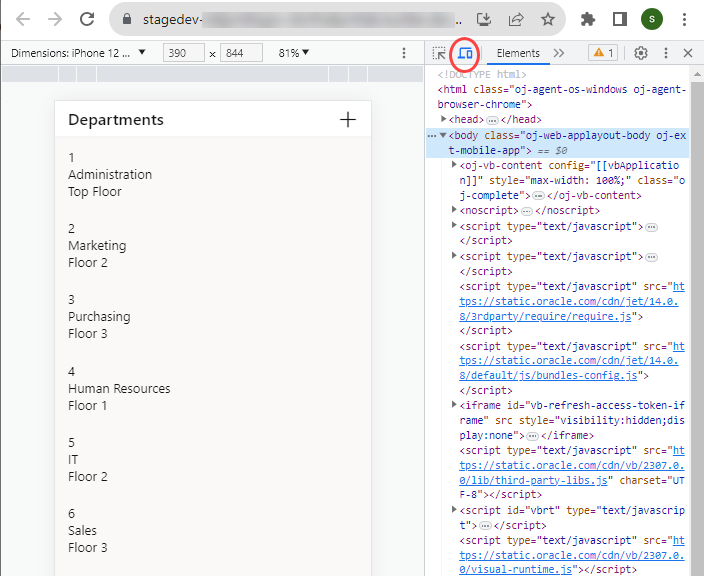
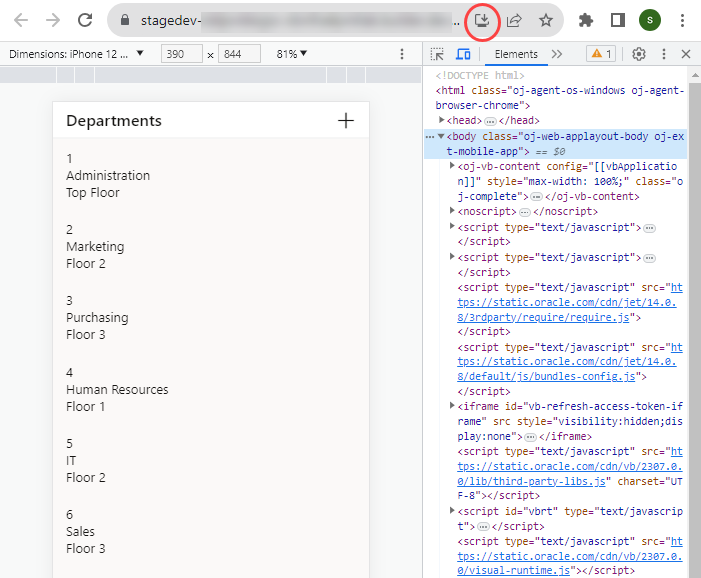
- Use the device toolbar in the browser's Developer tools to debug your app in a simulated mobile environment:
- Use the install icon in the app's address bar to install your web app:
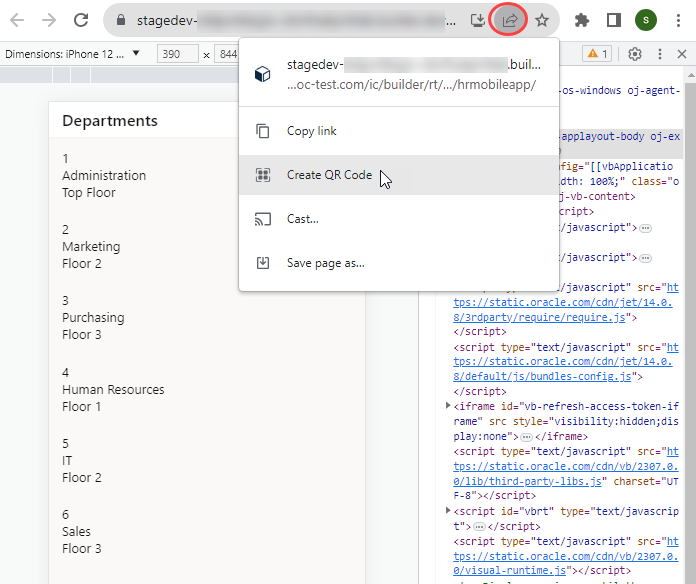
- Use the share icon in the app's address bar to generate a QR code that will allow users to quickly open the web app on a mobile device via its camera:If the icon doesn't show in the address bar, select Cast, save, and share from the browser's customization menu, then Create QR code.
After you've confirmed that your app works as expected, you can choose to delete the mobile app from your visual application.
Note:
If your mobile app leveraged the Oracle JET Offline Persistence Toolkit to provide offline capabilities, you need to deploy your application using Grunt commands. - Use the device toolbar in the browser's Developer tools to debug your app in a simulated mobile environment:
