Share a Visual Application
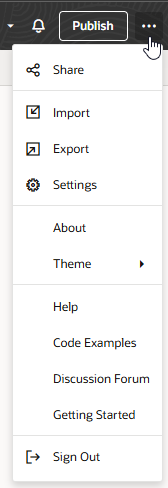
You can share your visual application with others without pushing changes to your project’s Git repository branch or using the build pipeline. Simply use the Share option in the visual application’s Menu to create a URL that you can share with others.
Much like a preview, sharing a visual application lets you and other team members try it out. But unlike a preview, the application you share is deployed to the Visual Builder instance that the project uses. If you make changes after the visual application is shared, you’ll need to share the application again for the changes to be deployed to the Visual Builder instance.
Note:
Sharing your application triggers optimization to improve performance. You may want to define your own optimization configuration to specify the resources you want to include and exclude in the optimized resources bundle before you share the application. See Customize Optimization.Further, if you use the vb-optimize Grunt task to optimize your application and have defined custom settings in the Gruntfile.js file, you must migrate your configuration from Gruntfile.js to build.json before you share the application. See How to Migrate Gruntfile.js Configuration Into build.json.
To share a visual application:
After the visual application is shared, you and other members of your project can open the URL for the shared instance of your visual application from the Deployments tab. As someone who shared the application, you can also open the shared instance by clicking Open Shared Application in the Menu:
Description of the illustration open-shared-application.png
If you copied a share URL, you can use the URL to open that application.
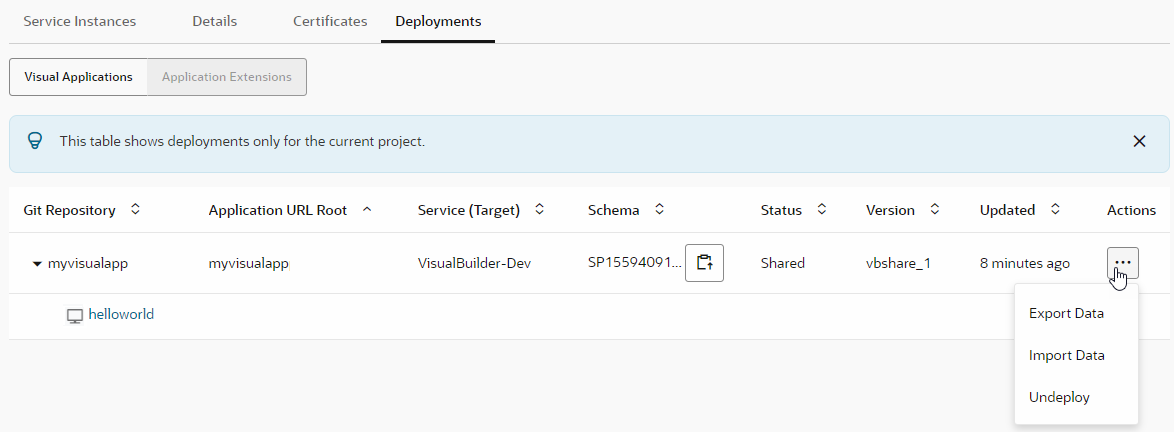
To view shared applications from your environment's list of deployments, navigate to your environment's Deployments tab in the Environments page and locate the shared visual application under Visual Applications. To access the application within the shared visual application, expand the visual application's node, then click the application link. For web applications and PWAs, any project team member with access to the Environments page in VB Studio can open the application in their browser. Other users, who access the application from the Visual Builder instance, need an appropriate user role if the application does not support anonymous access. See Secure the Application.

