Create and Add Message Queues to an Integration
You create queues that you configure in the MLLP Adapter trigger and invoke connections during design time. At runtime, messages are staged in the queues in the order in which they are received before delivery to target endpoints.
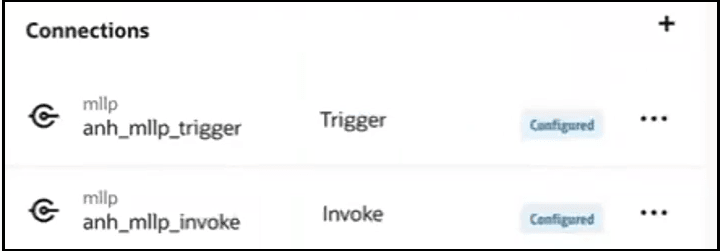
Create MLLP Adapter Trigger and Invoke Connections
Only the MLLP Adapter is supported for using queues. Create an MLLP Adapter with the Trigger role and an MLLP Adapter with the Invoke role. See Create a Connection in Using the MLLP Adapter with Oracle Integration 3.

Create a Queue
- In the navigation pane, click Projects.
- Select the project name.
- Click Integration
 .
.
- Scroll down to the Queues section, and click
Add if no queues currently exist or
 if queues already exist. The Create queue panel opens.
- Enter a name and optional description, then click
Create.
The queue is displayed in the Queues section.
Add the Queue to an Integration
- In the navigation pane, click Projects.
- Select the project name.
- Click Integration
 .
.
- In the Integrations section, click
Add if no integrations currently exist or
 if integrations already exist.
The Add integration panel opens.
- Click Create, then select
Application.
The integration canvas is displayed.
- Add the MLLP Adapter trigger connection to the integration.
- Enter the following details, then click
Continue.
Element Description Name Enter a name. Always show acknowledgment in Activity Stream Select to show details about the acknowledge message that is sent to the client application in the activity stream. Enable FIFO Queue Select to use the queue created in Create a Queue. - Click Finish.
- Add the MLLP Adapter invoke connection to the integration to consume the queue.
- Enter the following details, then click
Continue.
Element Description Name Enter a name. Always show acknowledgment in Activity Stream Select to show details about the acknowledge message in the activity stream. Select a FIFO Queue Select the queue to use. - Click Finish.
- Continue designing your integration.
- Add a business identifier, then activate the integration.
Manage Queues
| Task | How |
|---|---|
| Edit queues | Click Actions
|
| Delete queues | Click Actions
|
| View queue usage | Click Actions
|
| Export a project that contains queues | You can export a project that includes a queue. See Export a Project in Using Integrations in Oracle Integration 3. |
| Import a project that contains queues | You can import a project that includes a queue. See Create or Import a Project in Using Integrations in Oracle Integration 3. |
| Clone a project that contains queues | You can clone a project that contains queues. The queue is retained in the cloned version. See Clone a Project in Using Integrations in Oracle Integration 3. |
You monitor and manage the messages in queues during runtime from the Observe tab. See Monitor and Manage Queued Messages at Runtime.