- Developing SOA Applications with Oracle SOA Suite
- Using the Business Rules Service Component
- Using Declarative Components and Task Flows
- Introduction to the Oracle Business Rules Dictionary Editor Task Flow
- How to Create and Run a Sample Application By Using the Rules Dictionary Editor Task Flow
- How to Add a Rule Dictionary Editor Task Flow
How to Add a Rule Dictionary Editor Task Flow
The next task is to create the .jspx file to include the Rules Dictionary Editor component tag.
To add a Rules Dictionary Editor task flow in a .jspx file:
- Open Oracle JDeveloper.
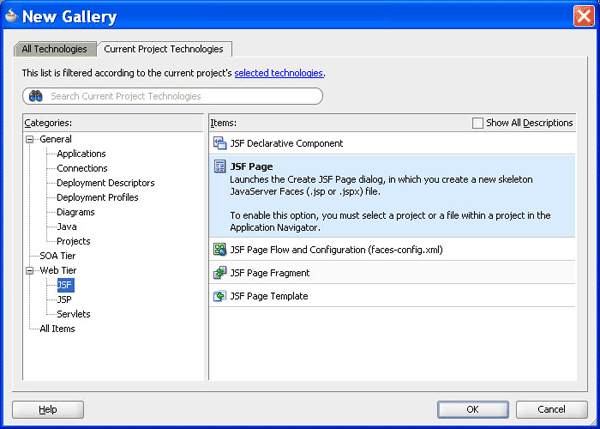
- From the File menu, select New to display the New Gallery dialog box.
- In the New Gallery dialog box, select JSF under Web Tier from the Categories panel.
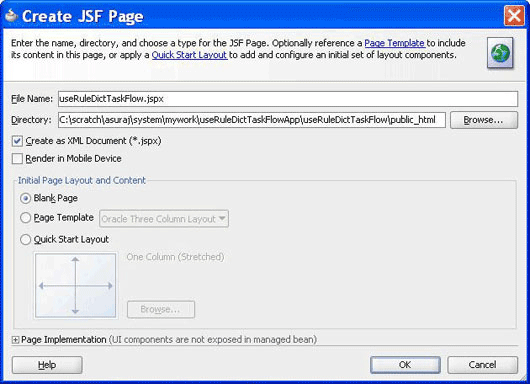
- Select JSF Page under Items and click OK to display the Create JSF Page dialog box, as shown in Figure 26-41.
Figure 26-41 Creating the JSF Page File to Include the Rules Dictionary Editor Task Flow

Description of "Figure 26-41 Creating the JSF Page File to Include the Rules Dictionary Editor Task Flow" - In the Create JSF Page dialog box, enter
useRuleDictTaskFlow.jspxas the file name, as shown in Figure 26-42.Figure 26-42 Specifying the Name of the JSF Page for the Task Flow

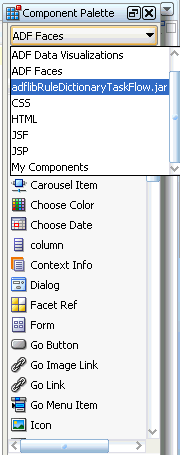
Description of "Figure 26-42 Specifying the Name of the JSF Page for the Task Flow"adflibRuleDictionaryTaskFlow.jar is displayed in the Components window of Oracle JDeveloper, as shown in Figure 26-43.
Figure 26-43 Rules Dictionary Task Flow JAR in the Components Window

Description of "Figure 26-43 Rules Dictionary Task Flow JAR in the Components Window"This is because you have added the Oracle Rules Dictionary Task Flow shared library when creating the sample application.
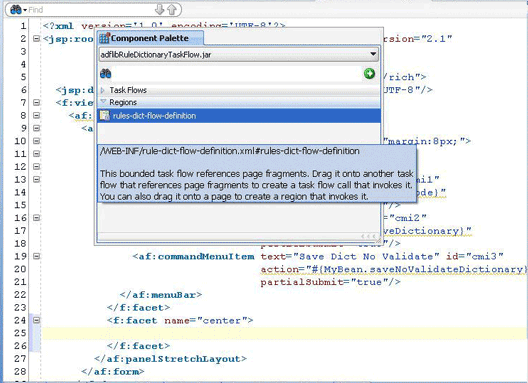
- Select adflibRuleDictionaryTaskFlow.jar to make rule-dict-flow-definition available under Regions in the Components window. You can drag and drop the rule-dict-flow-definition region into the .jspx file as shown in Figure 26-44, and specify all the required parameters.
Figure 26-44 Dragging and Dropping the Region

Description of "Figure 26-44 Dragging and Dropping the Region"The following is a sample of the
useRuleDictTaskFlow.jspxfile with the task flow added:<f:view> <af:document id="d1"> <af:form id="f1"> <af:panelStretchLayout id="psl1" inlineStyle="margin:8px;"> <f:facet name="top"> <af:menuBar id="mb1"> <af:commandMenuItem text="Toggle Mode" id="cmi1" action="#{MyBean.toggleMode}" partialSubmit="true"/> <af:commandMenuItem text="Save Dict" id="cmi2" action="#{MyBean.saveDictionary}" partialSubmit="true"/> <af:commandMenuItem text="Save Dict No Validate" id="cmi3" action="#{MyBean.saveNoValidateDictionary}" partialSubmit="true"/> <af:commandMenuItem text="Validate" id="cmi4" action="#{MyBean.validate}" partialSubmit="true"/> </af:menuBar> </f:facet> <f:facet name="center"> <af:region value="#{bindings.rulesdictflowdefinition1.regionModel}" id="r2" binding="#{MyBean.regionComp}" partialTriggers="::cmi1 ::cmi2 ::cmi3 ::cmi4"/> </f:facet> </af:panelStretchLayout> </af:form> </af:document> </f:view>In the preceding sample, you can find code snippets for rendering the following buttons to the page:
-
Toggle Mode: Enables switching between read-only and editable modes of Oracle SOA Composer.
-
Save Dict: Enables saving the dictionary (with or without validation).
-