7.2.5 JMS Queue Creation
- Select the JMS Module created earlier.
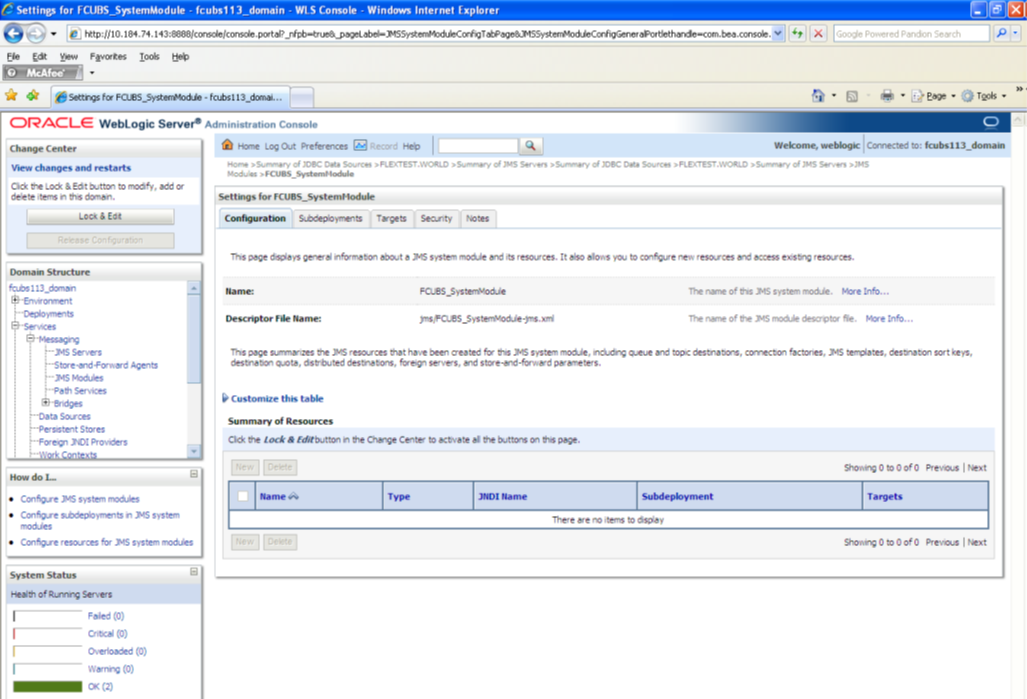
Description of the illustration picture55.png - You need to set the configuration for FCUBS_SystemModule is to be set.
- Click ‘Configuration’. Then click ‘Lock & Edit’.
The Following screen is displayed.
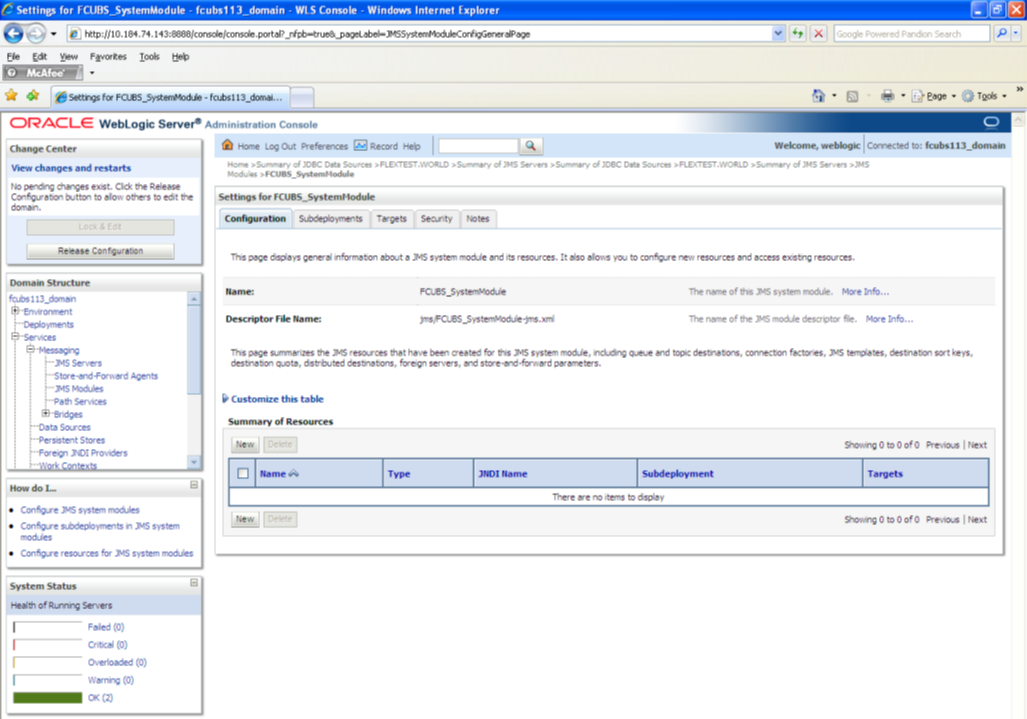
Description of the illustration picture56.png - Click ‘New’. The following screen is displayed.
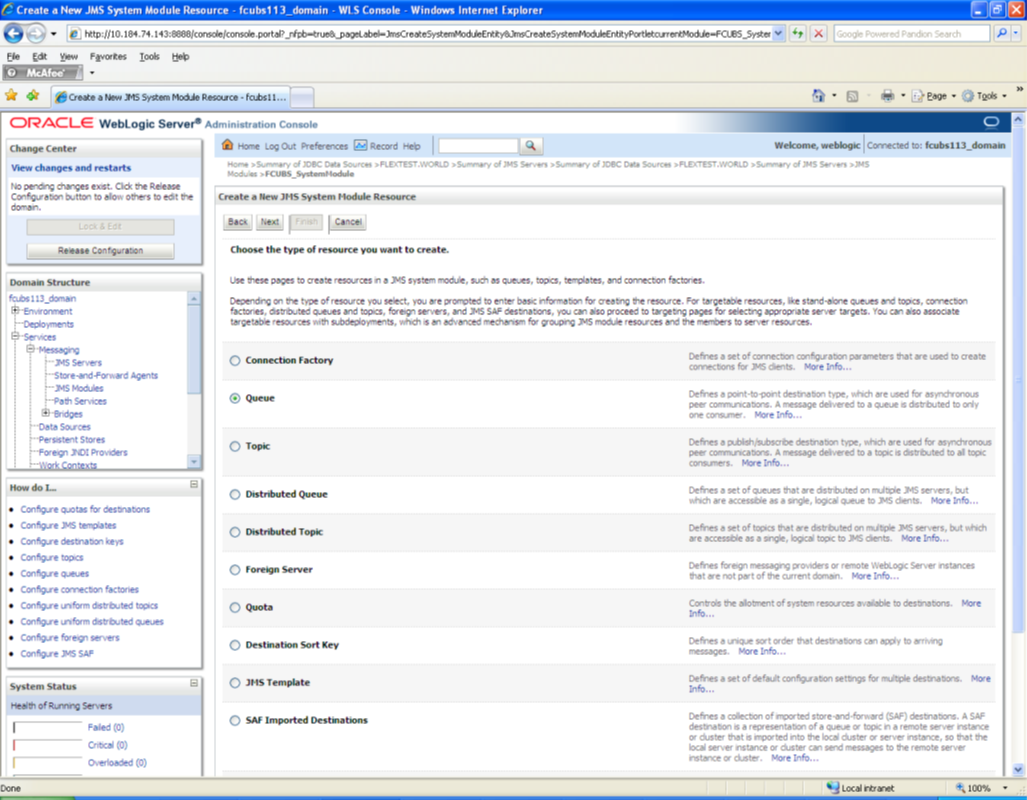
Description of the illustration picture57.png - Select the ‘Queue’ option. Then click ‘Next’.
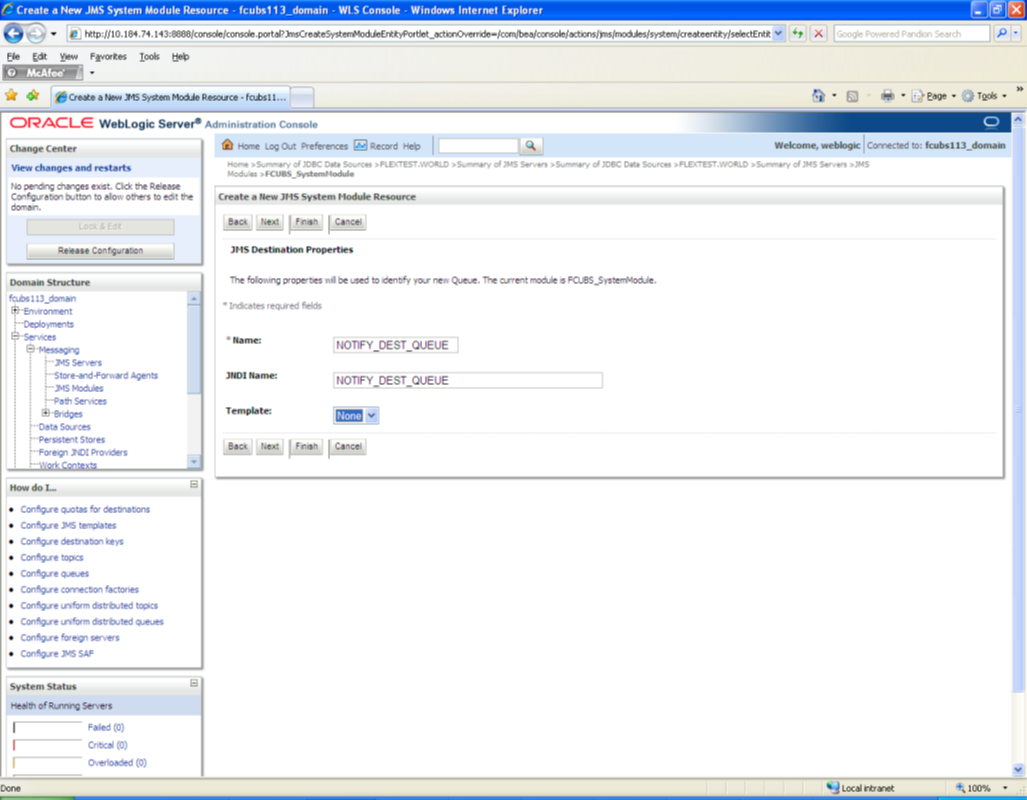
Description of the illustration picture58.pngFor creating new JMS System Module Resources, follow the steps given below:- Enter the Name of the Queue as ‘NOTIFY_DEST_QUEUE’.
- Enter the JNDI Name as ‘NOTIFY_DEST_QUEUE’.
- Select the Template as ‘None’.
- Click ‘Next’.
Following screen is displayed.
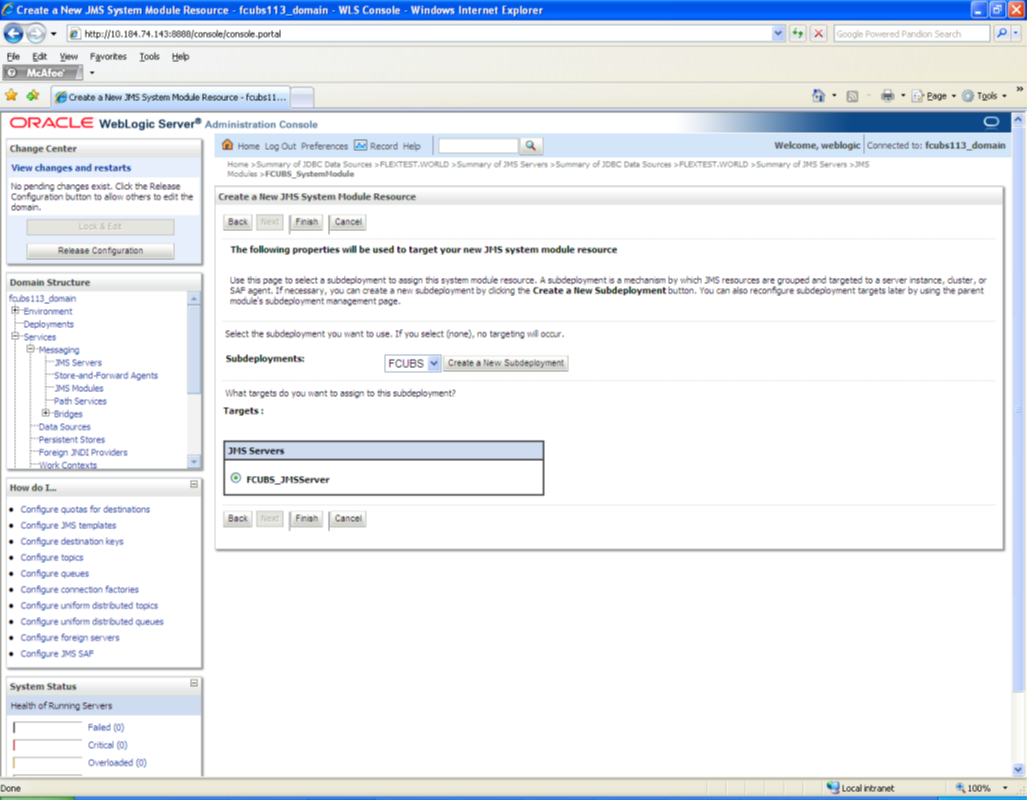
Description of the illustration picture59.png - Select the managed server created by the user. Click ‘Finish’
button.
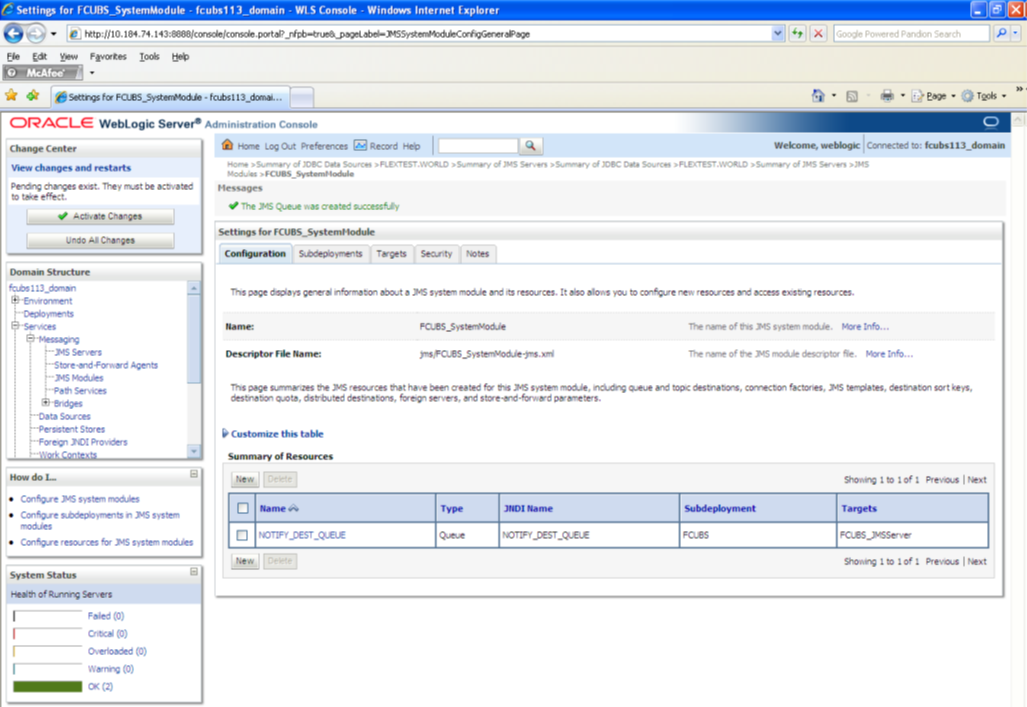
Description of the illustration picture60.png - The JMS Queue has been created successfully. Click ‘Activate
Changes’ under ‘Change Center’.
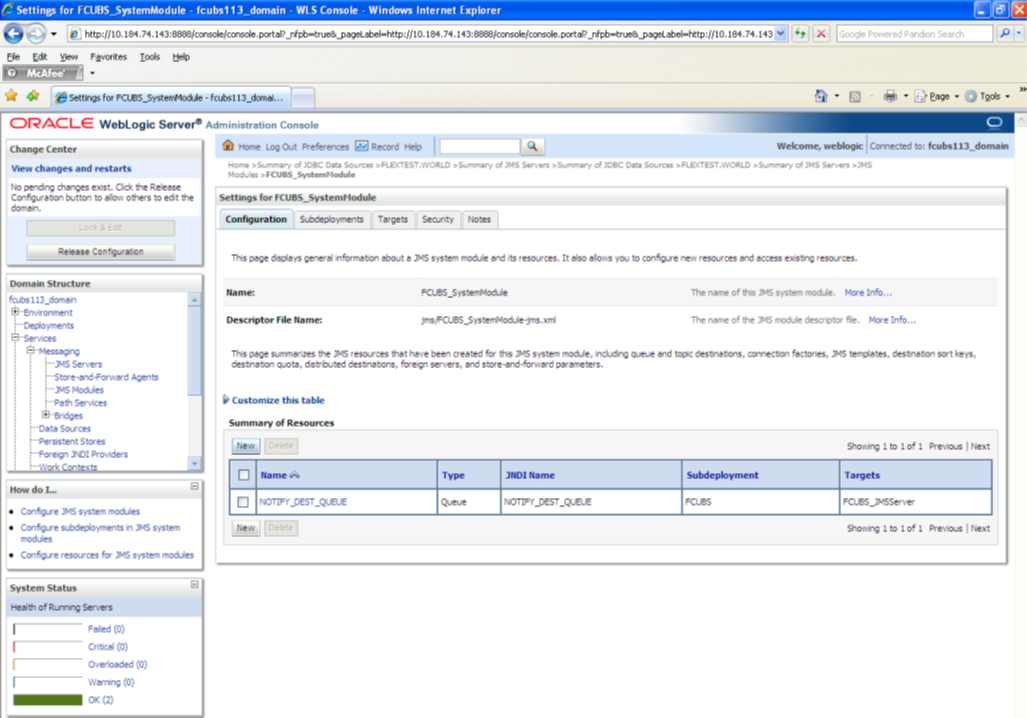
Description of the illustration picture61.png - Click ‘New ‘to create more Queues. You may follow the same steps to create other queues.
Parent topic: Resource Administration