4.11.3 Create a Conda Environment for Python and Install Python Packages

This topic demonstates how to create a Conda environment for Python packages, with Python 3.12.3 that is compatible with OML4Py. Here, you will also install the Python packages—tensorflow and seaborn from the conda-forge channel.

Conda channels are the locations where packages are stored. They serve as the base for hosting and managing packages. Conda packages are downloaded from remote channels, which are URLs to directories containing conda packages. The conda command searches a set of channels. By default, packages are automatically downloaded and updated from the default channel. The conda-forge channel is a community channel made up of thousands of contributors, and is free for all to use. You can modify what remote channels are automatically searched. You might want to do this to maintain a private or internal channel.

Note:

You must be signed in as ADMIN user to create the Conda environment.

Note:

To avoid version conflicts, please do not install packages that are already included in OML4Py. For a complete list of pre-installed packages and their versions, see Python Libraries in OML4Py.
To create a Conda environment:
  1. Run the following command to list the environments that are available by default. Conda contains default environments with some core system libraries and conda dependencies. Run the following command to list the available environments.
    %conda
    
    env list

    Note:

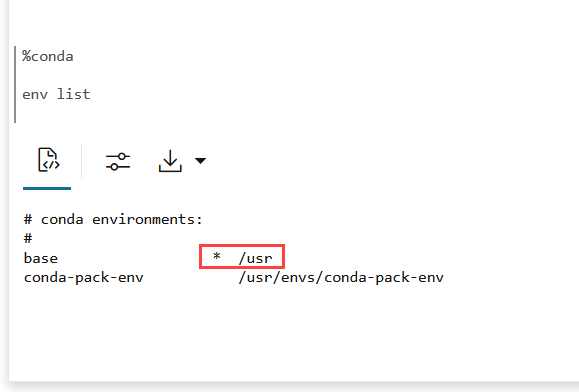
    The active environment is marked with an asterisk (*).
    The command returns the list of following environments:

    Figure 4-47 Command to list Conda environments


    Command to list Conda environments

  2. Now, run the following command to create an environment by the name mypyenv from the conda-forge channel and also install the Python packages tensorflow and seaborn:
    %conda
    
    create -n mypyenv -c conda-forge --override-channels --strict-channel-priority python=3.12.3 tensorflow seaborn

    Note:

    In this example, we are using the conda-forge channel to install the Python packages.
    In this command:
    • -n: This is the name of the environment. In this example, it is mypyenv.
    • -c: This is the channel name. In this example, it is conda-forge
    • --override-channels: This argument ensures that the system does not search default, and requires a channel to be mentioned.
    • --strict-channel-priority: This argument ensures that packages in lower priority channels are not considered if a package with the same name appears in a higher priority channel. In this example, the priority is given to Python 3.12.3, tensorflow, and seaborn
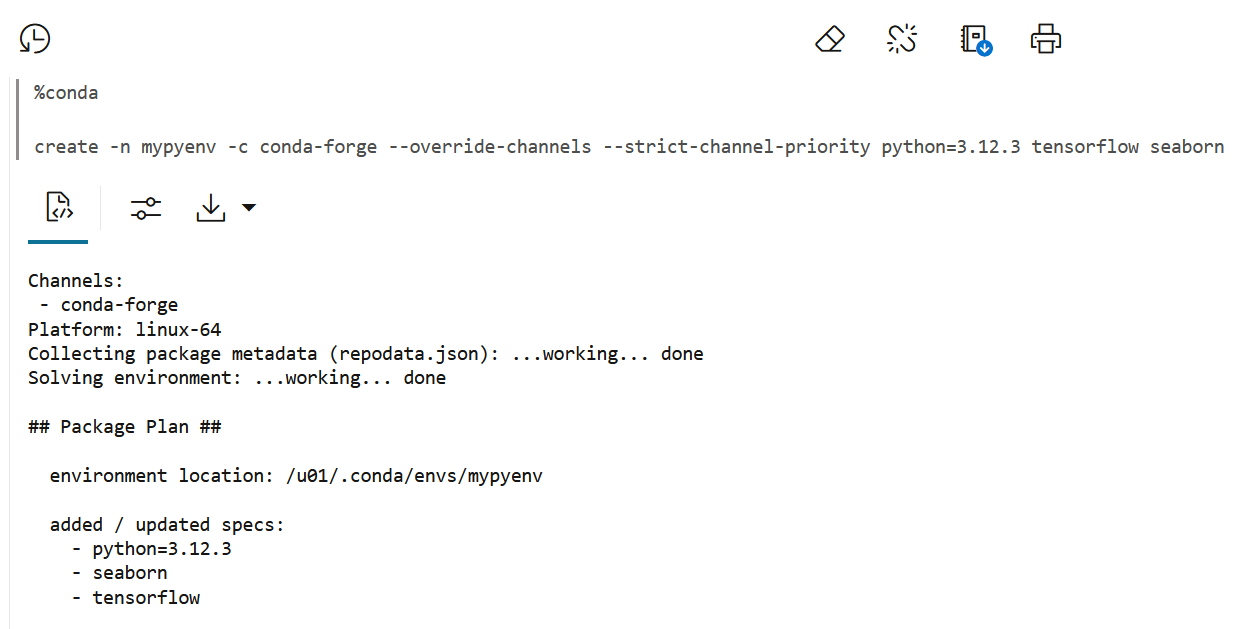
    The command returns the following message once it creates the environment and installs the listed package. Scroll down the paragraph to view the complete details.

    Figure 4-48 Command to create a Conda environment


    Command to create a Conda environment

  3. Now, verify the environment that you created. Run the following command once again to view the list of environments.
    %conda
    
    env list

    Note:

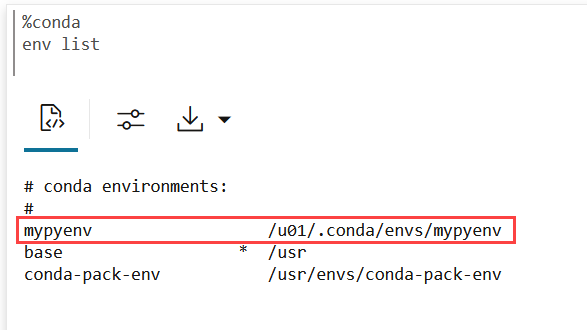
    The mypyenv environment is not yet active. The active environment is marked with an asterisk (*), and in this list, it is present against the base environment usr.
    Note that the environment mypyenv is listed in the output.

    Figure 4-49 mypyenv environment created


    mypyenv environment created

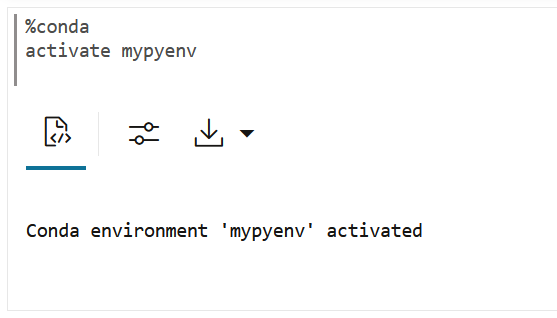
  4. To activate the environment mypyenv, run the following command:
    %conda
    
    activate mypyenv

    Figure 4-50 Command to activate Conda environment


    Command to activate Conda environment

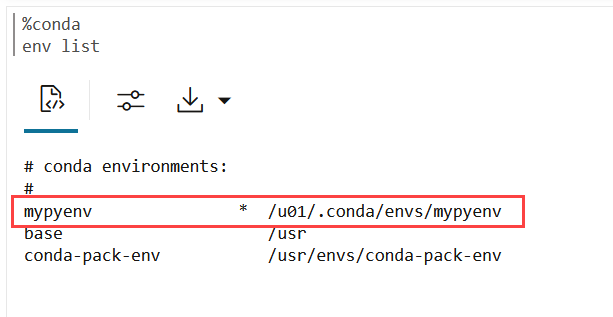
  5. Now, run the command to list the environment once again to view the list of active environments. Note that the asterisk (*) is now present against the mypyenv environment.

    Figure 4-51 Activated environment mypyenv listed


    Activated environment mypyenv listed

The asterisk (*) next to the environment name confirms the activation. This completes the task of creating, activating and verifying a Conda environment.