Creating a Workbook for SuiteCommerce Analytics Data
A workbook is where you analyze the results of a query against one or more datasets. You can build workbook visualizations such as tables, pivot tables, and charts to help with your analysis.
Use this procedure as a starting point to build an Analytics Workbook for SuiteCommerce Analytics Data. The procedure uses fields found in the Record Types topic.
For a discussion on using Analytics Workbooks, see SuiteAnalytics Workbook Overview. For additional details on setting up a workbook, see Creating a Workbook.
Note that data available for your Analytics Workbook is historical but refreshed daily. The analytics data feature isn't designed for real-time views.
Overview Steps
These brief steps are an overview of setting up a workbook for SuiteCommerce Analytics Data.
-
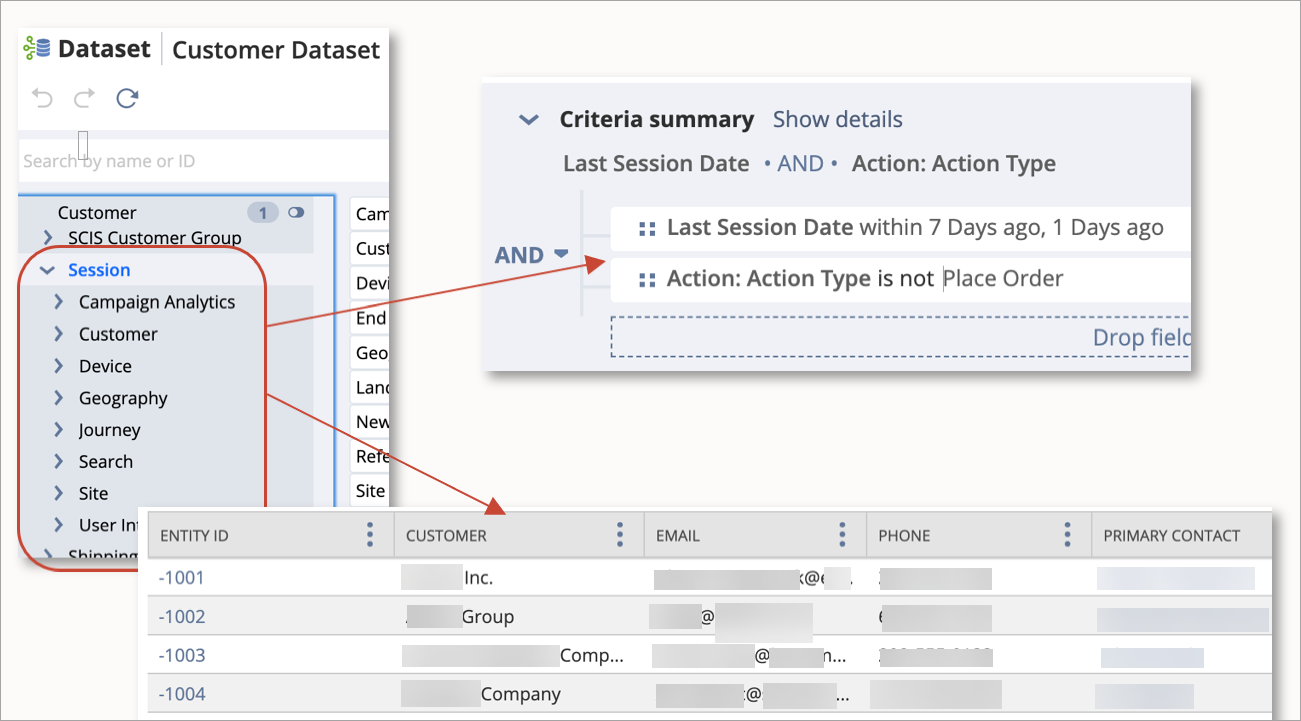
Create a New Dataset using the Session or Customer record type.
-
Build the data set by finding and dropping the desired Session fields to the table.
-
Add filters by finding and dropping Session fields to the Criteria bar.
-
Review the results.
-
Save your workbook.
Detailed Steps
These steps include detailed steps for workbook creation. Follow the links for additional information.
To create an Analytics Workbook:
-
Go to Analytics > Workbooks tab.
-
Click New Workbook in the upper right.

-
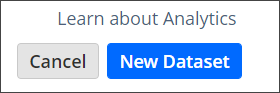
Click New Dataset in the upper right.
Tip:If you already have a dataset, you can click the Dataset Name instead of creating a new dataset.
-
Select a record type to analyze. Use the search bar to locate a record type. Enter any word or character from the record type name. No wild cards are needed.
See Record Types for a list of records used in SuiteCommerce Analytics Data.
-
Select the desired fields and criteria filters.
See Defining a Dataset and Dataset Criteria Filters.
Tip:Use the session record as the basis for all filters.
-
Click Apply to workbook.
-
To add another dataset, click Connect Dataset.
-
Select a record type to analyze.
-
Select the desired fields and criteria filters.
-
Click Apply to workbook.
-
-
Choose a visualization type.
-
Edit the layout and formatting as desired.
See Workbook Table Views, Workbook Pivot Tables, or Workbook Charts.
-
Click Save.
-
Enter a name and description for the workbook and click Save.
-
(Optional) Click Share to share the workbook with other users in your NetSuite account.
To open an existing workbook:
-
Go to Analytics > Workbooks tab.
-
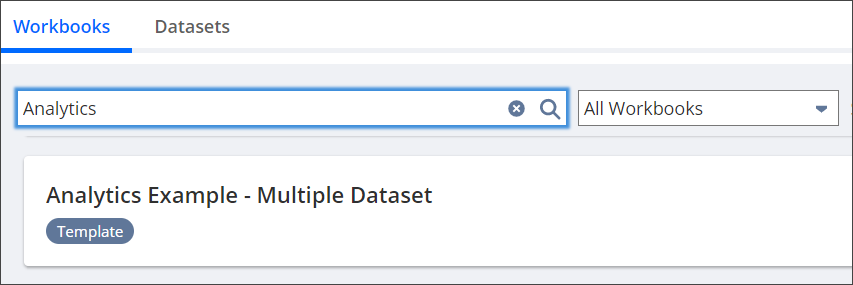
Click a workbook tile or enter a workbook name in the search bar.
To search, enter any word or character from the workbook name. No wild cards are needed.
Tip:Workbook tiles labeled Template include the dataset only. You must select the fields and criteria.
-
To retrieve the most current data, click the More icon
 and click Clear cache.
 -
Click Save or Save As if you make changes.