Publish Your Changes
When you and your team members have finished testing your work, it's time to kick off the publishing process so your changes can be applied to your Oracle Cloud Applications instance within your development environment.
- Click Publish in the Designer's header:
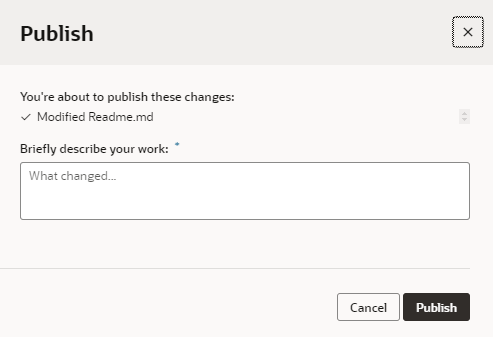
- If you have changes that haven't been saved to the underlying repository, enter a brief comment describing your changes when prompted, then click Publish:
Tip:
It's considered best practice to include a link to your changes in your description. This makes it easy for others to review your changes, either during the Publish process or later, if it's ever necessary to debug something that may have gone wrong. You can generate a URL to your changes by clicking Share from the Menu in the Designer's header (represented by three horizontal dots).Note:
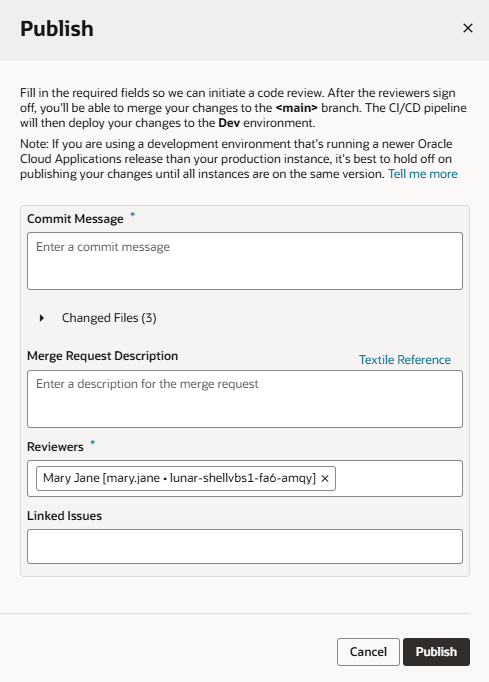
Your view of the Publish dialog may be different based on some advanced settings. If your administrator has set things up so that all changes are first reviewed and approved by a developer (who will actually look at the code representing your changes), you'll need to enter a commit message to briefly describe your work. You can also enter (or update) a merge request description describing all the changes you've made, using the template (Markdown, Textile, or Confluence) set up for your project. (If you don't know what these are, you can skip this field.) Then, add at least one reviewer if a name isn't already specified, add the linked issues if you know them, and click Publish:
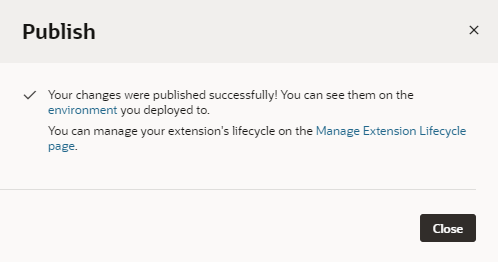
At this point, you'll be notified that your changes were successfully published. Click the environment link to see your deployed changes. (Make sure you open the link or copy its location to your clipboard before you click Close. You won't have access to it after the Publish dialog is closed.)
Description of the illustration express-nopipeline.png
(If you'd like to publish your changes to an Oracle Cloud Applications instance other than the one you're working in, click the link to the Manage Extension Lifecycle page. See Manage Your Published Extensions.)
Note:
If you don't see a link to your environment, it's likely that your extension uses continuous integration and delivery (CI/CD) pipelines for deploying your changes. In this case, you'll see notifications in the bottom right corner of the Designer indicating that the publish process has started. (If you miss these notifications or want to track progress, look for them under Notifications in the header.)
- If you're prompted for missing credentials, simply enter your user name and password for your Oracle Cloud Applications instance and click Add Credentials and Continue.
- If you're prompted for authorization, you'll need to ask your admin to go to the Deploy job in the CI/CD pipeline used to publish your changes and provide login credentials for your Oracle Cloud Applications instance. Once that is done, click Publish to try and publish your changes again.
When publishing is complete (indicated by the Deploy build successfully completing), you can access the Oracle Cloud Applications instance to see your changes.
Publishing via CI/CD pipelines gives you the flexibility for advanced lifecycle operations, such as adding extra steps to the out-of-the-box configuration or using shell scripts against a target environment. If this isn't required, switch to the Advanced mode and disable the CI/CD pipeline.
IMPORTANT: To see the changes you just made, your users might have to sign out of the Oracle Cloud Applications instance, then sign back in again to be certain they're seeing the latest.

