Create a Property Graph Using Graph Assistant

You can create a property graph using Graph Assistant.

  1. Expand the Graph Assistant panel by clicking the arrow on the left side of the Modeler page.
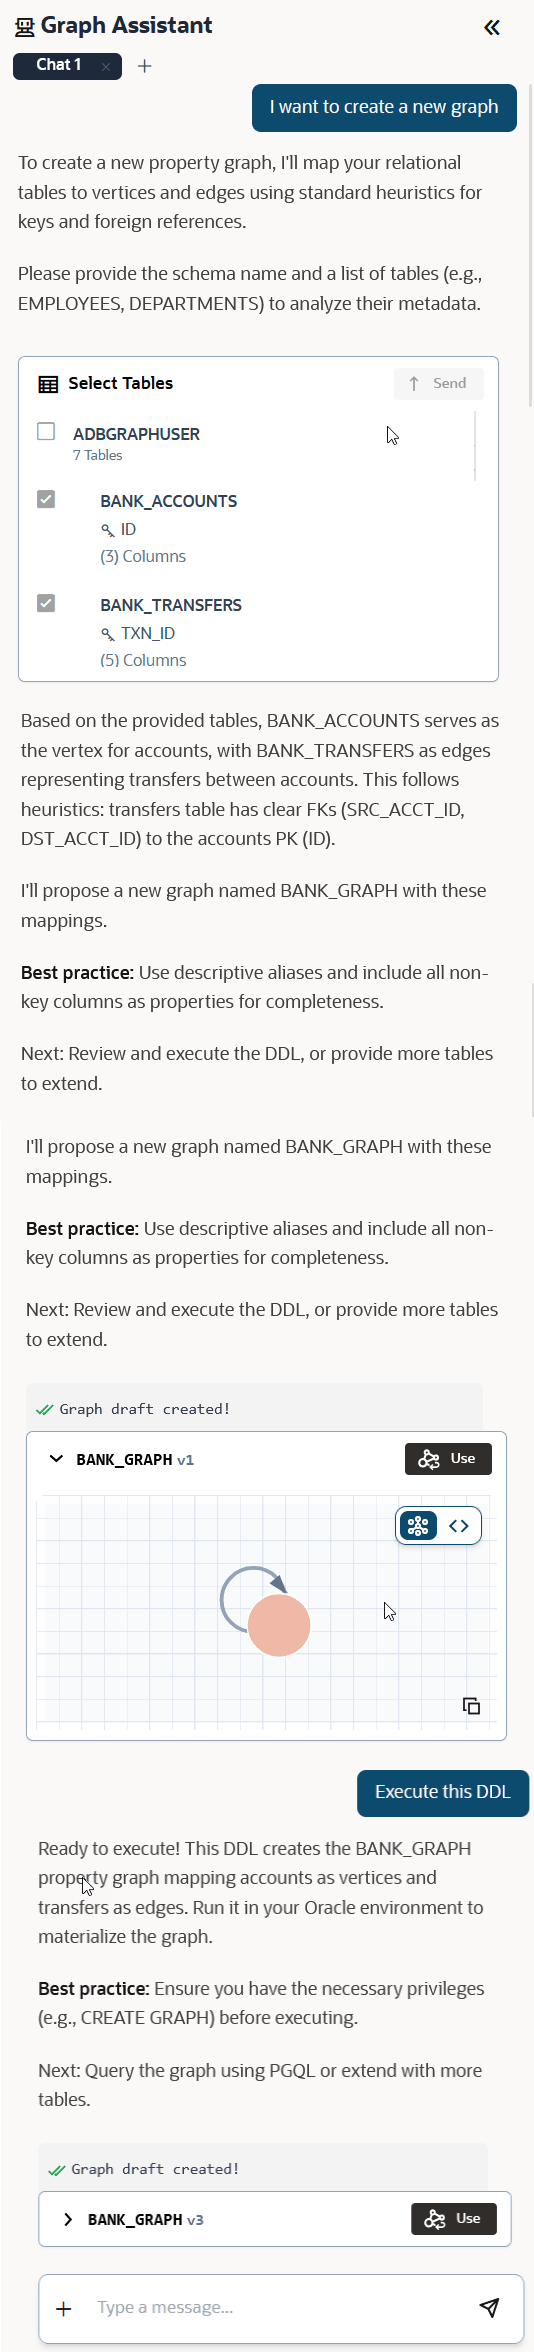
  2. Click New Graph above the message box.
  3. Select the source data tables that are required as input for the graph.
  4. Click Send in the Select Tables panel.

    Graph Assistant displays the property graph generated using the selected tables.

  5. Review the generated graph or refine the graph using additional instructions.

    Note:

    To create a PGQL property graph, add OPTIONS (PG_PGQL) at the end of the DDL generated by Graph Assistant. See PGQL Property Graphs for more information on DDL syntax.
  6. Prompt Graph Assistant to execute the DDL if the proposed graph design is as expected.


    Tip:

    Click Use to load the graph into Modeler. This makes the graph DDL available, enabling Graph Assistant to review or modify a property graph in subsequent prompts.
  7. Click Create Graph in the top right of the page.
    The graph gets created and you can interact with the graph using Graph Explorer.