Activate a Robot
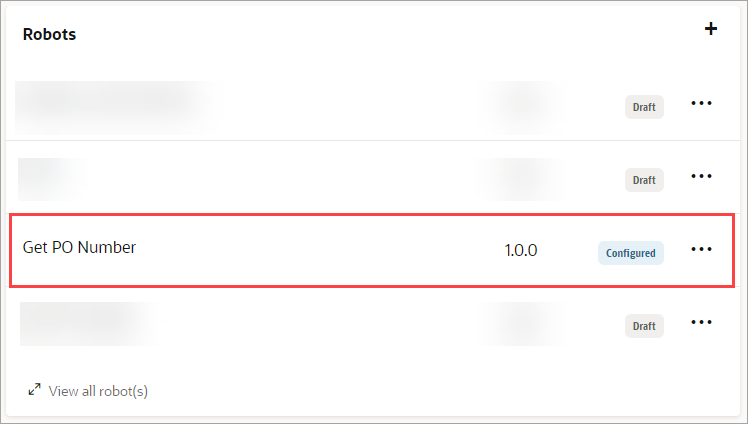
After you finish building a robot, activate it. Afterward, you can test and run the robot.
Requirements for Activation
If version 1.0.0 of a robot is active, you can't make version 1.0.1 or version 1.1.0 active. However, you can make version 2.0.0 active. Or, you can deactivate version 1.0.0 and then activate 1.0.1 or 1.1.0.
The same rule persists as you increase version numbers. If version 2.0.0 is active, you can't make version 2.0.1 or version 2.1.0 active. However, you can make version 3.0.0 active. Or, you can deactivate version 2.0.0 and then activate 2.0.1 or 2.1.0.
Prerequisites
Before you activate a robot, you must complete the following steps:
-
Associate the robot with an environment pool. See Specify Where a Robot Runs.
-
Fix all errors. See Fix a Robot's Errors.
Activate a Robot
Next, you can test the robot on its environment. See Test a Robot on Its Environment.
Tracing Levels for Robots
Choose the right tracing level for your robot: either production, audit, or debug.
The following table identifies the type of information that is included in the activity stream for each tracing level.
| Tracing level | Example | Includes a summary of the activity | Includes all activity messages with unmasked contents (XPaths) | Includes the input and output of activities | "Log screenshots to activity stream" is selected by default | Automatically changes to Production level after 24 hours |
|---|---|---|---|---|---|---|
|
Production |
|
n/a |
||||
|
Audit |
|
|||||
|
Debug |
|
|||||
|
Legend
|
||||||
Log Screenshots to Activity Stream
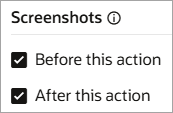
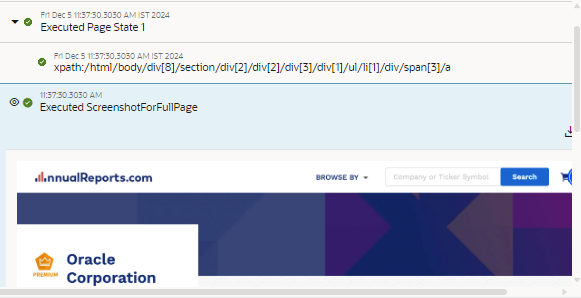
When you choose a robot's tracing level, specify whether to include screenshots in the activity stream using the Log screenshots to activity stream checkbox.
Tip: A robot that captures screenshots sometimes runs a little slower and captures more data than a robot that doesn't capture screenshots. Therefore, many people select Log screenshots to activity stream for Debug tracing and deselect it for Production tracing.
| Setting | Do screenshots appear in the activity stream for
screenshot actions?  |
Do screenshots appear in the activity stream when "Before
this action" or "After this action" is selected?  |
|---|---|---|
|
Log screenshots to activity stream is selected |
|
|
|
Log screenshots to activity stream is not selected |
|
The Log screenshots to activity stream setting overrides the Before this action and After this action settings. |
Options for Tracing Levels
You have many options for setting tracing levels. Understand how each option affects a robot.
| Option for specifying a tracing level | Does this option affect a robot? | More information |
|---|---|---|
|
Project deployment When activating a project deployment |
|
This setting overwrites the robot-level setting. Therefore, if you activate a robot and then activate a project deployment that contains the robot, the robot uses the tracing level that you set for the project deployment. See Activate or Deactivate a Project in Using Integrations in Oracle Integration 3. |
|
Integration activation When activating an integration |
This setting affects only an integration and doesn't affect a robot's tracing level, even if the integration calls a robot. See Activate an Integration in Using Integrations in Oracle Integration 3. |
|
|
Integration update After activating an integration |
This setting affects only an integration and doesn't affect a robot's tracing level, even if the integration calls a robot. See Manage Tracing Levels on Integrations in Using Integrations in Oracle Integration 3. |
|
|
Robot activation When activating a robot |
|
This setting determines the tracing level for a robot, unless you override it when you activate a project deployment. See Activate a Robot. |
|
Robot update After activating a robot |
|
This setting determines the tracing level for a robot, unless you override it when you activate a project deployment. See Activate a Robot. |


