


|

|
|
|
|
EDI Sample
This section describes the configuration and operation of the EDI sample. Because the EDI sample relies on the proper configuration of Power.Server!, you must configure Power.Server! before you can run the sample. (Such configuration is not a requirement for running the other samples provided with BEA WebLogic Integration.)
It includes the following topics:
Sample Overview
The EDI sample contains a simple Purchase Order business process. Two trading partners are involved:
Advanced Networks buys control system components from General Controls. ANI uses EDI to send Purchase Orders to GCS and to receive Purchase Order Acknowledgments from Supplier GCS.
The Sample is based on the assumption that Supplier GCS uses BEA WebLogic Integration as its Business to Business Integration solution, that is, as the framework in which it exchanges EDI documents with its trading partners. The architecture of the WebLogic EDI Integration is shown in the following figure.
Figure 6-1 EDI Sample Scenario
The EDI sample is based on the assumption that Supplier GCS uses WebLogic Integration as its Business to Business integration solution for communicating with its trading partners using EDI. The architecture of the EDI sample is shown in Figure 6-2. Figure 6-2 EDI Sample Architecture
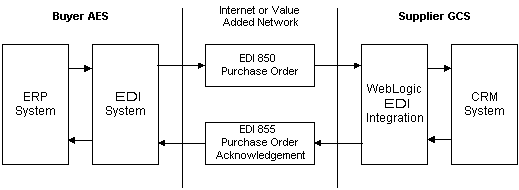
The sample consists of an inbound EDI 850 Purchase Order that is received by Power.Server! through an inbound file connection. The EDI 850 is translated into a Purchase Order in XML format and sent to WebLogic Integration using a target RMI Connection. The XML document is received by the WebLogic Integration EDI Adapter and sent to a sample workflow through the application integration plug-in as an application integration event. The sample workflow transforms the Purchase Order XML document into a Purchase Order Acknowledgment XML document and sends it to Power.Server! via the EDI Adapter using a service call. The service call uses an RMI source connection to send the document to Power.Server!. The Purchase Order Acknowledgment XML document is translated to an EDI 855 Purchase Order Acknowledgment and written to the file system using an outbound file connection.

Setting up and Running the Sample
This section lists the prerequisites for executing the BEA WebLogic Integration EDI sample and instructions for running it.
Prerequisites
Before you run the EDI sample, you must install all product components of BEA WebLogic Integration, including:
Hardware and OS Requirements
Because the EDI sample is based on the assumption that you have access, on a single machine, to all of the software, including Power.Server!, Power.Manager!, and Power.Map!, the OS installation requirements are more restrictive than those for a production environment.
Configuring the EDI Sample
Configuration and execution of the EDI sample require you to perform the following steps:
Step 2: Start Power.Manager! and Configure Partners
Step 3: Start Power.Map! and Load Maps and Adapters
Step 4: Set Up the Connections
Step 5: Set Up the Exchange Profiles
Step 7: Deploy the Application View
The following files are available in WLI_HOME/samples/EDISample.
Note: Always start the Power.Server! before you start WebLogic Integration or WebLogic Server. The WebLogic Integration connectors expect Power.Server! to be running when they are initialized, and they throw exceptions if Power.Server! is not running when they are initialized.
Step 1: Start Power.Server!
Start Power.Server! by selecting Start Menu
Step 2: Start Power.Manager! and Configure Partners
Figure 6-3 Power.Manager! Server Connection Dialog Box
Figure 6-4 Power.Manager! Server Add Dialog Box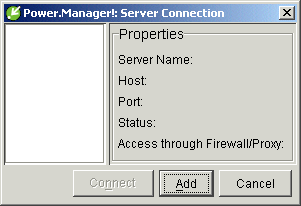
Enter the Server Hostname and Server Control Port of the EDI Server. Click Add.
Figure 6-5 Power.Manager! Server Connection Dialog Box
Figure 6-7 Company Profile List
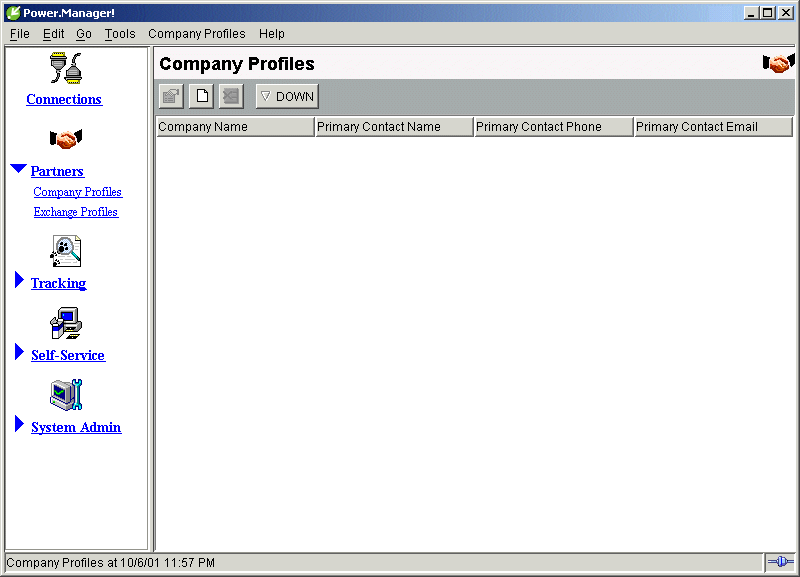
![]() .
.
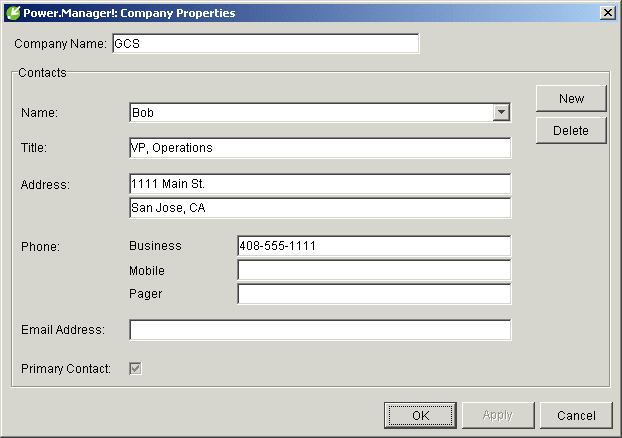
The Company Properties dialog box is displayed.
Figure 6-8 Company Properties Dialog Box for a New Company Profile
![]() .
.
Step 3: Start Power.Map! and Load Maps and Adapters
Figure 6-9 Power.Map! Main Window
Figure 6-10 Import JAR Dialog Box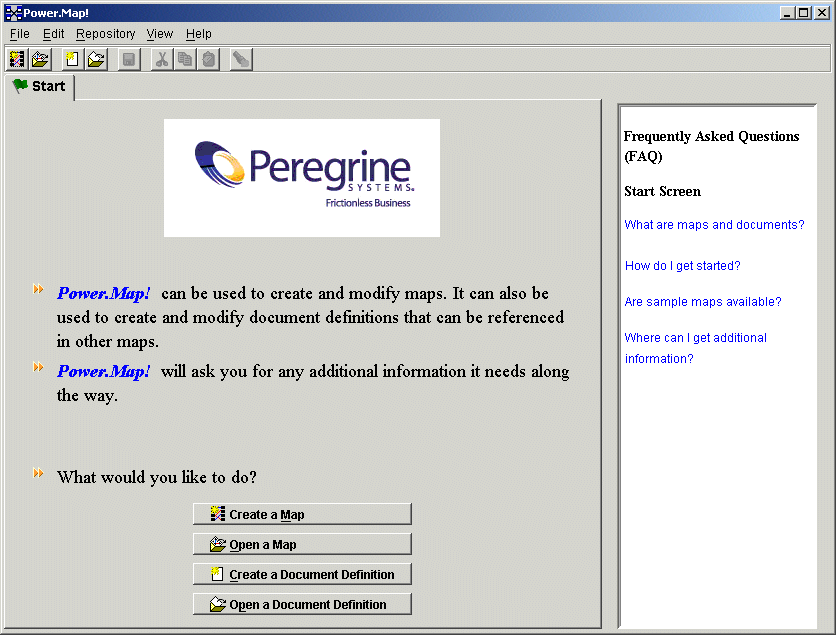
WLI_HOME\samples\edi\EDI850toPOXML.jar
Click Import.
Figure 6-11 Promoting the Finished Map
Figure 6-12 Promoting the Finished Map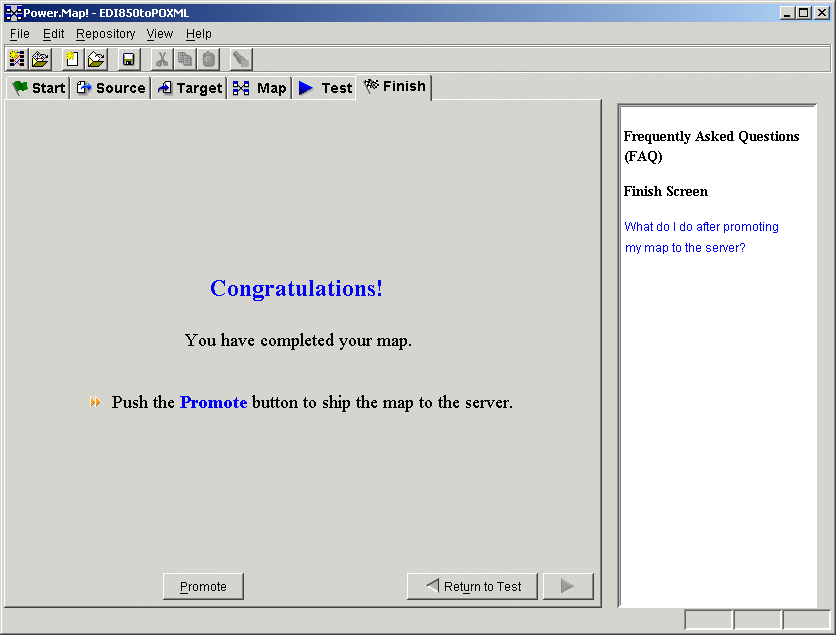

WLI_HOME\samples\edi\POAckXMLtoEDI855.jar
Click Import.
WLI_HOME\samples\edi\XMLEnvelope.jar
Step 4: Set Up the Connections
Figure 6-13 Power.Manager! Connections List
Figure 6-14 Create New Connection Dialog Box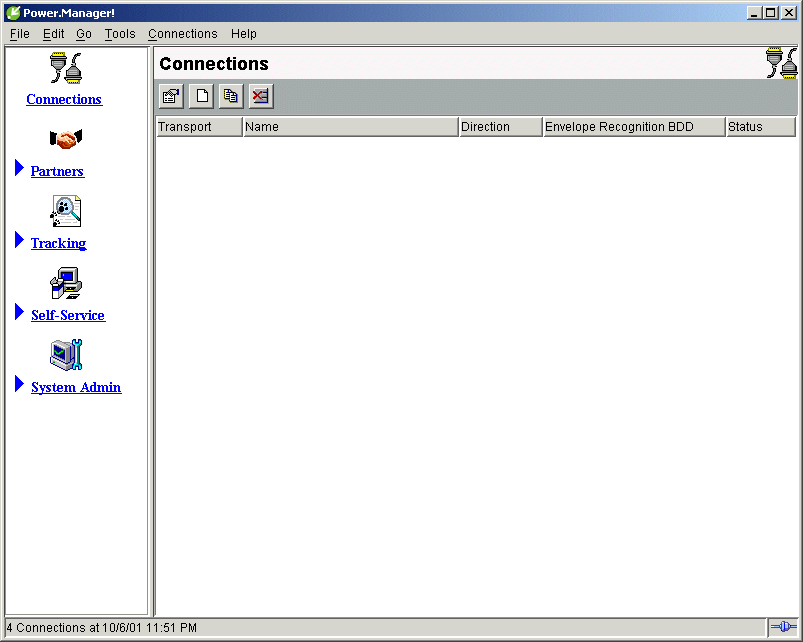
![]() .
.
Figure 6-15 Inbound RMI Properties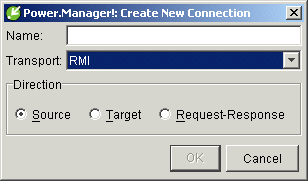
Figure 6-16 Outbound RMI Properties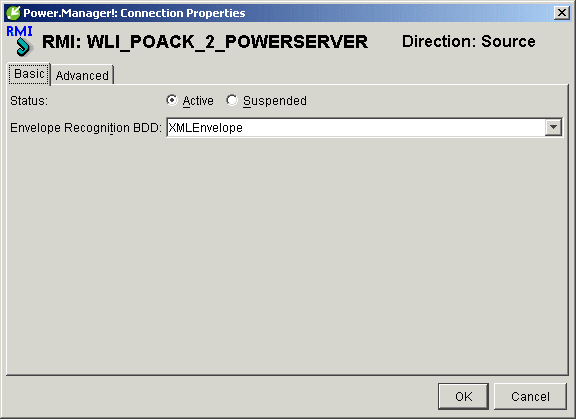
![]() .
.
Figure 6-17 Inbound File Properties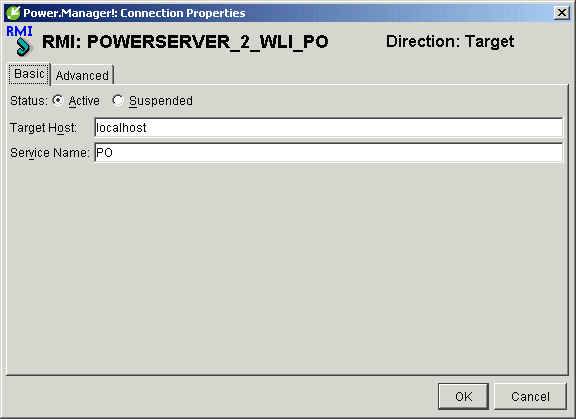
![]() .
.
Set the following properties:
Click OK when you are finished.
Figure 6-18 Outbound File Properties
Set the following properties:
Click OK when you are finished.
Step 5: Set Up the Exchange Profiles
Figure 6-19 Power.Manager! Exchange Profiles List
Figure 6-20 New Exchange Profile Dialog Box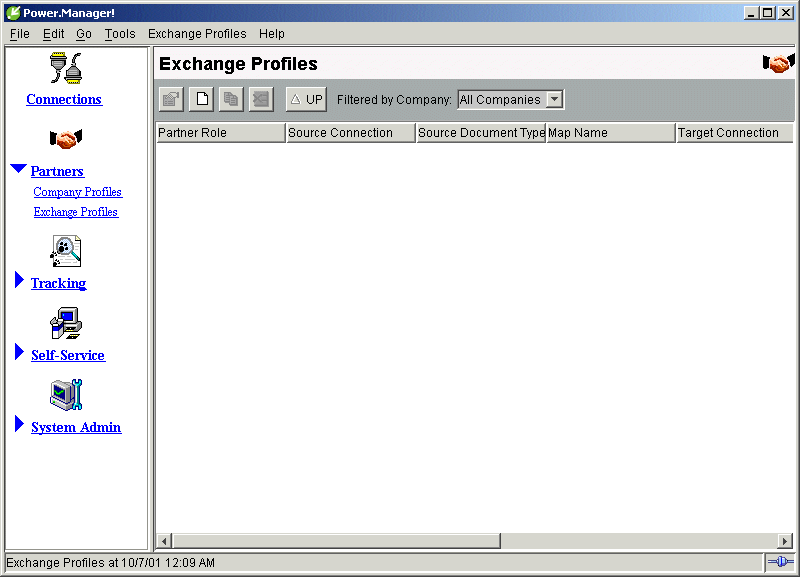
Click OK when you are finished.
Click OK when you are finished.
Step 6: Set Up the Workflow
Note: If you have executed the Run Samples setup, as discussed in Preparing to Run the Samples in "Getting Started," in Running the B2B Integration Samples, you can skip Step 6: Set Up the Workflow and Step 7: Deploy the Application View and proceed to Step 8: Run the Sample.
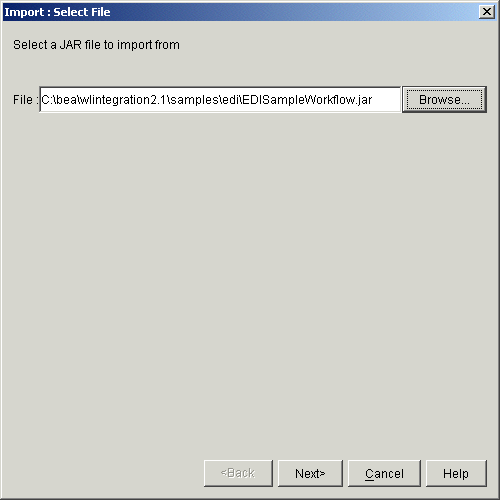
Figure 6-21 Importing the EDI Workflow
Step 7: Deploy the Application View
Alternately, create a new user using the application integration functionality provided by WebLogic Integration. Then log in as that user.
This concludes the configuration of the EDI sample.
Step 8: Run the Sample
There are two ways to launch the sample:
power_enterprise_dir\powerit\powerapi\file_request -c EDIFILE_2_POWERSERVER
Figure 6-22 Samples Launch Page
You can monitor the sample during its execution from within Power.Manager!:
You can also monitor the sample from within WebLogic Integration Studio.
To verify that the sample has run correctly, go to WLI_HOME\samples\edi. You should see a new file in the directoy, which is auto-created by Power.Server! when the EDI message completes the cycle.

|

|

|
|
|
|
Copyright © 2001 BEA Systems, Inc. All rights reserved.
|