Chapter 4 Installing the Oracle VM PV Drivers for Microsoft Windows
Installing the Oracle VM PV Drivers for Microsoft Windows involves configuring Microsoft Windows policies, running the installation program, and then verifying the installation.
4.1 Configuring Policies for Device Installation
You must configure Microsoft Windows policies to allow the
installation of the Oracle VM PV Drivers for Microsoft Windows, if these policies are not already
configured. This task prevents the following error during
installation:
The installation of this device is forbidden by system policy. Contact your system administrator.
To configure policies for installation, do the following:
-
Open the Microsoft Windows virtual machine on which you want to install the Oracle VM PV Drivers for Microsoft Windows.
-
From the Start menu, select Run.
-
Enter
gpedit.mscand then click OK.The Local Group Policy Editor displays.
-
From the Console Tree, expand Computer Configuration then Administrative Templates then System then Device Installation and then select Device Installation Restrictions.
The list of device installation restrictions displays.
-
Edit policy settings so that no device installation restrictions are configured.
Alternatively, review each policy setting to determine the correct configuration for your business needs.
-
Exit the Local Group Policy Editor.
-
Restart the Microsoft Windows virtual machine.
When you are finished configuring the policy settings for device installation, you can proceed with the installation of the Oracle VM PV Drivers for Microsoft Windows.
4.2 Installing Oracle VM PV Drivers for Microsoft Windows
Before You Begin. Do the following before you start the installation process:
-
Review the list of supported Microsoft Windows operating systems. See Section 2.2, “Supported Guest Operating Systems”.
-
Configure system policies to allow the installation. See Section 4.1, “Configuring Policies for Device Installation”.
You can install the Oracle VM PV Drivers for Microsoft Windows using the graphical installation program or by performing a silent installation. You should use the graphical installation program if you are installing a single instance of the Oracle VM PV Drivers for Microsoft Windows. If you plan to silently install multiple instances of the Oracle VM PV Drivers for Microsoft Windows, you must run the graphical installation program in a command line window on at least one Microsoft Windows guest to create a response file. You can then use the response file to perform all subsequent installations silently.
To install the Oracle VM PV Drivers for Microsoft Windows, do the following:
-
Create a new virtual machine and install a supported operating system.
-
Copy the Oracle VM PV Drivers for Microsoft Windows installation program,
Setup.exe, to the guest. -
Do one of the following:
-
Double click
Setup.exeto start the Oracle VM PV Drivers for Microsoft Windows installer. -
Open a command line window and then:
-
Navigate to the directory where the
Setup.exefile is located. -
Run Setup.exe -r to start the Oracle VM PV Drivers for Microsoft Windows installer and create a response file for silent installations.
-
-
-
If prompted, select Yes in the User Account Control dialog to allow the Oracle VM PV Drivers for Microsoft Windows installer to proceed.
Figure 4.1 Oracle VM PV Drivers for Microsoft Windows user account control dialog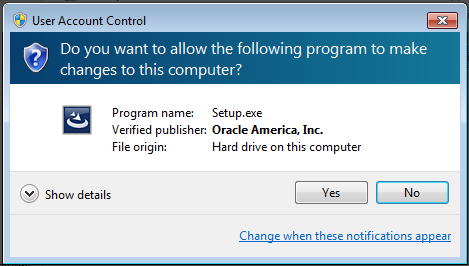
The initial installer window is displayed.
Figure 4.2 Oracle VM PV Drivers for Microsoft Windows installer window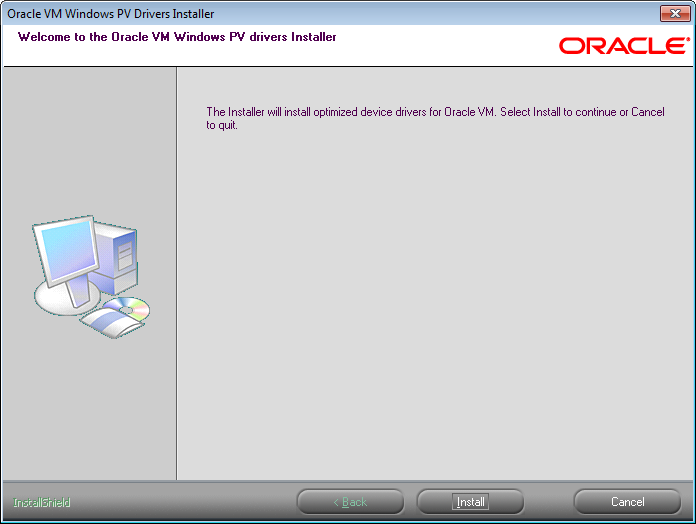
-
Click Install to start the Oracle VM PV Drivers for Microsoft Windows installation.
The installer copies the Oracle VM PV Drivers for Microsoft Windows files, and installs the drivers on the guest. The Installation Complete window is displayed.
Figure 4.3 Installation Complete window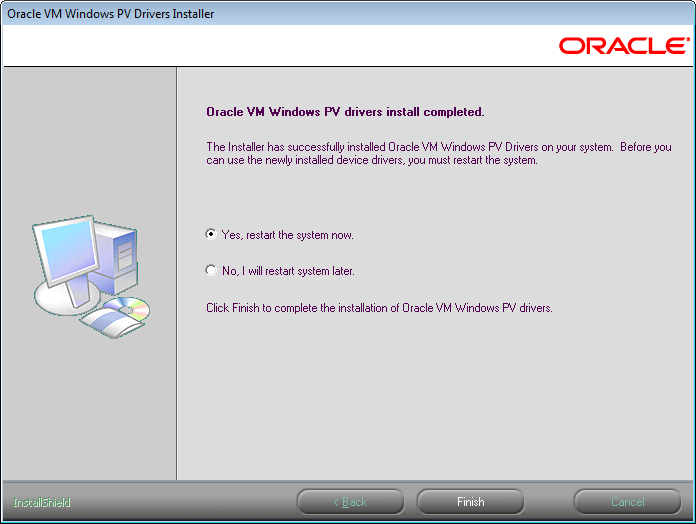
-
Check Yes, restart the system now and click Finish. The virtual machine is restarted.
If you used the -r option in the command line,
the installation program creates a response file in the
C:\Windows directory. You then use the
response file, setup.iss, to perform silent
installations on other Microsoft Windows guests. See
Chapter 6, Silently Installing or Upgrading the Oracle VM PV Drivers for Microsoft Windows.
4.3 Verifying the Oracle VM PV Drivers for Microsoft Windows Installation
To verify the Oracle VM PV Drivers for Microsoft Windows installed successfully, do the following:
-
Open the Microsoft Windows virtual machine on which you installed the Oracle VM PV Drivers for Microsoft Windows.
-
Open the control panel and then locate and open the Device Manager window.
-
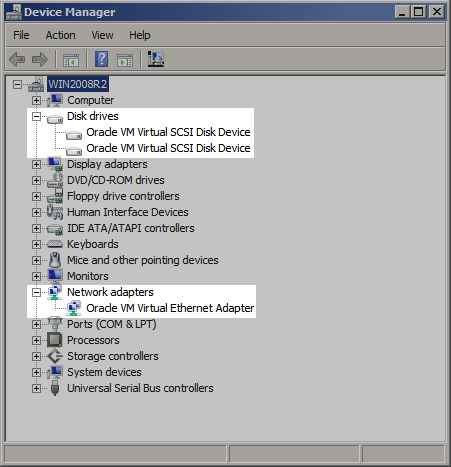
Expand Disk drives and verify that the following entry exists:
Oracle VM Virtual SCSI Disk
            Device
. -
Expand Network adapters and verify that the following entry exists:
Oracle VM Virtual
            Ethernet Adpater
.
If both device entries exist, and do not have any device issue symbols next to them, then the Oracle VM PV Drivers for Microsoft Windows are installed successfully.
If a device issue symbol, such as a black exclamation mark on a yellow field, displays next to either device, you should attempt to reinstall the Oracle VM PV Drivers for Microsoft Windows. If the device issue symbol displays next to the device after you reinstall, either refer to the appropriate Microsoft Windows documentation for troubleshooting procedures or contact Oracle support.
The following image is an example of device drivers before installing the Oracle VM PV Drivers for Microsoft Windows:
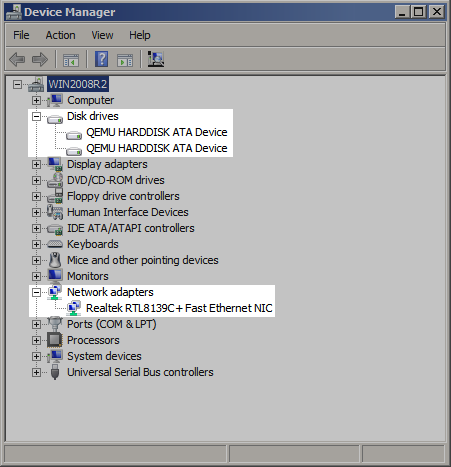
The following image is an example of device drivers after successfully installing the Oracle VM PV Drivers for Microsoft Windows:
4.4 Setting the MTU Size for Virtual Machines
The Oracle VM PV Drivers for Microsoft Windows override the maximum transmission unit (MTU) settings in the virtual network adapters for Microsoft Windows virtual machines. After you successfully install and verify the Oracle VM PV Drivers for Microsoft Windows, you should set the MTU for each guest virtual machine.
To set the MTU size for a virtual machine, do the following:
-
Open the Microsoft Windows virtual machine.
-
Open the control panel and then locate and open the Device Manager window.
-
Expand Network adapters and select the appropriate
Oracle VM Virtual Ethernet
            Adpater
. -
Right-click the adapter, select Properties, and then select the Advanced tab.
-
Select the MTU property and set the value as appropriate. Click OK to save your changes.