B Configuring Additional Siebel Objects
Before using the Siebel Adapter, ensure that you have created an configured an IFrame applet for each business object.
This chapter covers the following topics:
Identifying Objects to Lock
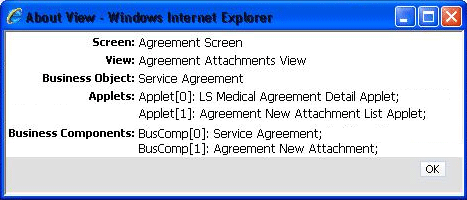
Prior to modifying Siebel business objects, you must identify and lock those business components, applets, and views affected. To identify what to lock, do the following:
Locking Additional Siebel Objects
After identifying the appropriate business components, applets, and views, you must use Siebel Tools to search and determine the associated projects.
-
Log in to Siebel Tools with User ID: SADMIN.
-
Search for the view, applets, and business components that you noted in the About View screen to find the projects associated with each. For example, you may find the following projects associated with a Service Agreement object:
-
Srvagree (SSV)
-
LS Medical Terms
-
Srvagree
-
-
Search for the projects you found in step 2 by doing the following:
-
Select Project in the Object Explorer and press Ctl+Q to display the query dialog screen.
-
Enter a query string that includes the projects found in step 2 and press Enter. A list of projects is displayed. In this example, the query string would be
Srvagree ?SSV? OR LS Medical Terms OR Manage Attachments?UCM? OR Srvagree
-
-
Lock each project found in step 2 by selecting the Locked column next to the project name. This locks all objects, views, applets, business components, and screens that are associated with each project. A check mark is displayed in the Locked column when a project is successfully locked.
Figure B-2 Project Listing with Projects Locked
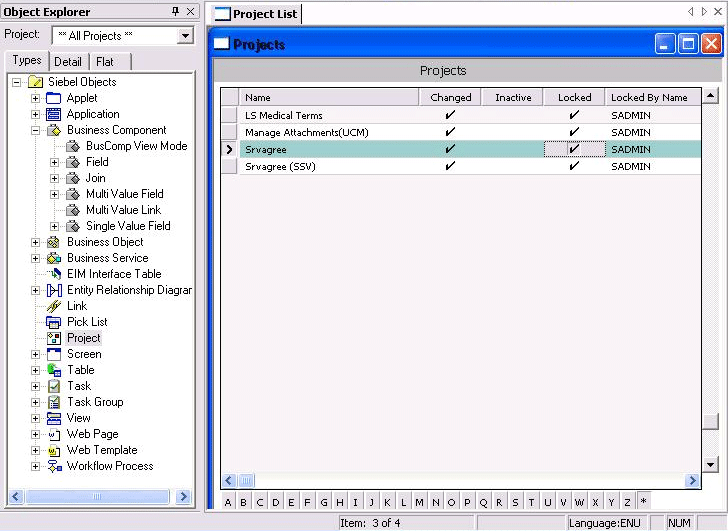
Description of "Figure B-2 Project Listing with Projects Locked"
Adding Fields to the Business Component
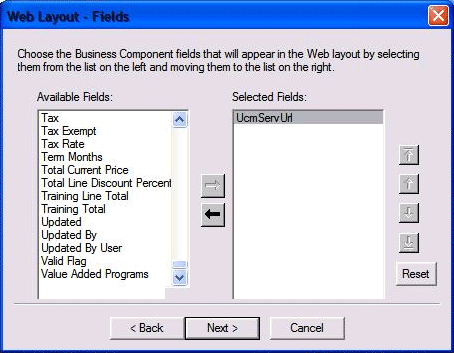
After locking all projects associated with the identified business components, applets, and views, you must add fields to the appropriate business component. For example, to add fields to the Srvagree project, do the following:
Creating an Applet for the IFrame
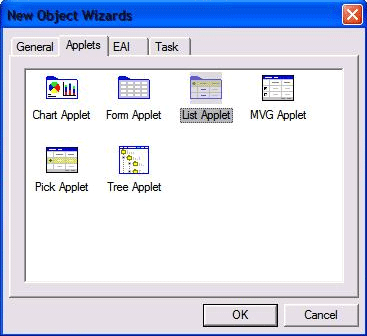
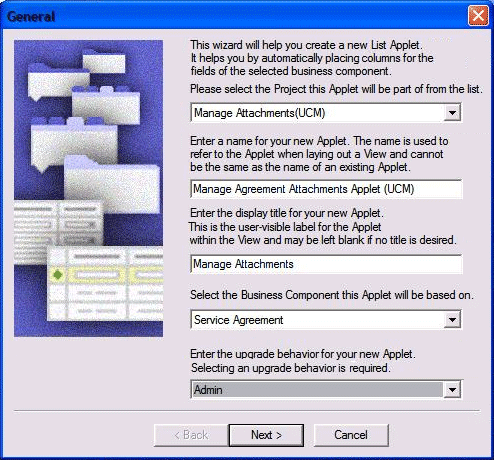
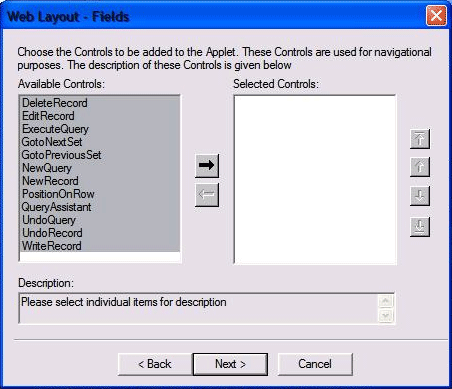
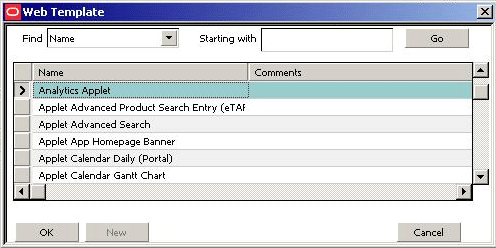
After adding the fields to the business object, you must create an applet for the IFrame. For this example, do the following:
Modifying Applet View Layout
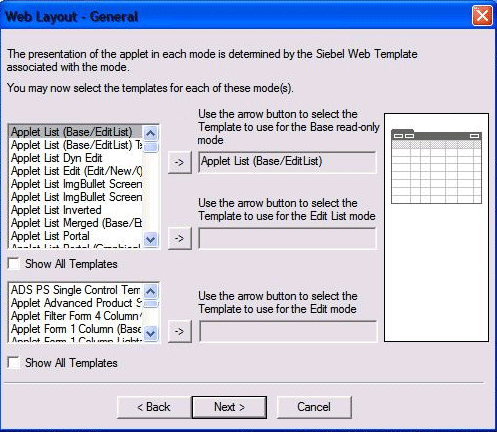
When created, the IFrame applet uses a generic layout. To view and modify the layout, do the following:
Inactivating Existing Applet from View
Before you can use the newly created applet, you must inactivate the old applet from the view. To inactivate the old applet, do the following:
Adding the New Applet to the View
After inactivating the old applet from the view, follow these steps to add the new applet:
- In the Object Explorer, expand View, right-click on the view and select Edit Web Layout from the contextual menu. The applet is displayed.
- Drag and drop the List applet onto the place holder showing the Child applet. A Pick Record dialog asking for the particular list applet is displayed.
- Select the name of the new applet from the list and click Pick. The new applet is added to the view.
Set IFrame to Refresh When Parent Applet Changed
By default, the new applet caches information when a parent record is displayed. If the parent record is changed, the information in the applet view does not get refreshed. You must add a browser script to ensure the applet information is refreshed by doing the following:
Note:
To activate the browser script you must execute the 'genscript' command. After you have compiled your work to a new SRF and copied the SRF to your server directory, execute the following command (change to match your environment):
genbscript "ENU\siebel.cfg" D:\sea\siebsrvr\WEBMASTER ENU
You must then restart IIS by restarting the IIS Admin Service from within the Windows Services screen.
Compiling the Additional Objects Project
To compile the completed project, do the following:
- From the tools menu, select Compile Projects. The Object Compiler screen is displayed.
- Select Locked Projects.
- Verify that the correct repository is selected in the Siebel repository file field. This repository file must exist in the Web Client installation folder.
- Click Compile. The length of time necessary to compile varies and may be extensive.
Configuring the IFrame URL in the Siebel Web Client
Follow the procedure detailed in Configure the IFrame URL in the Siebel Web Client.
Testing the Additional Objects Siebel Configuration
Test the configuration by following the steps in Test the Siebel Configuration.
Creating a SIF File for Export
After compiling and testing the project, follow these steps to unlock the modified objects and create a new SIF file for export:
- Unlock all projects locked in Locking Additional Siebel Objects and select each object.
- Right-click on the selected objects and choose Add to Archive from the contextual menu. The Export to Archive File screen is displayed.
- In the Export to Archive File screen open, right-click on each object to export and select Add to Archive from the contextual menu. Repeat until all objects for export are added to the archive.
- Enter or browse to a location and enter a name for the exported SIF file in the Archive file field of the Export to Archive File screen and click Save. The SIF file is created in the specified location.
Configuring Content Server
After completing the necessary Siebel configuration, you must configure Content Server to support the exposed entity. Configuring Content Server covers the following topics:
Adding Content Server Information Fields
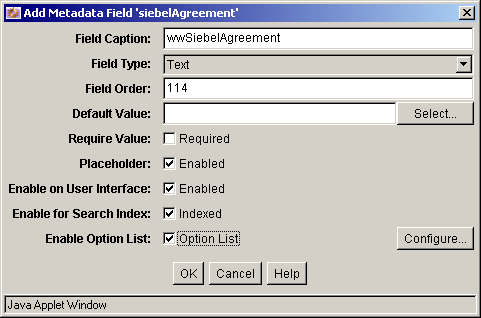
You must add the appropriate information fields to Content Server using the Content Server Configuration Manager applet. To add the appropriate fields, do the following:
Adding Rules for Displaying Fields
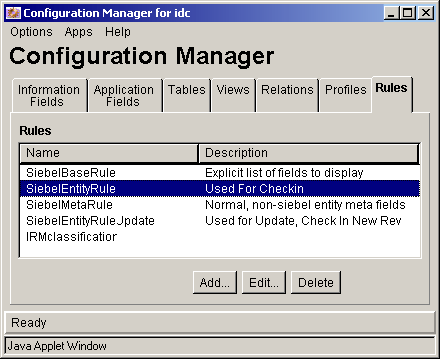
To ensure that fields are displayed, you must use Configuration Manager to add rules. To add rules for displaying fields, do the following:
