How to Configure the Mediator Interface Definition
You configure the interface definition for a Mediator on the Create Mediator dialog.
To configure the Mediator interface definition:
-
Create a Mediator using one of the methods described in Creating a Mediator.
The Create Mediator dialog appears.
-
In the Name field, enter a name for the Mediator service component.
-
Select one of the following from the Template list. Refer to the descriptions at the beginning of this section for more information on each.
-
Define Interface Later
-
Interface Definition from WSDL
-
One-Way Interface
-
Synchronous Interface
-
Asynchronous Interface
-
Subscribe to Events
Figure 19-7 and Figure 19-8 illustrate how the properties change on the Create Mediator dialog for different interface types.
Figure 19-7 Synchronous Interface Template Selection on the Create Mediator Dialog
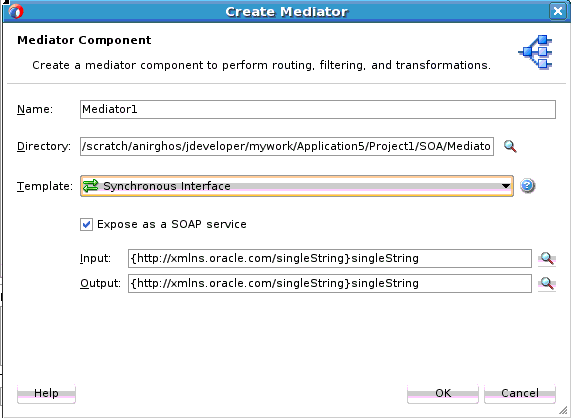
Description of "Figure 19-7 Synchronous Interface Template Selection on the Create Mediator Dialog"Figure 19-8 Interface Definition from WSDL Template Selection on the Create Mediator Dialog
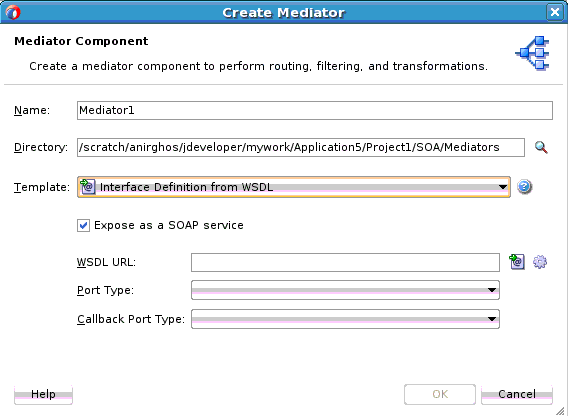
Description of "Figure 19-8 Interface Definition from WSDL Template Selection on the Create Mediator Dialog" -
-
For any interface type except Subscribe to Events, configure the appropriate properties. For information about the displayed properties for each type, see Table 19-1 following these instructions.
-
If you selected Subscribe to Events, do the following:
-
Click Add on the Create Mediator dialog.
Figure 19-9 Subscribe to Events Template Selection in Create Mediator Dialog
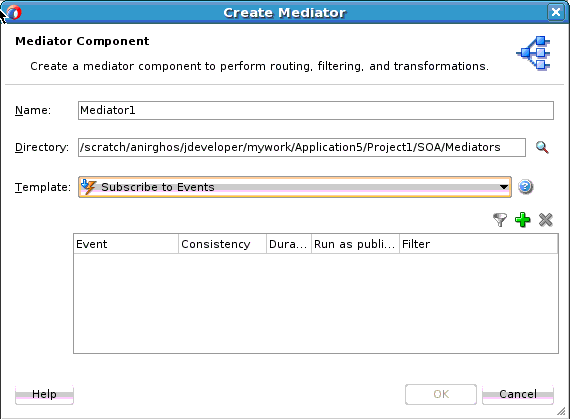
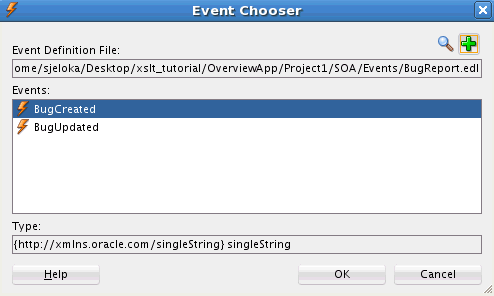
Description of "Figure 19-9 Subscribe to Events Template Selection in Create Mediator Dialog"The Event Chooser dialog appears.
-
To the right of the Event Definition field, click Search.
The SOA Resource Browser dialog appears.
-
Select an event definition file (
.edl) and click OK.The Event field is populated with the events described in the
.edlfile that you selected. For more information about creating.edlfiles, see Using Business Events and the Event Delivery Network. -
Select one or more events in the Event field, as shown in Figure 19-10, and click OK.
-
Select a level of delivery consistency for the event.
one and only one: A global (JTA) transaction is used for event delivery. If the event call fails, the transaction is rolled back and the call is retried a configurable number of times.
guaranteed: A local transaction is used to guarantee delivery. There are no retries upon failure.
immediate: Events are delivered on the same thread and on the same transaction as the caller.
-
In the Run as publisher field, select whether to run the event subscription under the security of the event publisher.
By default, event subscriptions run under the security of the event publisher.
-
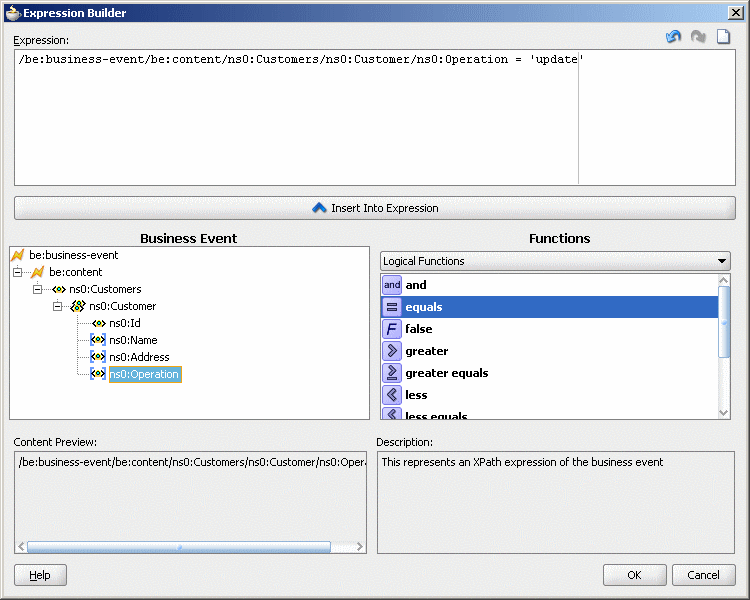
To filter the event, double-click the Filter column of the selected event, or select the event and then click the filter icon (first icon).
The Expression Builder dialog appears.
-
In the Expression field, enter an XPath expression and click OK.
Figure 19-11 shows a sample Expression Builder dialog.
The expression you created appears in the Filter column of the Create Mediator dialog.
-
Click OK.
-
-
Click OK on the Create Mediator dialog.
-
If you chose to create a Mediator without an interface, you must create the interface at a later time as described in How to Define an Interface for a Mediator .
The following table lists and describes the properties you can configure to define an interface. The available properties change depending on the interface type you select, so not all of the listed properties apply to all interface types.
Table 19-1 Mediator Interface Properties
| Property | Description |
|---|---|
|
Create Composite Service with SOAP Bindings |
Select this option to create an exposed service with SOAP bindings that is automatically connected to your Mediator when the interface is generated. |
|
WSDL URL |
Enter the location of the WSDL file to use when creating the interface from a WSDL file. Do one of the following:
For more information about these options, see Generating a WSDL File. |
|
Port Type |
Select the port type name from the list. The available port types are parsed from the WSDL file that you specify in the WSDL URL field. |
|
Callback Port Type |
Select the port type name to which the response message is sent in an asynchronous communication. The available port types are parsed from the WSDL file that you specify in the WSDL URL field. |
|
Input |
Enter the schema element for the input message. Click Search to the right of the field to select the element. By default, the singleString schema element is selected for the input message. For a sample schema, see the schema that follows after this table. |
|
Output |
Enter the schema element for the output message. Click Search to the right of the field to select the element. By default, the singleString schema element is selected for the input message. |
You can use any XSD schema to specify the format of the input document that Mediator processes. Here is a sample schema:
<xsd:schema attributeFormDefault="qualified"
            elementFormDefault="qualified"
            targetNamespace="http://samples.otn.com/helloworld"
            xmlns:xsd="http://www.w3.org/2001/XMLSchema"
            xmlns="http://samples.otn.com/helloworld">
         <include namespace="http://samples.otn.com/helloworld"
            schemaLocation="helloworld.xsd" />
         <xsd:element name="name1" type="xsd:string" />
         <xsd:element name="result1" type="xsd:string"/>
</xsd:schema>