Configure Microsoft Azure EntraID for Oracle GoldenGate
When creating the Authorization Profile, Oracle GoldenGate maps the Entra ID security groups into four roles for authorization: Security, Administrator, Operator, User. The Entra ID user who belongs to the group has the corresponding mapped role in Oracle GoldenGate.
On the Microsoft Azure EntraID portal, perform the following tasks to configure the user groups that would map with Oracle GoldenGate:
-
Create the appropriate user and security groups in EntraID. You will need four security Groups that will be mapped to the respective Oracle GoldenGate user roles (Security, Admin, Operator, User). The group name could be any name you choose.

-
Select Add, Enterprise Application from the Overview page.

-
Click Create your own application.

-
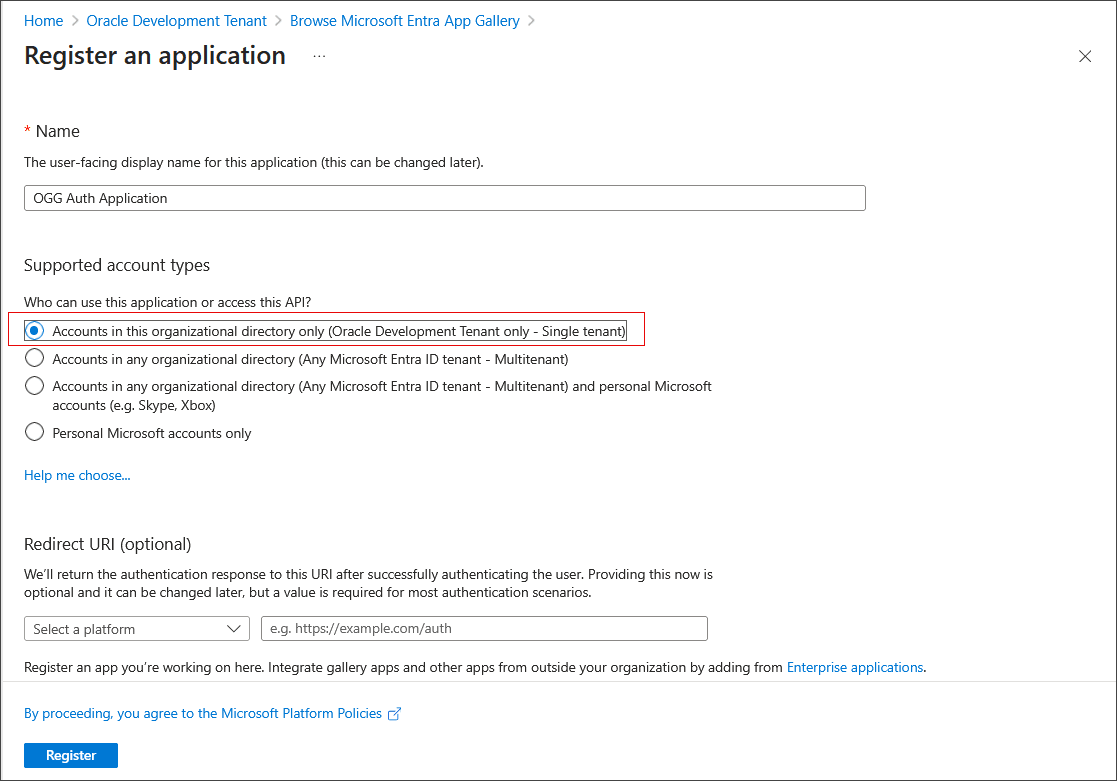
Name your application, select Register an application to integrate with Microsoft Entra ID and click Create.

-
To register the application, select Accounts in this organizational directory only (... - Single tenant).
-
Go back to Entra ID Overview page, under Manage, select Enterprise applications and search for the application name you created in the previously.
-
Under Mange, select Users and groups. Click Add user/group.

-
Search for and select the groups to assign to this application and ensure that the selected groups appear in the right-hand pane.

-
Select all groups, then click Select, and click Assign.
Note:
Make sure you assign all the Entra ID security groups created in previous steps to this application.
-
(Optional) Assign application owners by following these steps:
-
Under Manage select Owners.
-
Click Add.
-
Search for and select owners.
-
Make sure that selected owners appear on the right-hand pane.
-
-
Register Application by creating client secrets:
-
Go back to Microsoft Entra ID Overview page
-
Select App registrations and then select All Applications.

-
Search for and select the application name created in step 2.
-
Now, the application shows the details. Note down the Application (client) ID and Directory (tenant) ID.

Note the Client ID, Tenant ID, and Client Secret values. These values will be used while configuring the authorization profile in Oracle GoldenGate.
The Tenant ID is used to construct Tenant Discovery URI, as shown in the following example:
https://login.microsoftonline.com/{tenantID}/v2.0/.well-known/openid-configuration -
Under Manage, select Certificates & secrets
-
Select Client secrets and then click New client secret.

-
Add a description and select an expiration period.
-
Click Add. Note down the client secret Value.

-
-
Create the token configuration for the OGG Application:
-
Under Manage in the navigation pane, choose Token configuration.
-
Click Add groups claim and select Groups assigned to the application (...) and click Add.

-
-
Create GoldenGate Service App roles:

-
Under Manage in the navigation pane, choose App Roles.
-
Click Create app role and specify a display name.
-
Under Allowed member types select Applications.
-
Set Value to urn:ogg:serviceToService and fill the description.
-
Select Do you want to enable this app role? and click Apply.
-
-
Add API Permission to the GoldenGate Service App Roles and grant admin consent:

-
Under Manage, select API permissions.
-
Click Add a permission.
-
Click APIs my organization uses.
-
Search for the application created in Step 2.
-
Click Application permissions.
-
Select urn:ogg:serviceToService and click Add permissions.

-
The permission should appear under Configured permissions.

-
Click on urn:ogg:serviceToService.
-
In the pop-up, notice that Admin consent required is set to Yes.

-
-
Add Microsoft Graph Application.ReadWrite.All API permissions to the Application and grant Admin consent.
-
Click Add a permission and then select Microsoft Graph from the pop-up window.

-
Select Application permissions.

-
Search for and select Application.ReadWrite.All.
-
Click Add permissions.
-
Perform the same steps done to grant consent for urn:ogg:serviceToService but for Application.ReadWrite.All.
-
-
Manually update the token request properties in the Manifest:
The following options are not available under other menus, so they must be set manually, as shown in the following image:

Manually updating the token request in Manifest.
Under Manage, click Manifest.-
Under the JSON
/optionalClaims/accessToken/additionalPropertiesadd the valuecloud_displayname. -
Under the JSON
/optionalClaims/idToken/additionalProperties, add the valuecloud_displayname. -
Under the JSON
/optionalClaims/saml2Token/additionalPropertiesadd the valuecloud_displayname. -
Under the JSON
/api/requestedAccessTokenVersionset value to 2.
-
Save the Manifest.

-
-
(Optional) Create the redirect URL for Application Authentication.
-
Under Microsoft Entra ID, Enterprise applications, choose the application you created in Step 2.
-
Under Manage, click Properties and then click the application registration link.

-
Under Manage, click Authentication and then click Add a platform.
-
Click Web.

-
-
In the Configure Web dialog box, enter Redirect URIs.
For the Service Manager deployment, you should add the path
/services/v2/authorizationfor the Service Manager.For each Microservices deployment, you should add the path
/services/v2/authorizationfor the Administration Service.
- Click Configure.
Next step is to download the RootCA certificate for Microsoft Azure EntraID and add it under the Service Manager Shared RootCA certificates.
After you set up the Root Certificate Authority, you can configure the Oracle GoldenGate Authorization Profile using the values created in this topic. See Create an Authorization Profile.
Add Root CA Certificate for Microsoft EntraID Azure
Before you start creating an authorization profile in Oracle GoldenGate, you need to add a Root Certificate Authority for Azure. Add Root CA Certificate as Trusted Certificates to the Oracle GoldenGate deployment:
- Click the file upload button to upload the converted
.pemfile.