Add a Deployment
Follow the instructions on this page to add a deployment using the OGGCA wizard.
Before Adding a Deployment
If you need a secure deployment (recommended for production databases, or unsecured networks) make sure to check the Enable Security option in the Select Service Manager Options screen of the OGGCA wizard.
Add a Deployment Using OGGCA Wizard
This section discusses using the OGGCA wizard for deployment.
Start the OGGCA Wizard
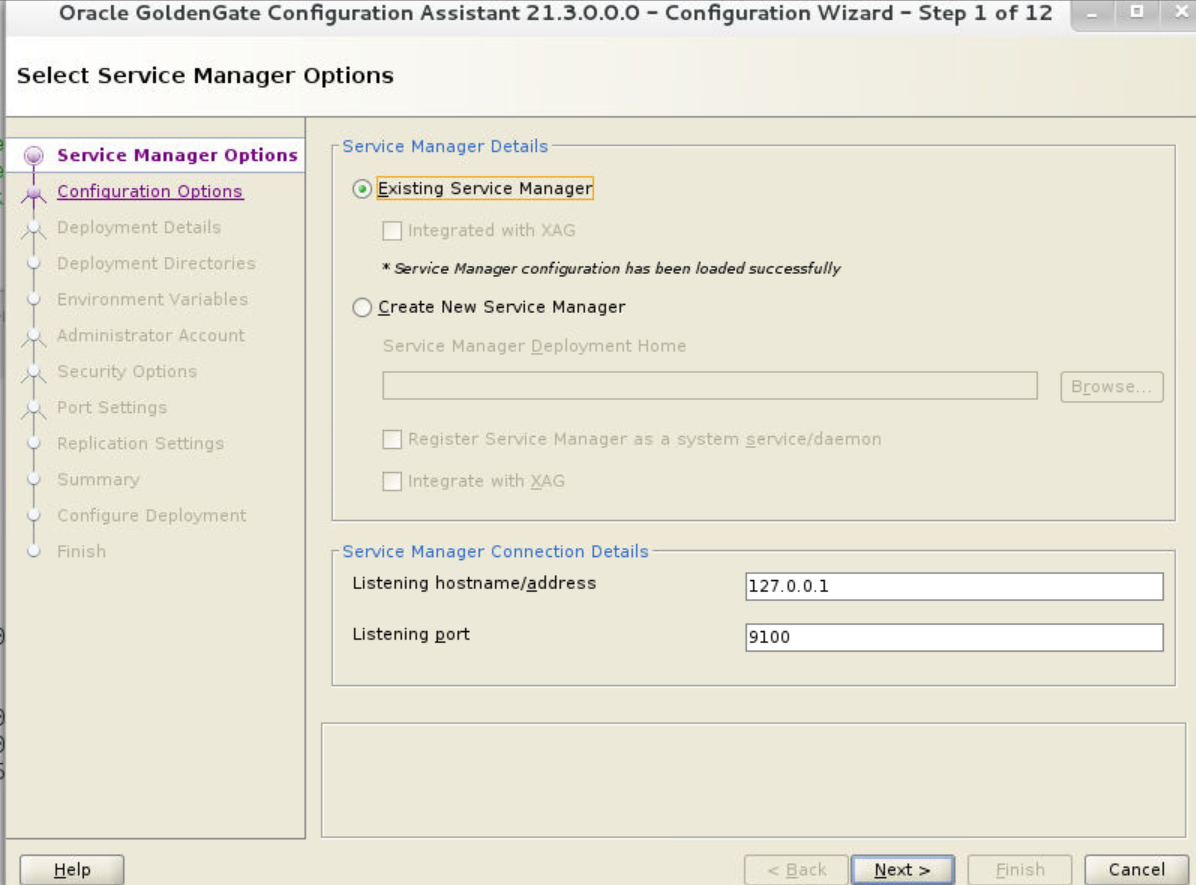
Adding deployments is the first task in the process of setting up a data replication platform. Deployments are managed from the Service Manager.
After completing the Oracle GoldenGate Microservices Architecture installation, you can add initial and subsequent deployments using the Oracle GoldenGate Configuration Assistant (OGGCA) wizard.
You can also run OGGCA in silent mode. For steps to run OGGCA in silent mode, see Add a Deployment in Silent Mode using OGGCA.
Note:
Oracle recommends that you maintain a single Service Manager per host, to avoid redundant upgrade and maintenance tasks with Oracle GoldenGate releases.
To start the OGGCA wizard:
-
Navigate to the
$OGG_HOME/bindirectory to access the Oracle GoldenGate Configuration Assistant (oggca) utility. -
On Linux, run the
oggca.shprogram.or,
On Windows, right-click the
oggca.batprogram.
The Oracle GoldenGate Configuration Assistant (oggca) wizard is displayed.
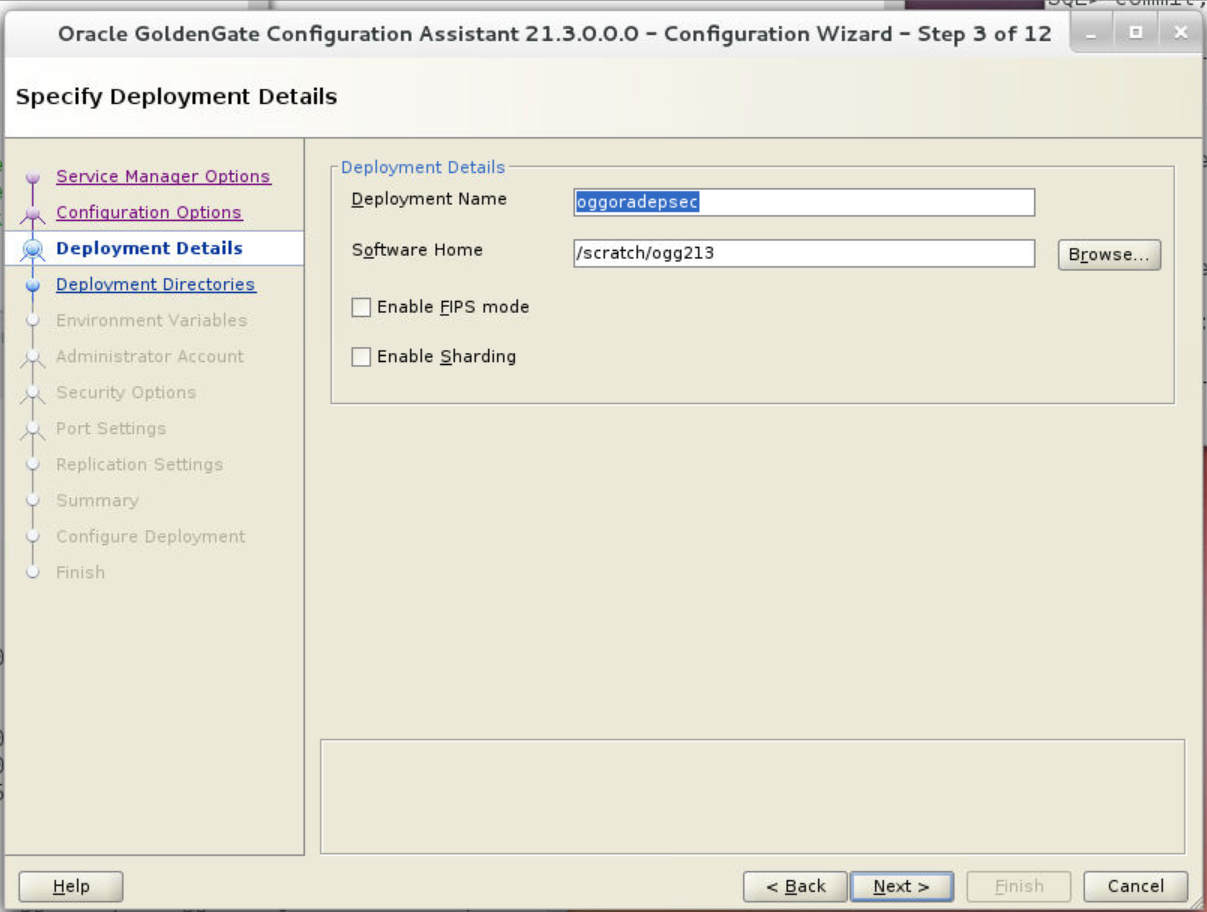
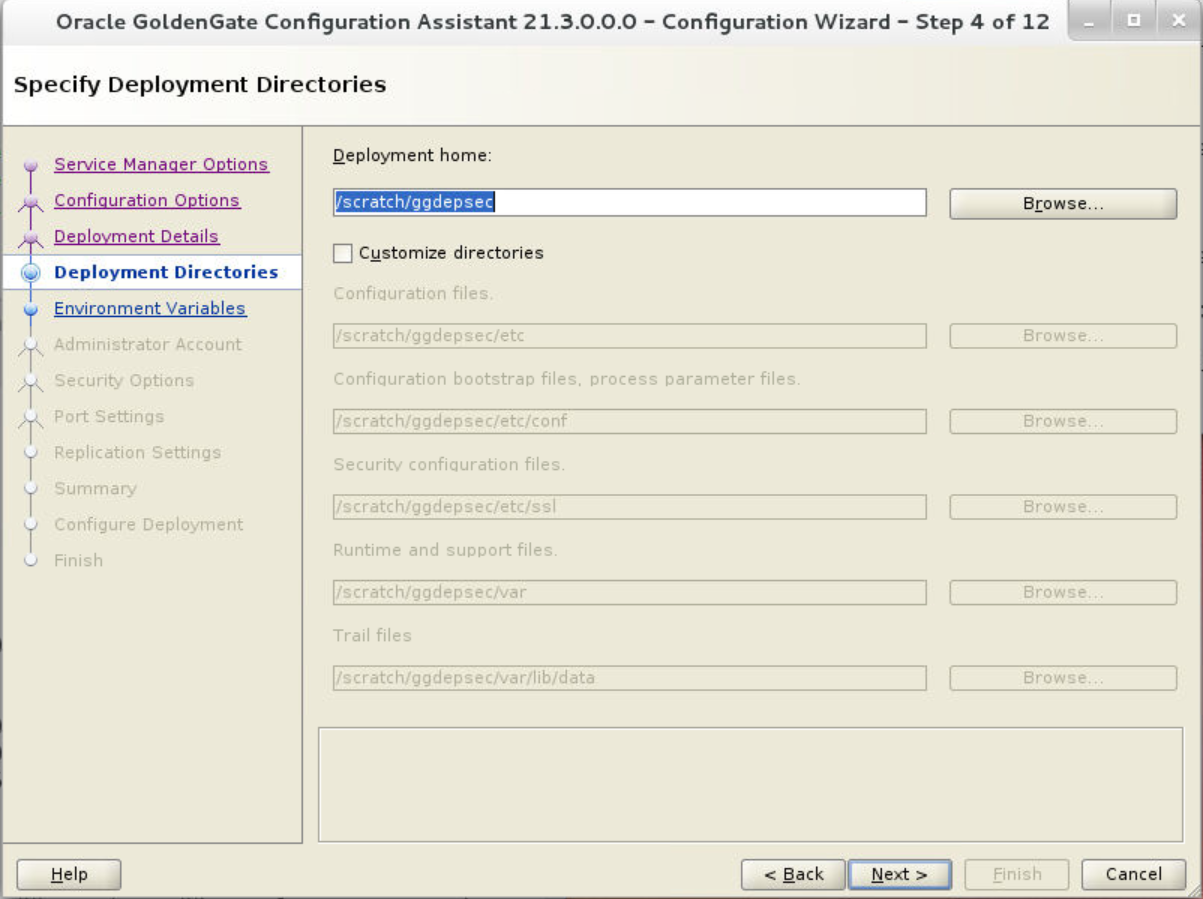
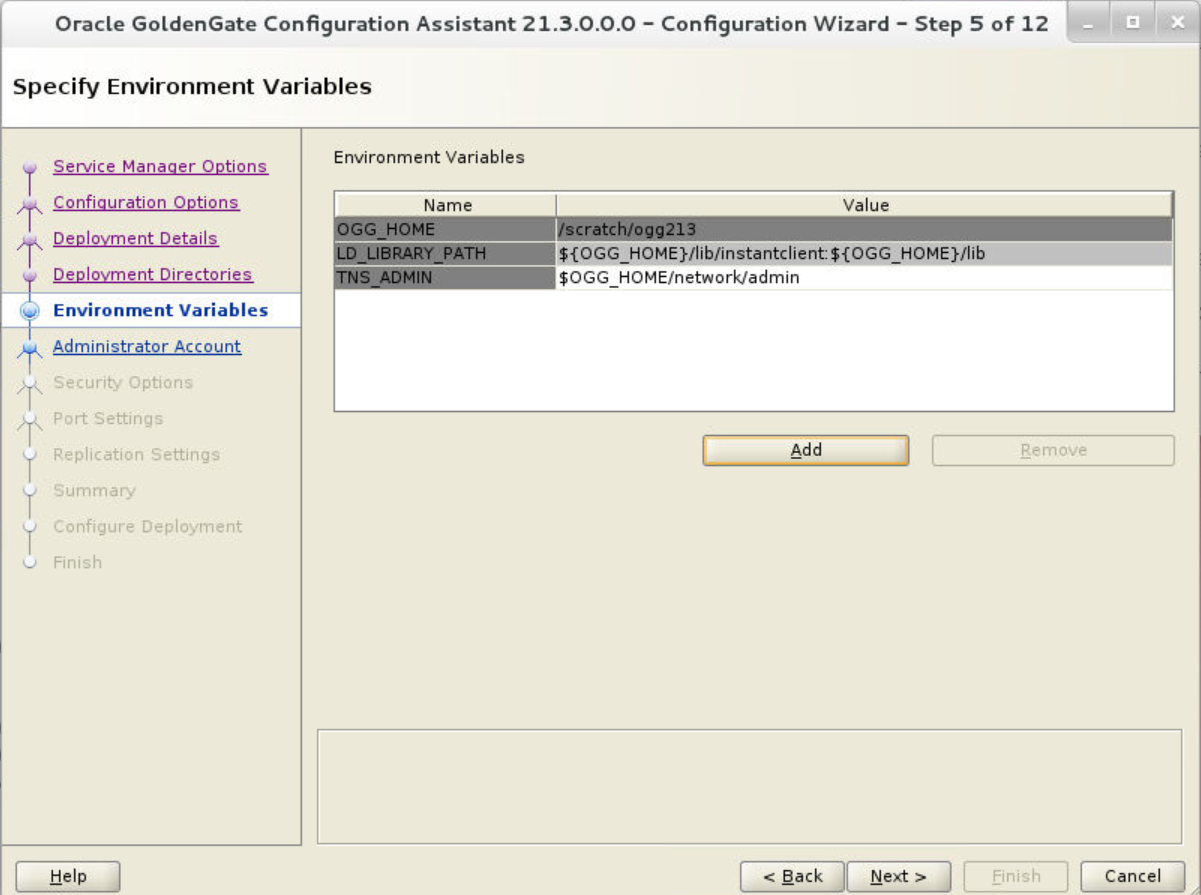
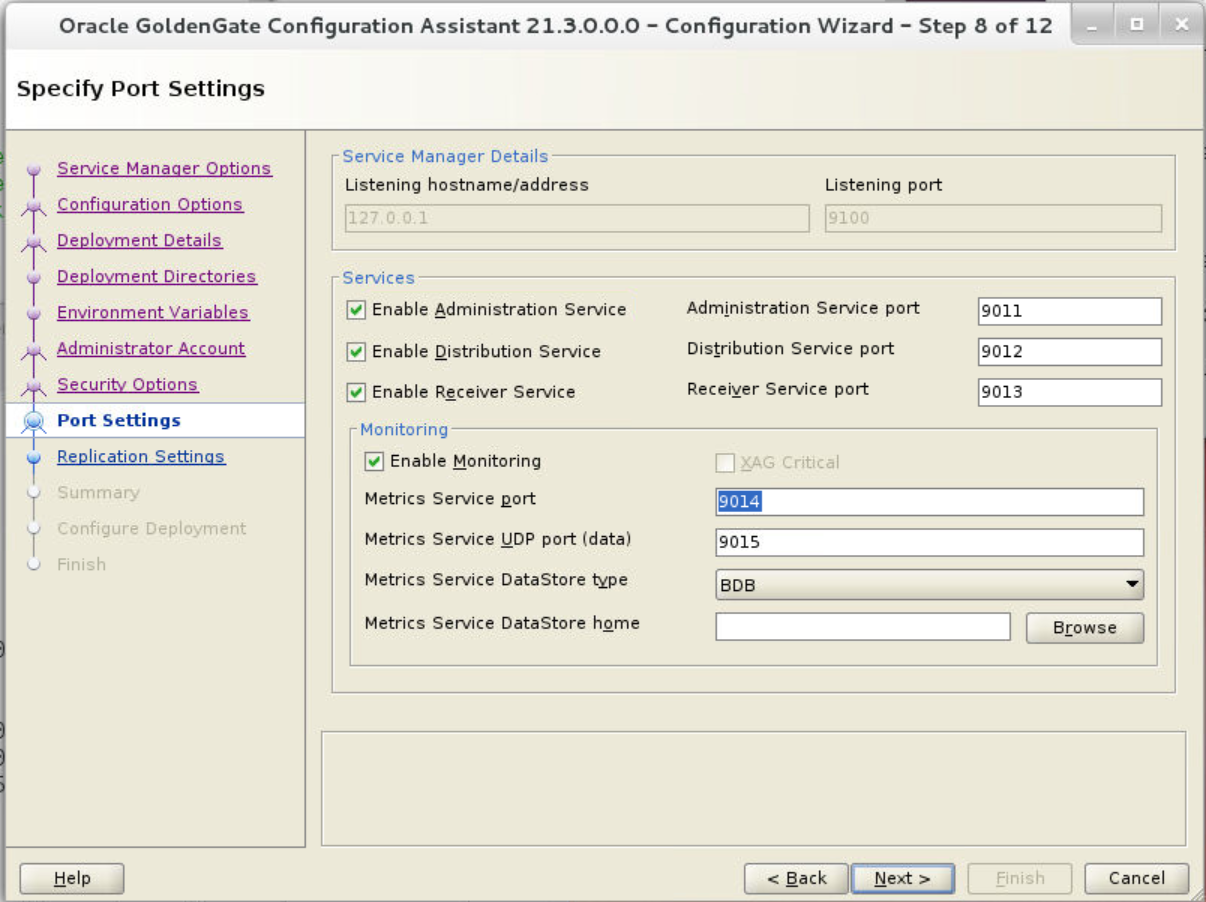
The following topics provide details on the configuration that you can set on each of the OGGCA wizard screens.
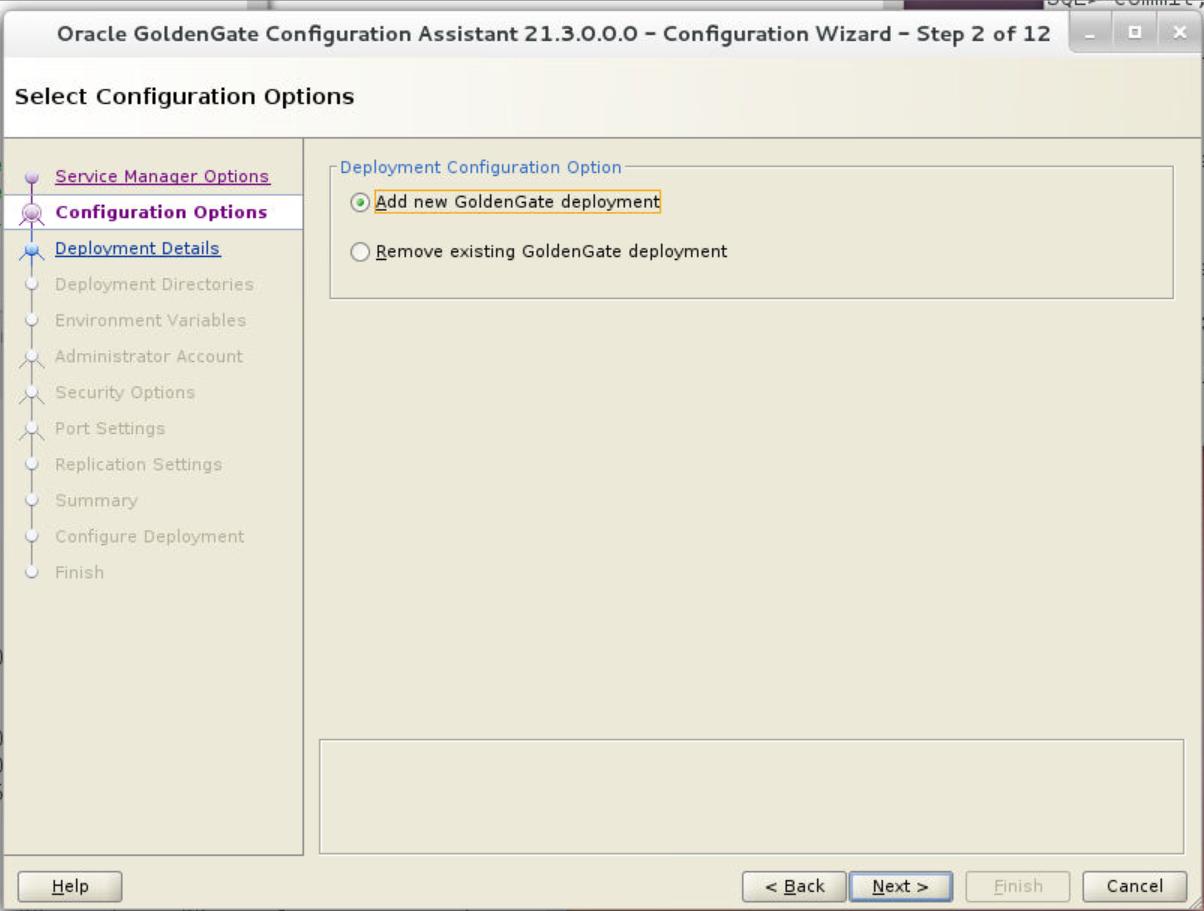
Configuration Options
- Click the Add new GoldenGate deployment option. You can only add or remove one deployment for one Service Manager at a time.
- Click Next.
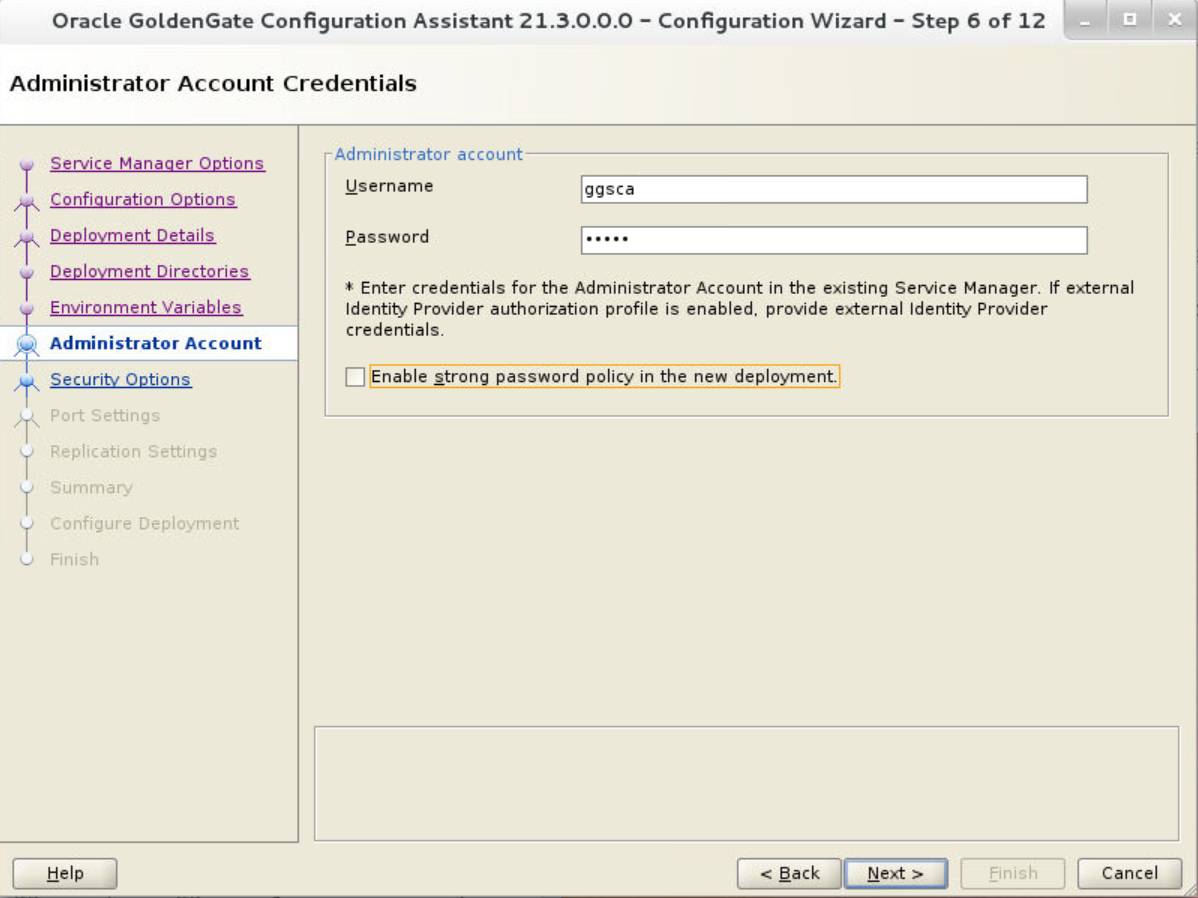
Administrator Account
Configuration in this screen allows you to create credentials for the security user for Oracle GoldenGate. If this is not the first run of OGGCA, then you need to enter the administrator account credentials that are used to log in to the Service Manager because the deployment is getting added to this Service Manager.
If you want to integrate with Oracle Identity Cloud Service (IDCS) for authentication and authorization of users, then use this screen to specify the credentials for the IDCS account.
-
Enter a user name and password to log in to Oracle GoldenGate MA. This user is the security user for this deployment.
-
If you are using IDCS (as your external Identity Provider), then specify the user credentials for the IDCS server. On your first log in to the Service Manager, you need to enable the Authorization Profile for the Service Manager deployment. See Delegate User Authentication and Authorization to an External ID Provider.
-
Select the Enable strong password policy in the new deployment checkbox to ensure setting a highly secure password for your user account. This password policy applies for the Oracle GoldenGate security user only but not for IDCS default settings. See Manage Oracle Identity Cloud Service Password Policies section in Administering Oracle Identity Cloud Service guide for IDCS accounts.
Note:
For Administrator Account, you must enter a user and password for a provisioned external IDP identity that is mapped to the SECURITY group previously configured for the Service Manager deployment.
The strong password policy has the following requirements:
- At least one lowercase character [a...z]
- At least one upposercase character [A...Z]
- At least one digit [0...9]
- At least one special character [- ! @ % & * . #]
- The length should be between 8 and 30 characters.
For details on the different types of users, see Add New Users to the Deployment.
-
If you are using an existing Service Manager, you must enter the same log in credentials that were created during the first run of OGGCA.
-
Select the Enable a strong password policy check box for the new deployment. If you select this option, then the password must adhere to restrictions, otherwise an error occurs, which requires you to specify a stronger password.
-
Click Next.
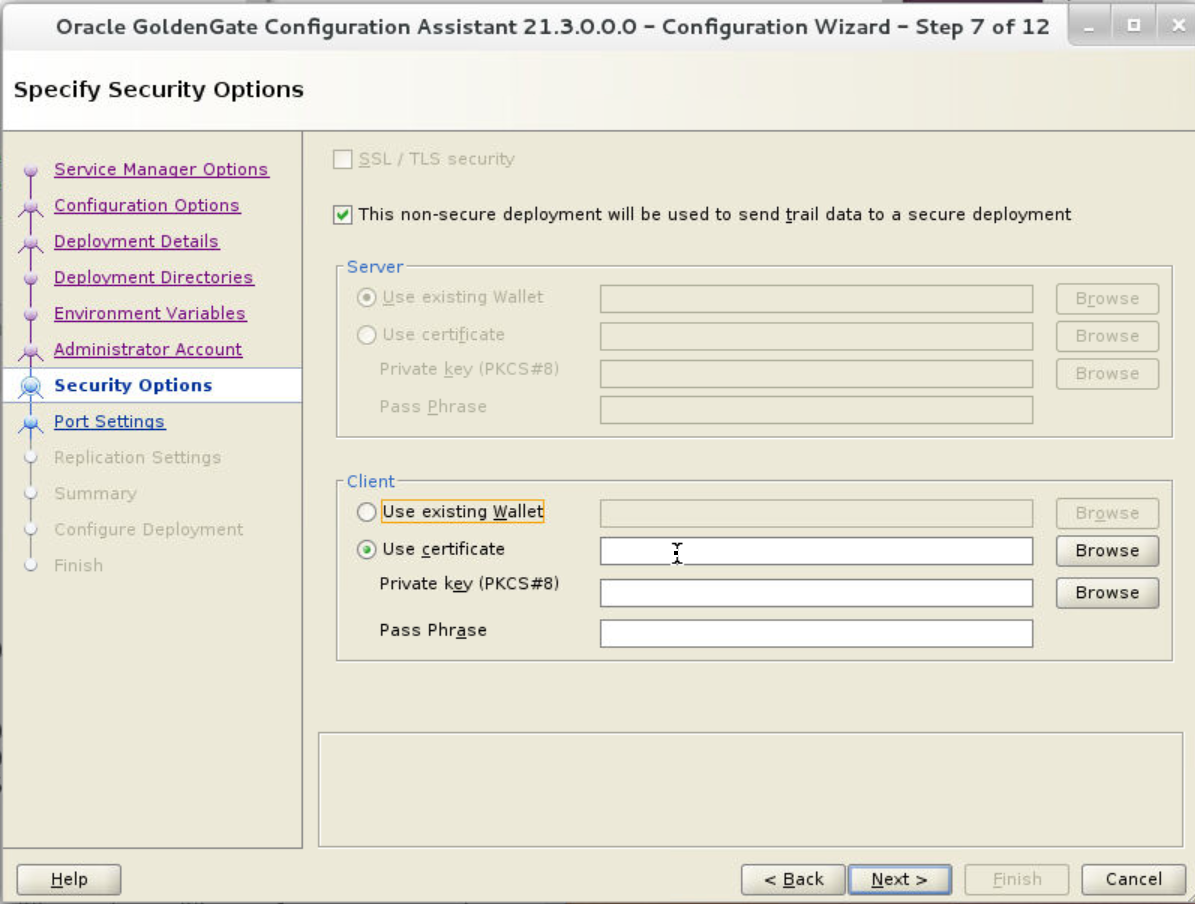
Advanced Security Settings
If security is enabled, then this screen is displayed with the encryption options TLS 1.1 and TLS 1.2. TLS 1.2 is selected by default. When you open the Advanced Security Settings for the first time with TLS 1.2, the available cipher suites are listed.
- Use the arrows to add or remove cipher suites.
- Use Up and Down to reorder how the cipher suites are applied and click Next.
Sharding Options
- Locate and import your Oracle GoldenGate Sharding Certificate. Enter the distinguished name from the certificate that will be used by the database sharding code to identify itself when making REST API calls to the Oracle GoldenGate MA services.
- Enter a unique name for the certificate.
- Click Next.
Configure Deployment
This screen displays the progress of the deployment creation and configuration. There could be some notifications during the progress if the Service Manager is registered as a service.
A pop-up appears that directs you how to run the script to register the service. The Configuration Assistant verifies that these scripts have been run. If you did not run them, you are queried if you want to continue. When you click Yes, the configuration completes successfully. When you click No, a temporary failed status is set and you click Retry to run the scripts.
Click Ok after you run the script to continue.
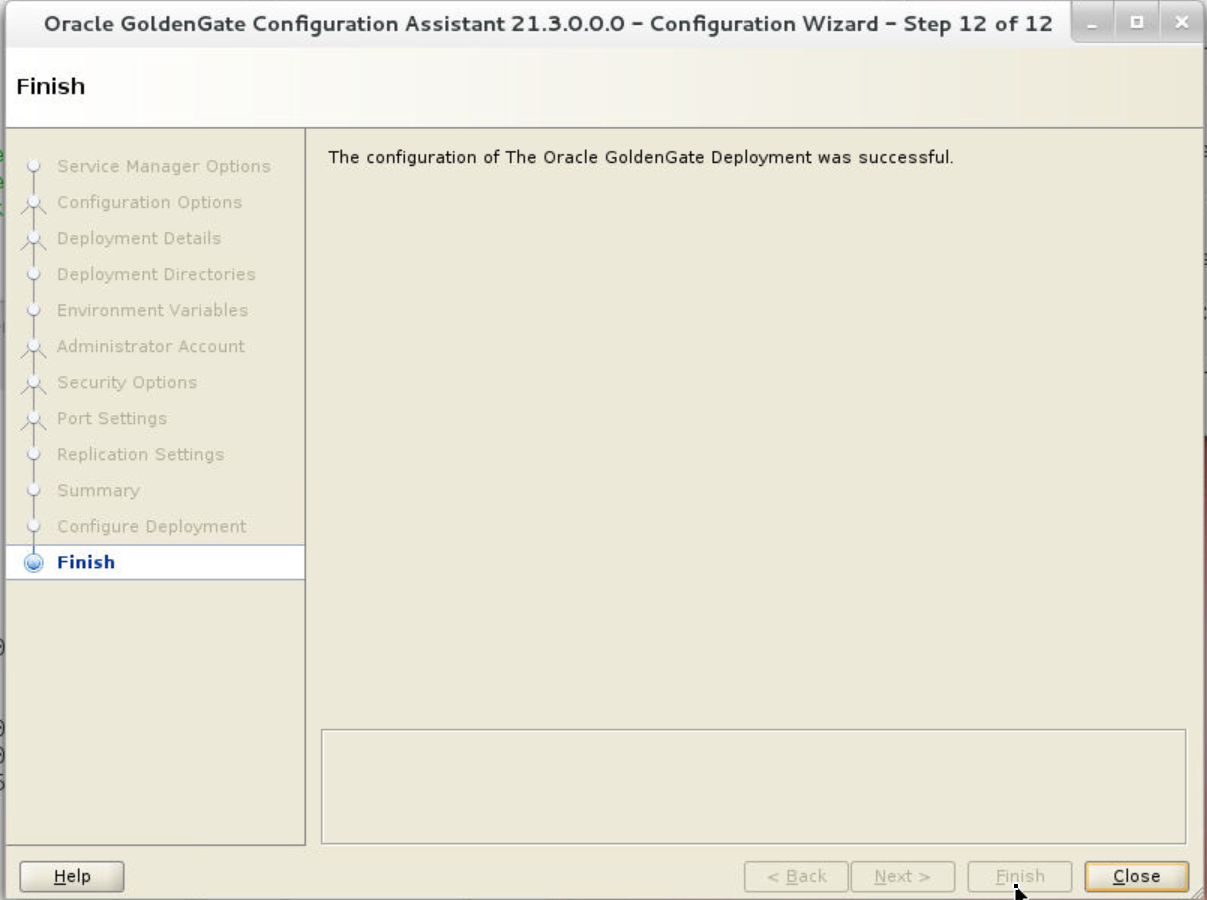
After the creation and configuration process completes, you'll see a message that the deployment is added successfully. Click Next.
