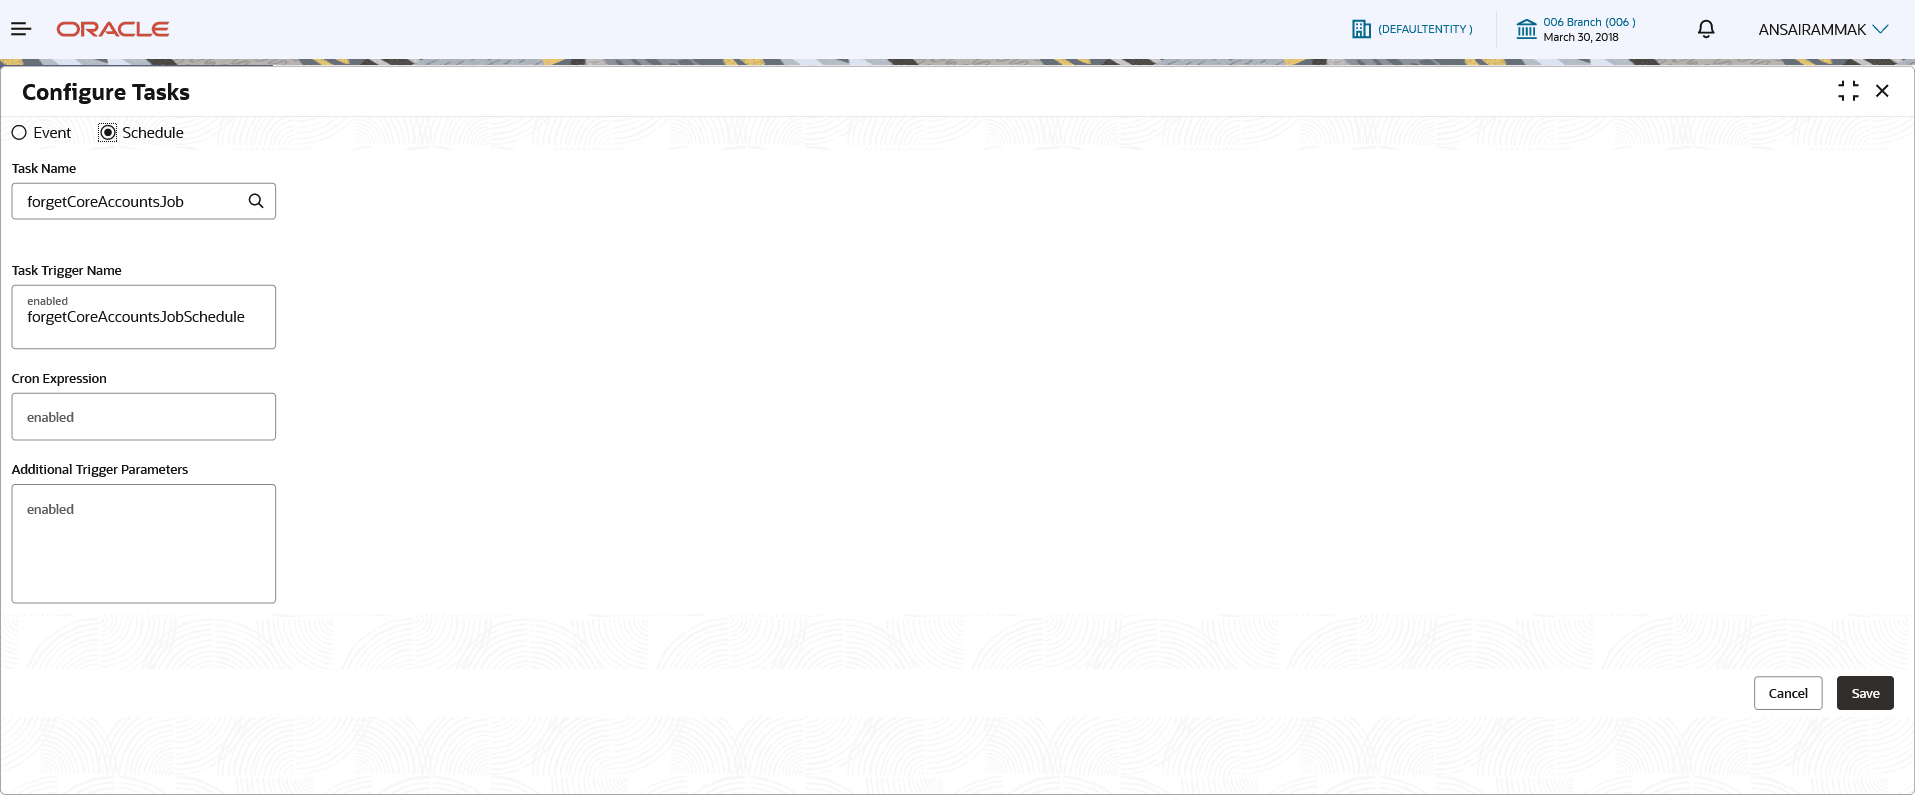
1.1 Configure Task
This topic describes the systematic instruction to configure the triggering of a particular task.
The task can be scheduled for execution on a designated day of the month or week, at a specific time. Configure the task to be triggered when a particular event occurs.
- From Home screen, click Task Management. Under Task Management, click Configure Task. The Configure Task screen is displayed.For more information on fields, refer to the field description table.
Note:
The fields marked as Required are mandatory.Table 1-1 Configure Task – Field Description
Field Description Event / Schedule Select the Event option if tasks should be triggered when a specific event occurs. Select the Schedule option if tasks should be triggered on a specific day and time using a CRON expression.
Task Name Select the task for which a trigger should be configured. Task Trigger Name Specify a unique name for the task trigger. CRON Expression / Topic Name Enter the CRON Expression pattern to schedule the triggering of the task for a specific day and time. The pattern is a list of six single space-separated fields, representing second, minute, hour, day, month, and weekday. For the month and weekday, provide the first three letters of their English names. This field is enabled if you select the Schedule option. OR
Enter the Topic Name or the destination for which the task should be triggered on the arrival of a new message. This field is enabled if you select the Event option.
Note: Examples of CRON expression patterns:- "0 0 * * * *" = the top of every hour of every day.
- "*/10 * * * * *" = every ten seconds.
- "0 0 8-10 * * *" = 8, 9 and 10 o'clock of every day.
- "0 0 6,19 * * *" = 6:00 AM and 7:00 PM every day.
- "0 0/30 8-10 * * *" = 8:00, 8:30, 9:00, 9:30, 10:00 and 10:30 every day.
- "0 0 9-17 * * MON-FRI" = on the hour nine-to-five weekdays
- "0 0 0 25 12 ?" = every Christmas Day at midnight
- Perform one of the following action:
- Click Save to save the configuration and send for authorization (if applicable).
- Click Cancel to discard the changes and close the screen.
Parent topic: Tasks
