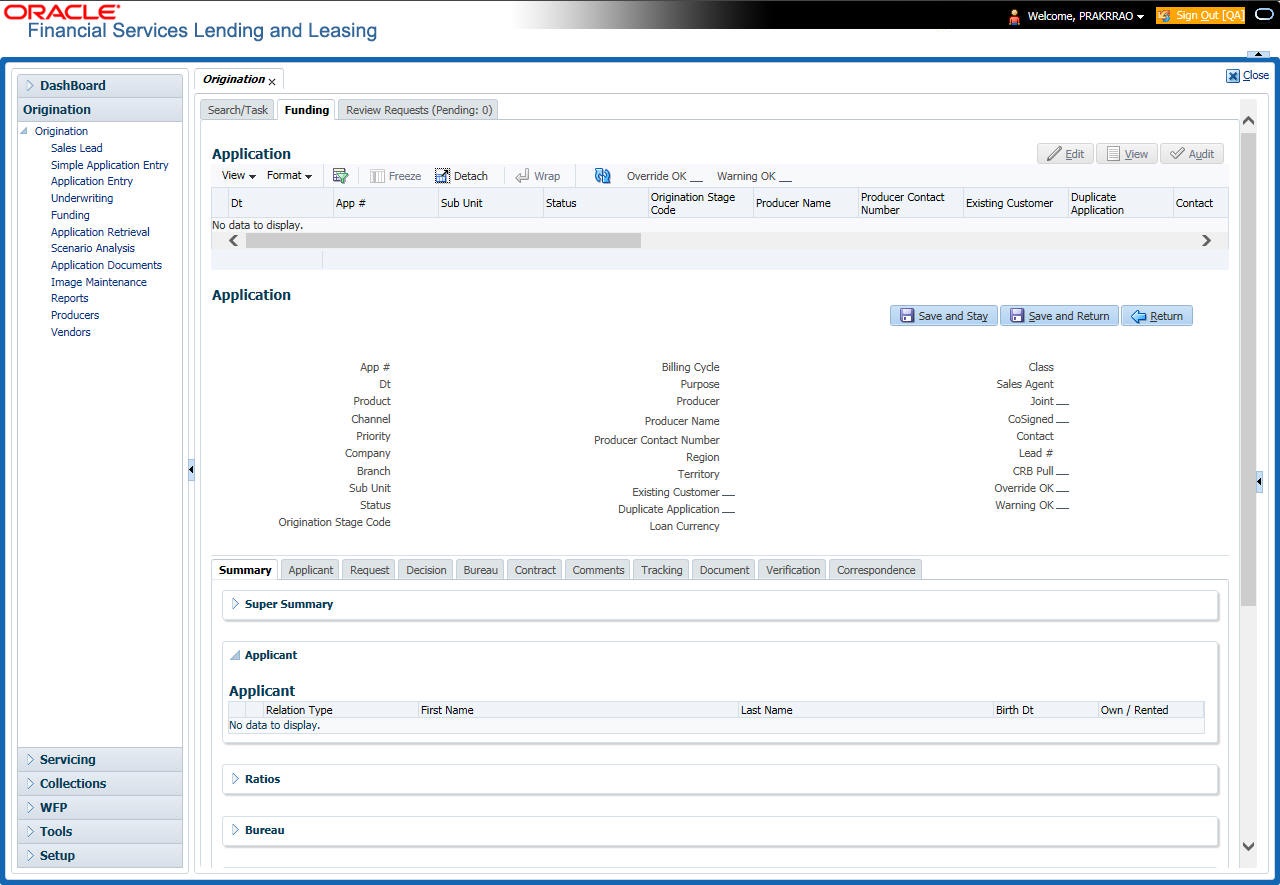
8.3 Funding Screen’s Master Screen
For details on this screen refer Applications section in Underwriting chapter.
After opening the Funding screen and loading the application you want to work with, you must change its status to APPROVED - VERIFYING before you can begin the funding process. This allows you to begin working with the application.
- Open the Funding screen and load application you want to verify.
- In the Funding screen’s Applications master screen, use the Status field to select APPROVED - VERIFYING.
- Click Save on the Funding screen.
You can now begin making changes to the application.
Funding an Application
After you have verified the application, entered the contract information and completed the contract edits, the application is ready to be funded. Applications can be approved automatically or manually. To manually fund an application, change the status to APPROVED - FUNDED.
After an application is funded, the Lease origination cycle is over. The system moves the application to the Lease servicing module (Customer Service form) where it receives an account number. The system also automatically creates a check requisition for the funded account.
- Load the application on the Funding form
- Change the status and initiate Funding process
- Verify the applicant information
- Complete Contract (5) details
- Verify the documents
- Generate letters
- Attempt to change the application status
- Verify edits
- Complete Funding
After you approve the application, the information on the Decision tab is unavailable. The application remains in this status of Approved - Verified until a user (usually a supervisor) changes the status to Approved - Funded. When the status is changed to Approved - Funded, the account is created.
Parent topic: Funding
