8.1 Create Data Sources for JMS Queue
Follow the below steps to create data sources for JMS queue.

8.1.1 Create Data Sources for JMS Queue

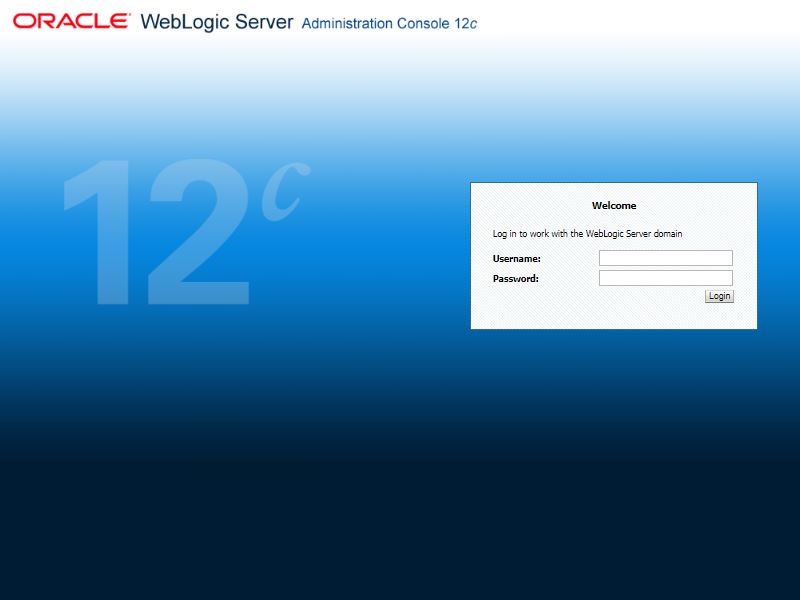
  1. Login to Oracle Weblogic 12c console (http://hostname:port/console).

    Figure 8-1 Data Sources for JMS Queue 1


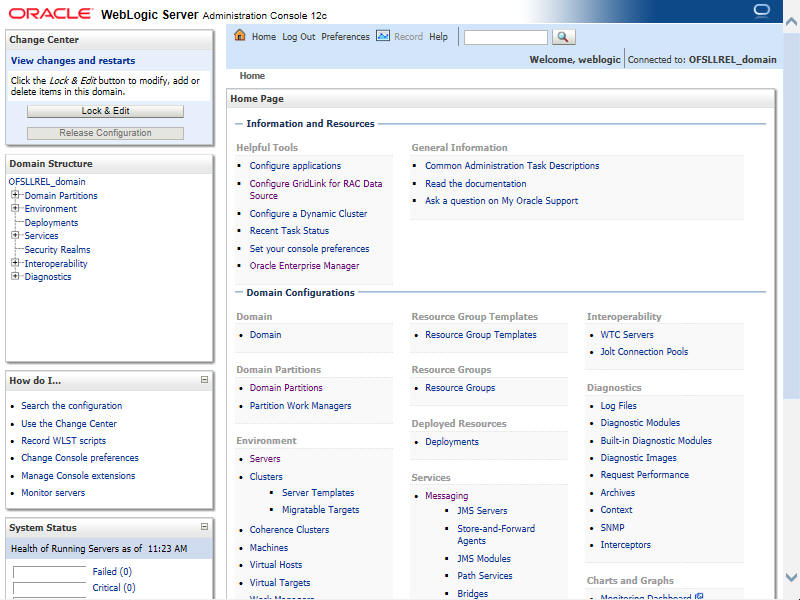
  2. On successful login, the following window is displayed.

    Figure 8-2 Data Sources for JMS Queue 2


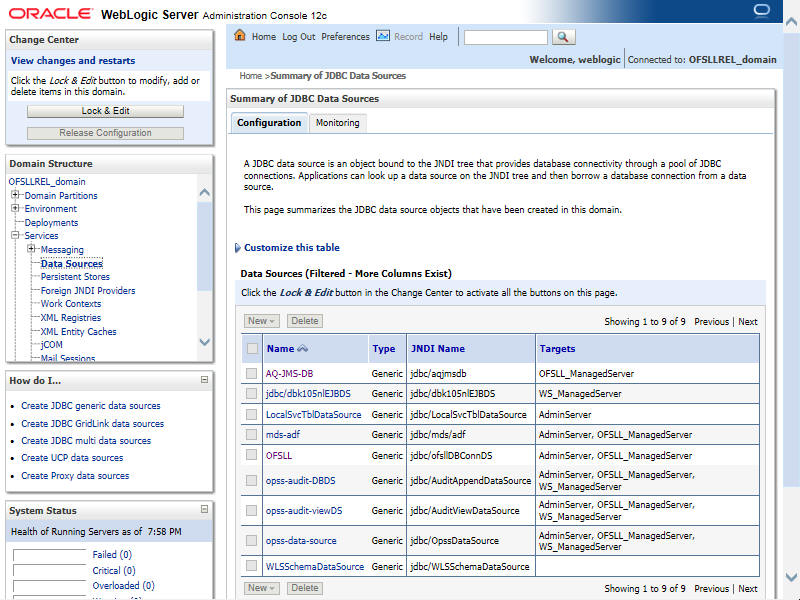
  3. Click Domain Name > Services > Data Sources.
    The following window is displayed.

    Figure 8-3 Data Sources for JMS Queue 3


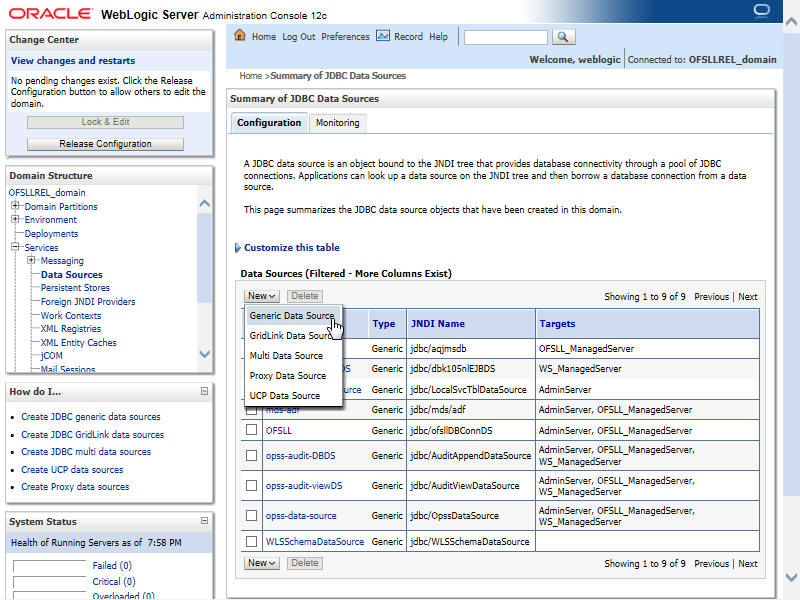
  4. Click Lock & Edit button on the left panel. Click New on right panel and select Generic Data Source.

    Figure 8-4 Data Sources for JMS Queue 4


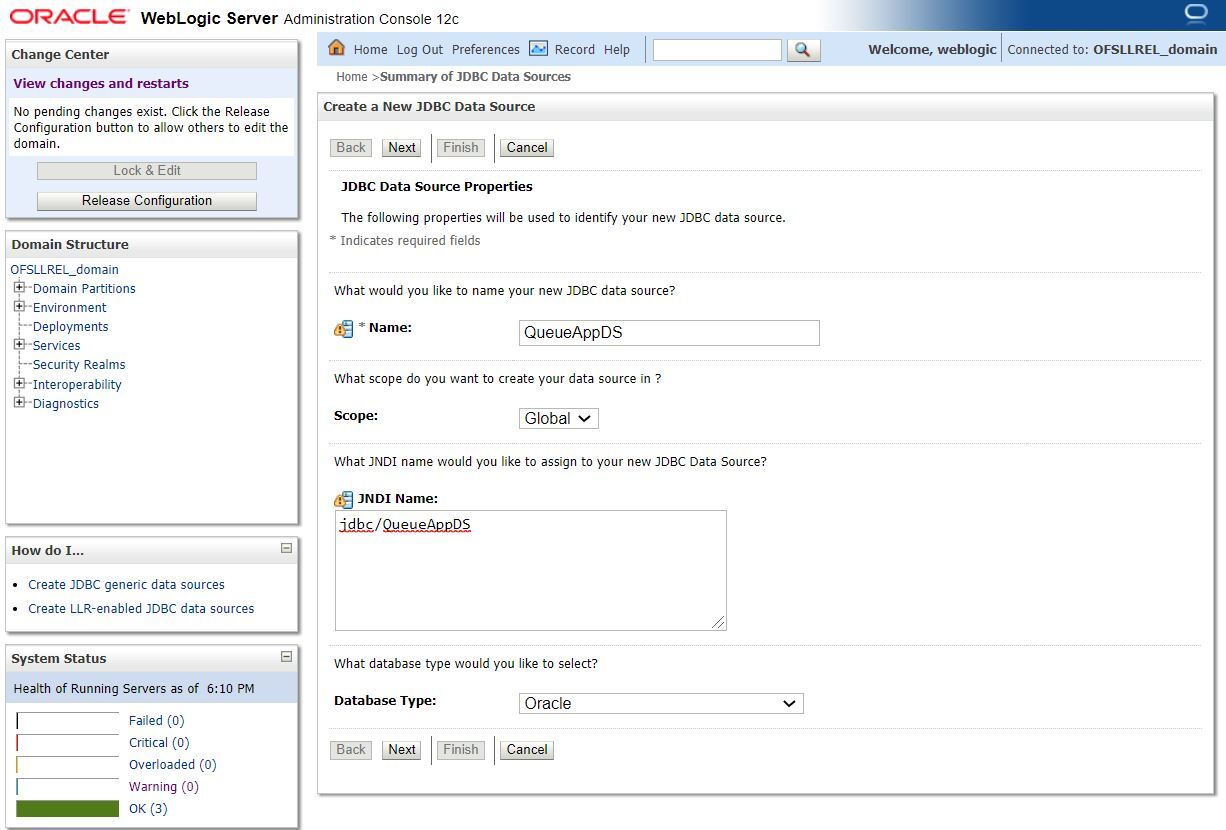
  5. The following window is displayed.

    Figure 8-5 Data Sources for JMS Queue 5


  6. Specify the following details:
    • Enter Data source Name: QueueAppDS
    • Enter the JNDI Name as jdbc/QueueAppDS.

      Note:

      If required, you may specify any other JNDI name, but ensure to use the same JNDI name during other configuration steps.
    • Select Oracle as Database Type.
  7. Click Next.
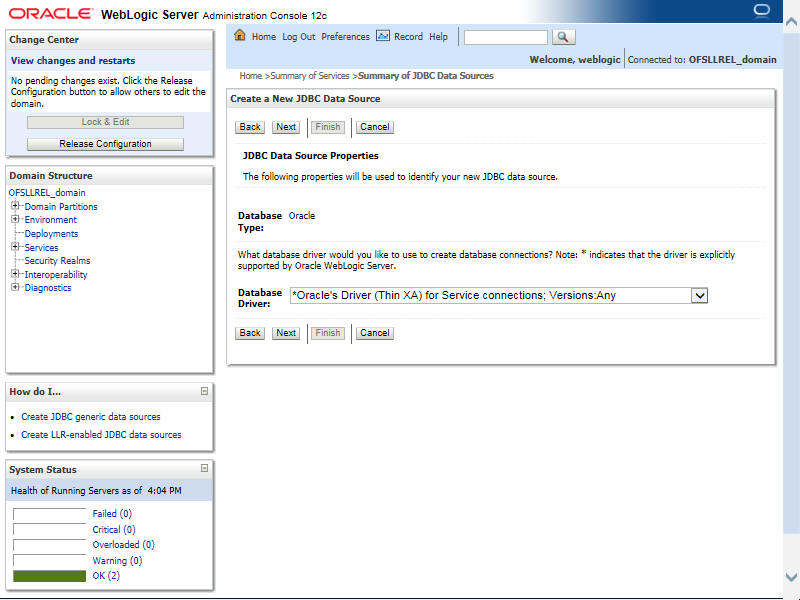
    The following window is displayed.

    Figure 8-6 Data Sources for JMS Queue 6


  8. Select the Database Driver Oracle's Driver(Thin XA) for Services connections;Versions:Any.
  9. Click Next.
    The following window is displayed.

    Figure 8-7 Data Sources for JMS Queue 7


  10. Click Next.
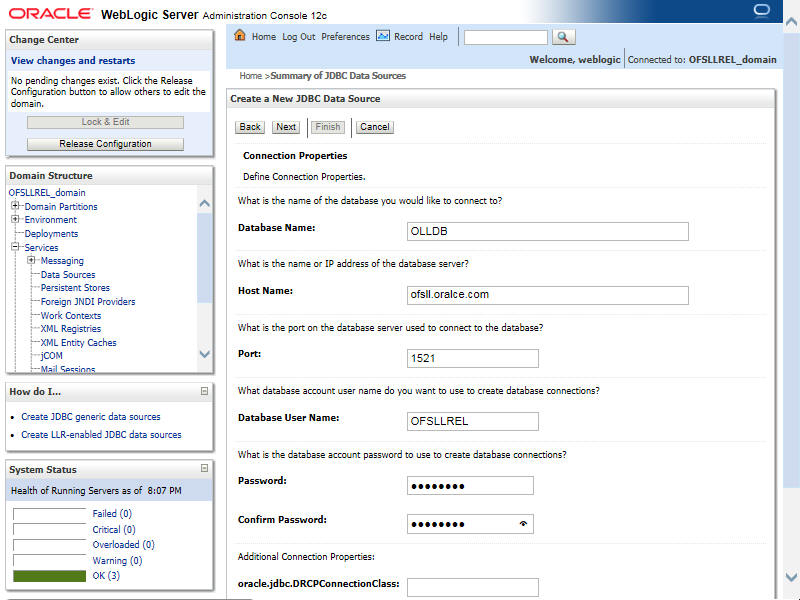
    The following window is displayed.

    Figure 8-8 Data Sources for JMS Queue 8


  11. Enter the Database details.
  12. Click Next.
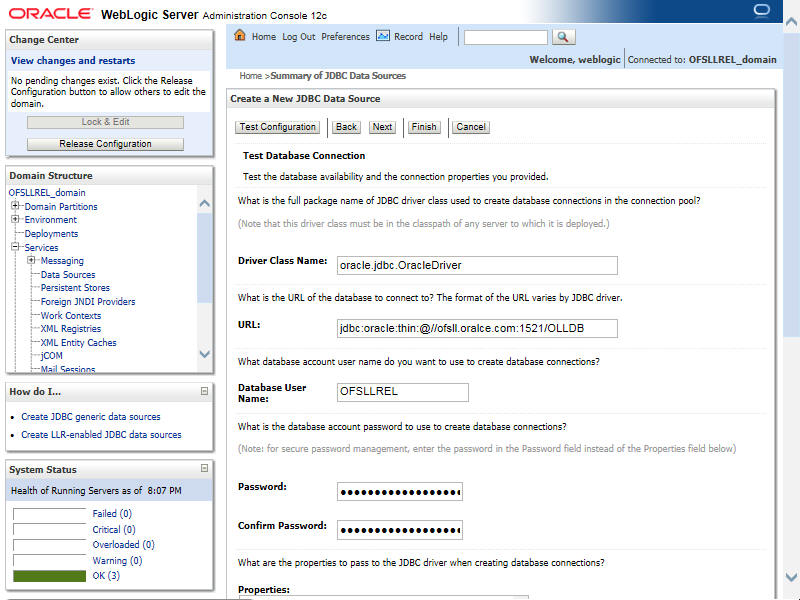
    The following window is displayed.

    Figure 8-9 Data Sources for JMS Queue 9


  13. Click Test Configuration. On completion, displays a confirmation message as Connection test succeeded.
  14. Click Next.
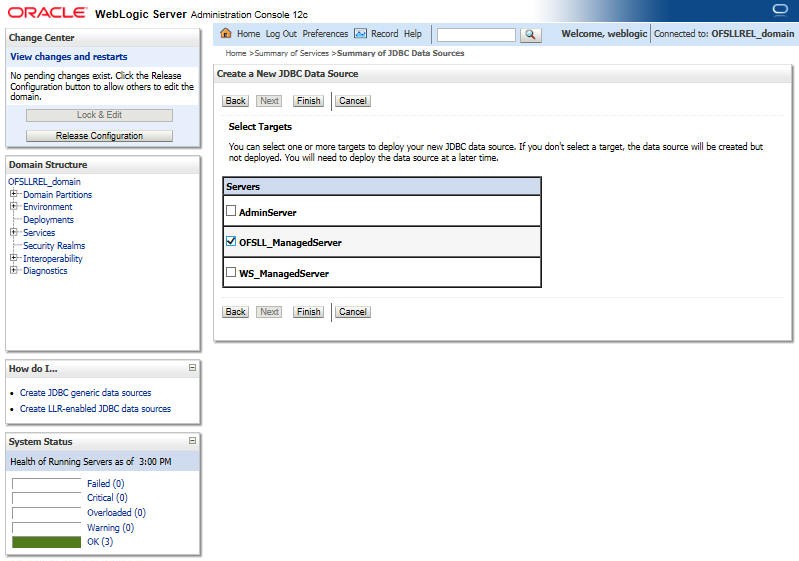
    The following window is displayed.

    Figure 8-10 Data Sources for JMS Queue 10


  15. Select target Server as OFSLL_ManagedServer.
  16. Click Finish to activate the changes.
Update the following parameters in JDBC data source connection pool:
  1. Select Services > Data Sources > select the QueueAppDS data source > Connection Pool.
  2. Initial capacity and Maximum capacity is defaulted to 30, if the number of concurrent users are more this needs to be increased.
  3. To Enable GRI (Generic Recovery Interface) CLOB logging from MDB to DB, click Advanced button and deselect the Wrap Data Types check box.
  4. Click Advanced button and update the Inactive Connection Timeout to 300 seconds.
  5. Click Save and restart the Data source.