1.1 Create Priority Code Maintenance
This topic provides the information to the user to create a priority code. In the subsequent steps, let’s look at the steps of creating a priority code:

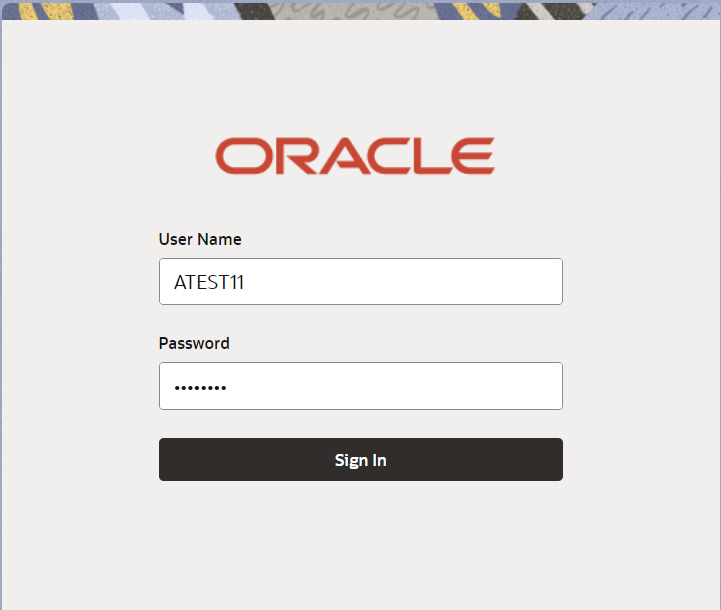
Description of the illustration loginscreen.png
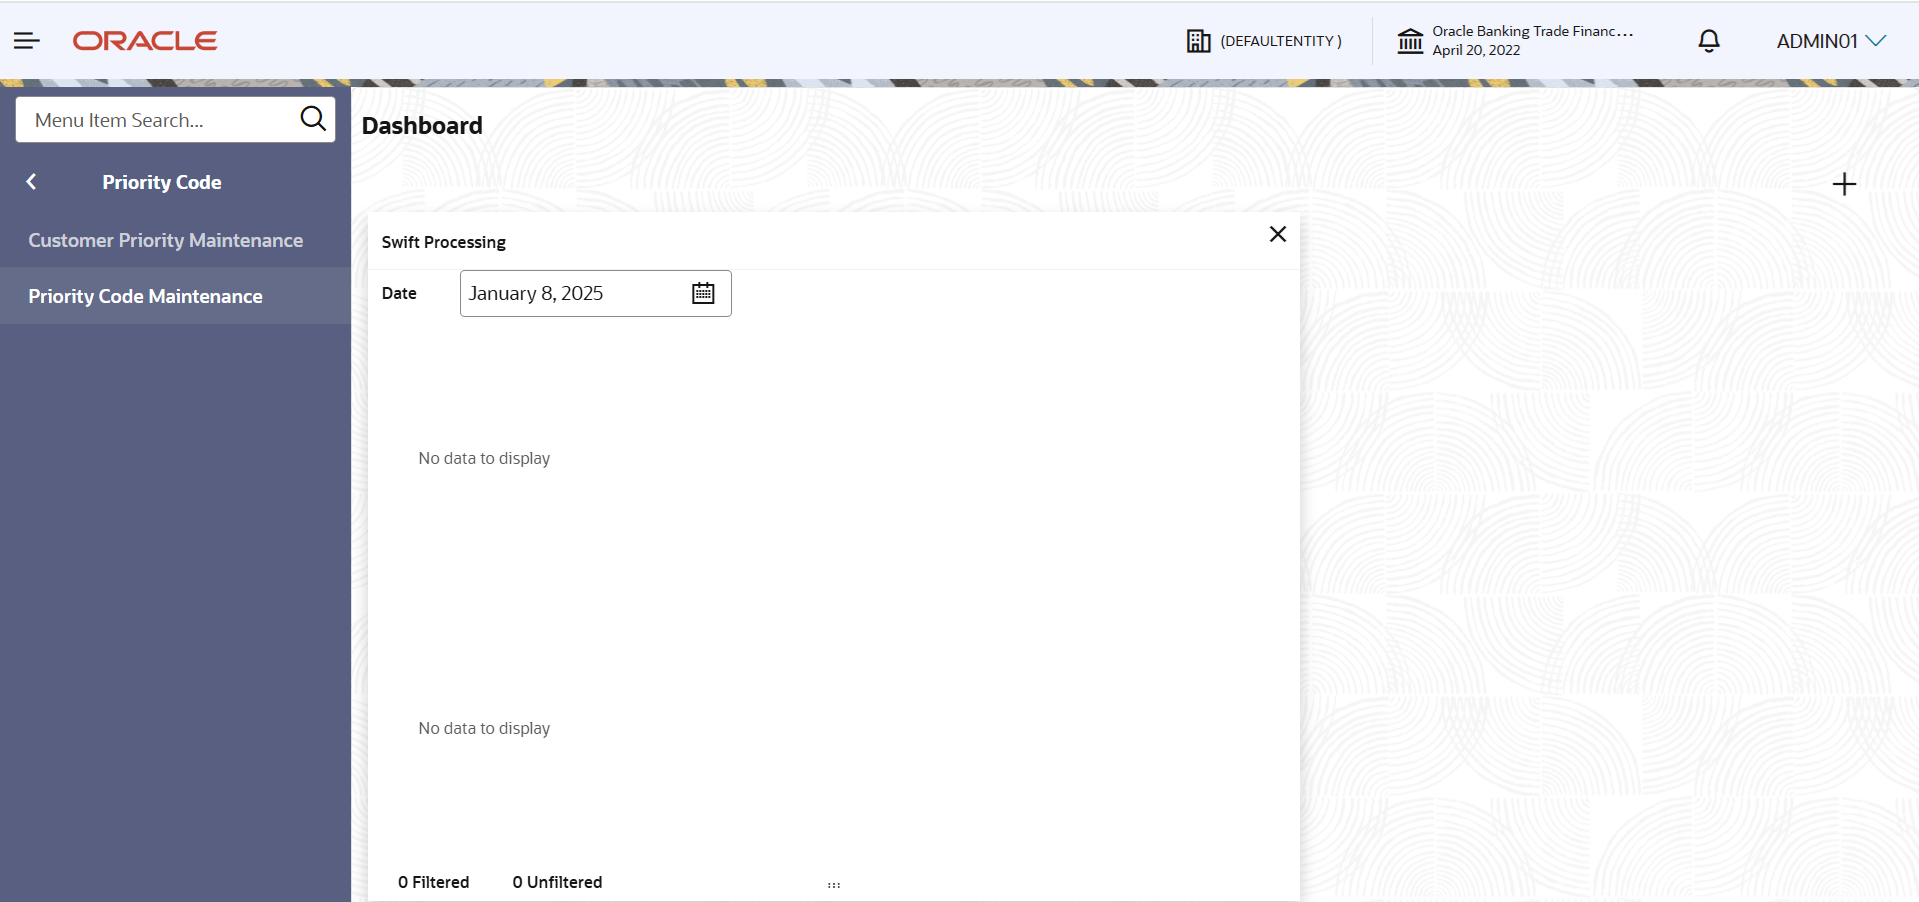
- On Home screen, click Core Maintenance. Under Core Maintenance, click Priority Code.
- Under Priority Code, click Priority Code
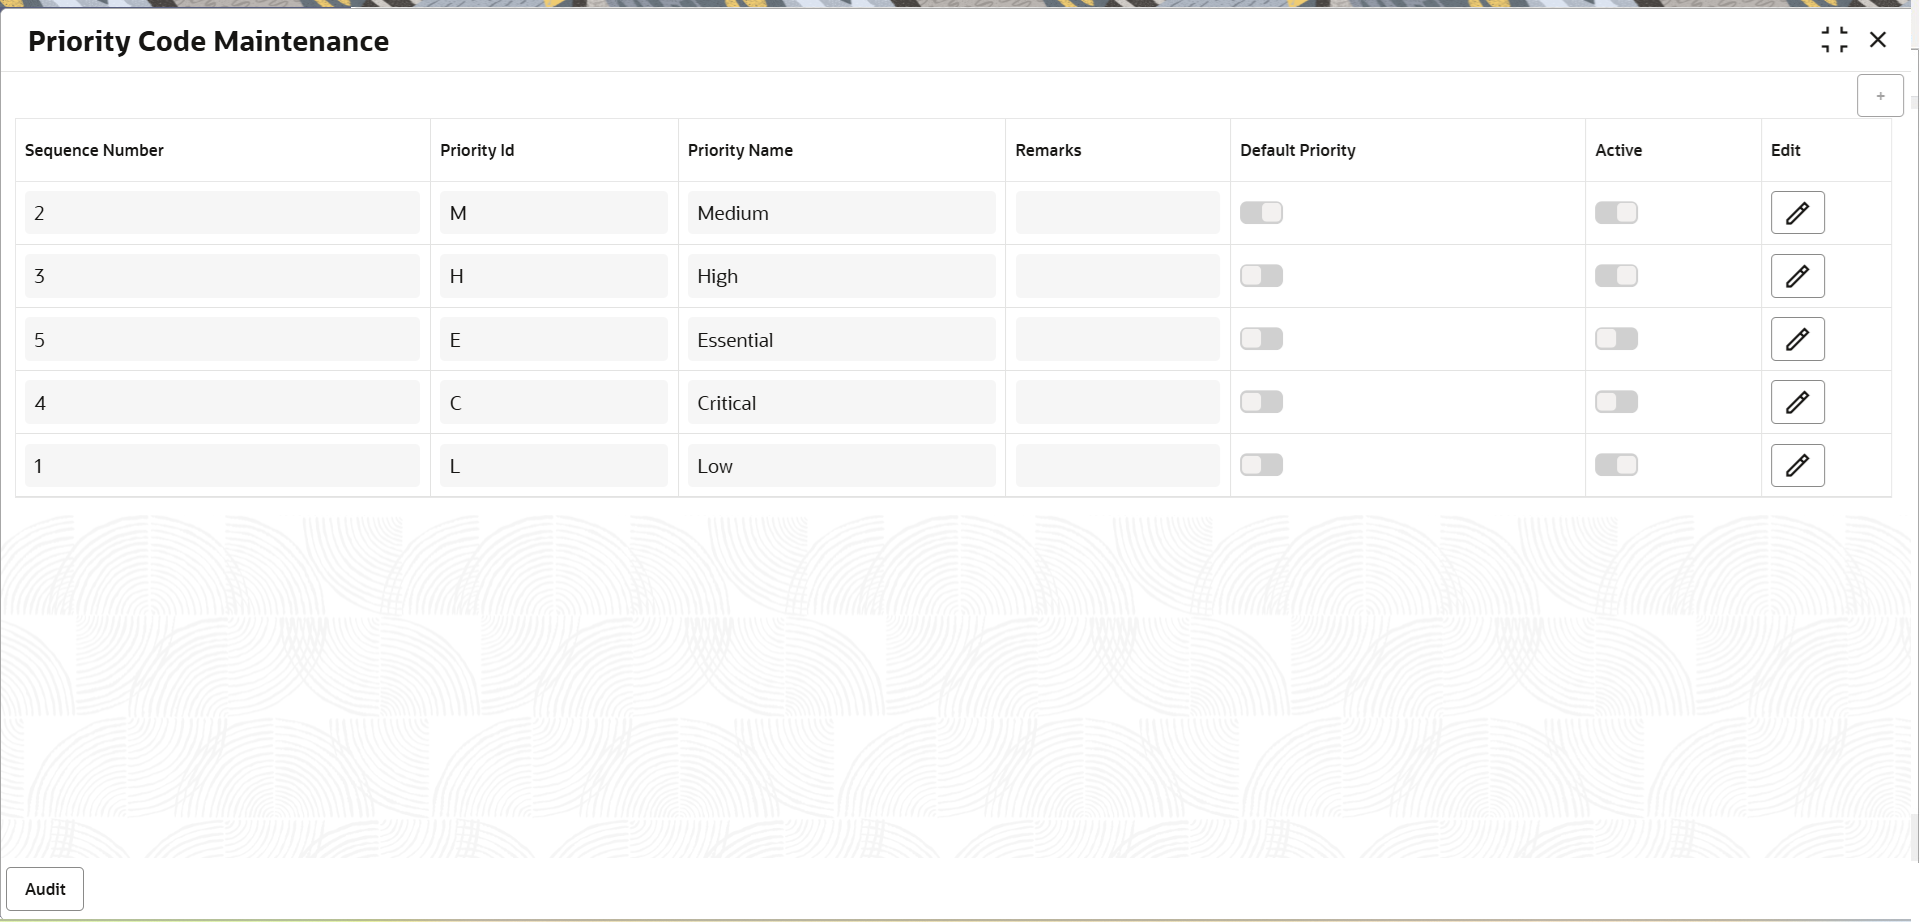
Maintenance.The Priority Code Maintenance screen gets displayed.
- Click
 icon to add priority code.
 - On Priority Code Maintenance screen, specify the
fields.
For more information on fields, refer to the field description table below.
Table 1-1 Priority Code Maintenance - Field Description
Field Description Sequence Number System defaults the sequence number from 1 to 5, where Code 1 denotes the least priority and Code 5 denotes the highest priority. System allows the user to add a maximum of 5 sequence number and exceeding the same system should disable the + button. Maximum of 5 sequence numbers are allowed as a part of this maintenance screen.
Priority Id Priority Id of the priority code. Priority Name Specify the priority name in which you like to have a priority against each Priority Code. Priority Name should be unique.
Remarks Specify the priority description. Default Priority Enable the option, to mark any one Priority Code as the default Priority. One Priority Code has to be mandatorily marked as “Default Priority” code.
If no default priority code is selected or more than one Priority Code is selected as Default Priority Code then System has to validate and display an error message.
Default Priority Code will be populated in the Task under Priority field, if no Priority Code is maintained for the Customer of the Task.
Active Enable the option, for the respective Priority code to be active. Only Active Priority Codes will be allowed for mapping in the “Customer Priority Code Maintenance” screen.
User can disable a priority code, in such cases if there are any underlying active tasks in that priority code then system has to show a warning message saying “The existing active transactions in the disabled priority will be changed to the default priority”.
At least one Priority Code has to be Active.
Edit Edit button to edit the records before save. - Click Save to save the record.The priority code gets created.
For more information on action buttons, refer to the field description table below.
Table 1-2 Priority Code Maintenance - Action Buttons - Field Description
Field Description Save Click the Save button to save the record. Cancel Click the Cancel button to cancel the record.
Parent topic: Priority Code Maintenance

