1.1 Create Customer Priority Maintenance
This topic provides the information to the user to create a customer priority. In the subsequent steps, let’s look at the steps of creating a customer priority maintenance process:

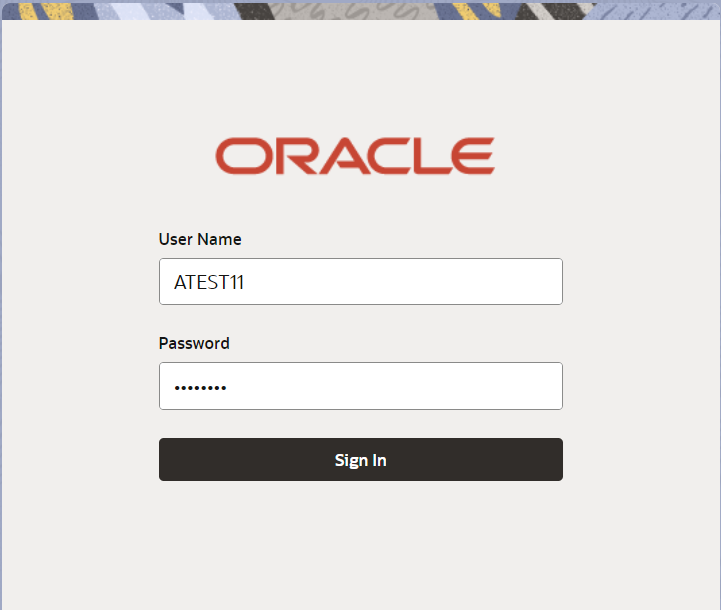
Description of the illustration loginscreen.png
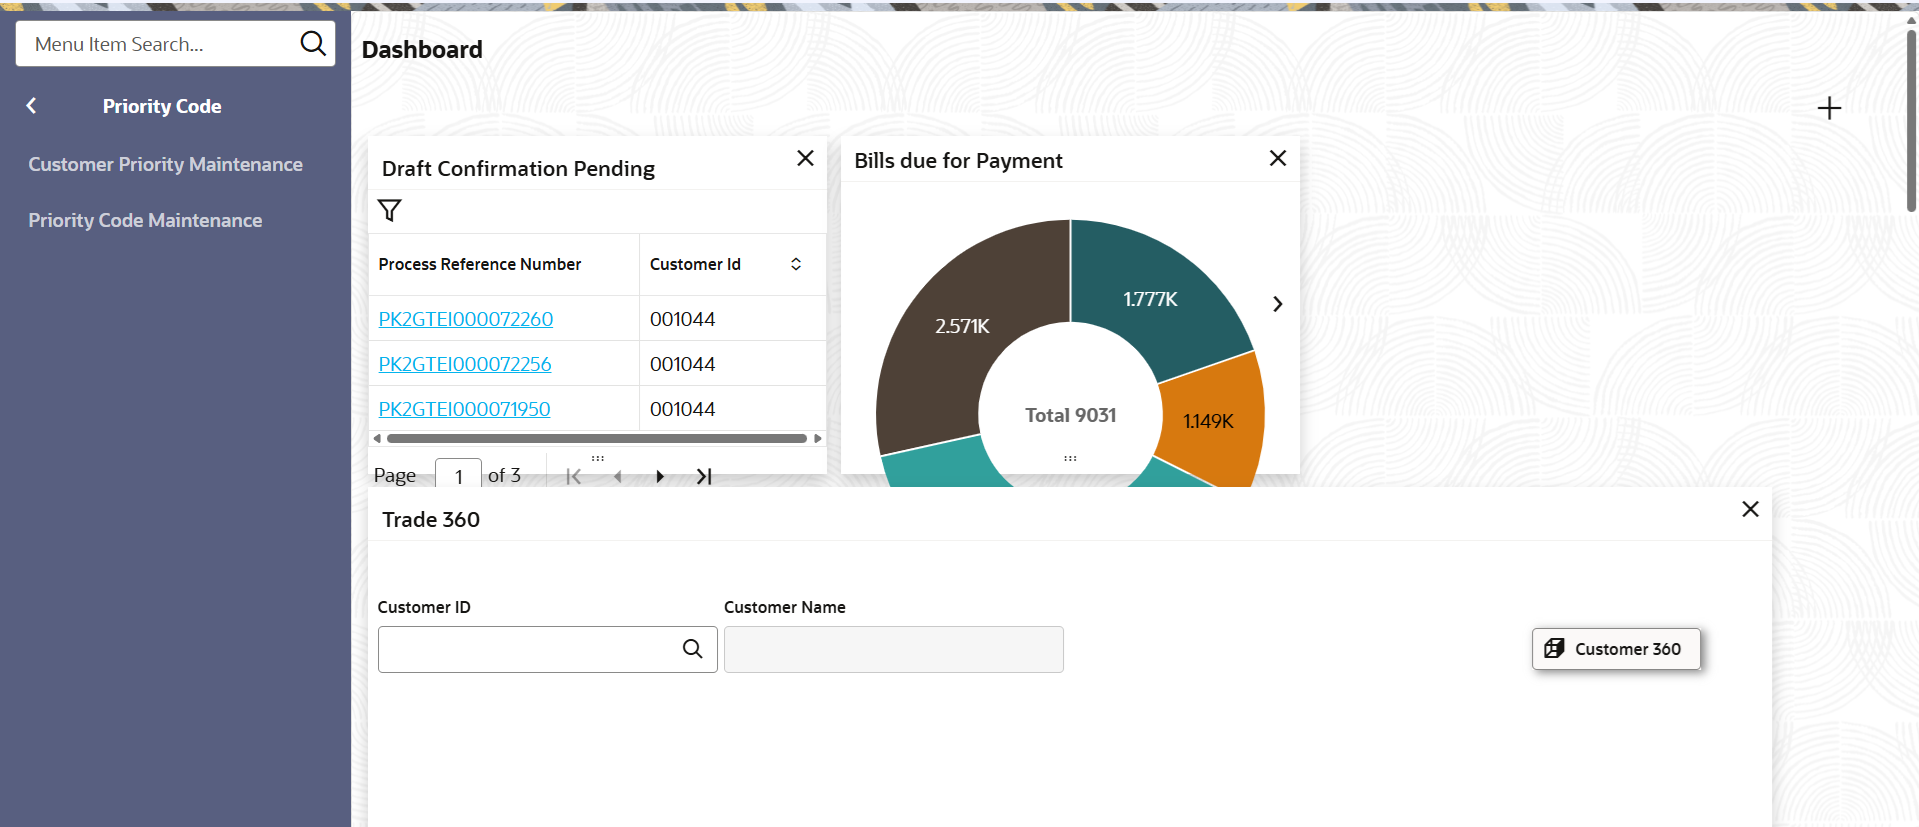
- On Home screen, click Core Maintenance. Under Core Maintenance, click Priority Code.
- Under Priority Code, click Customer Priority
Maintenance.
Figure 1-1 Customer Priority Maintenance - Menu

Description of the illustration customerprioritymaintenance_menu.pngThe Customer Priority Maintenance screen gets displayed. - Click
 icon to add customer priority.
 - On Customer Priority Maintenance screen, specify the
fields.
For more information on fields, refer to the field description table below.
Table 1-1 Customer Priority Maintenance - Field Description
Field Description Customer Number Specify the customer number or click Search to search and select the customer number from the look-up. Customer Name Read only field. System defaults the customer name for the selected Customer number.
Branch System defaults the branch details. Process Code Specify the process code or click Search to search and select the process code from the lookup. System fetches all the process code from LOV along with “ALL” option.
Process Name Read only field. System defaults the process name for the selected Process code.
Priority Select the priority of the process code. System fetches the list of active Priority Names maintained in the “Priority Code Maintenance” screen.
Edit Edit button to edit the records before save. - Click Save to save the record.The Customer Priority gets created.
For more information on action buttons, refer to the field description table below.
Table 1-2 Customer Priority Maintenance - Action Buttons - Field Description
Field Description Save Click the Save button to save the record. Cancel Click the Cancel button to cancel the record.
Parent topic: Customer Priority Maintenance
