- WebLogic Deployment
- Deploying Oracle Banking Payments on WebLogic
- Deploying Application in Oracle WebLogic
- Deploying Gateway/Scheduler Applications from WebLogic Administration Console
Deploying Gateway/Scheduler Applications from WebLogic Administration Console
- Start the Administrative Console of the WebLogic application server. Enter the
Oracle WebLogic Admin Console URL in the address bar in an internet browser.
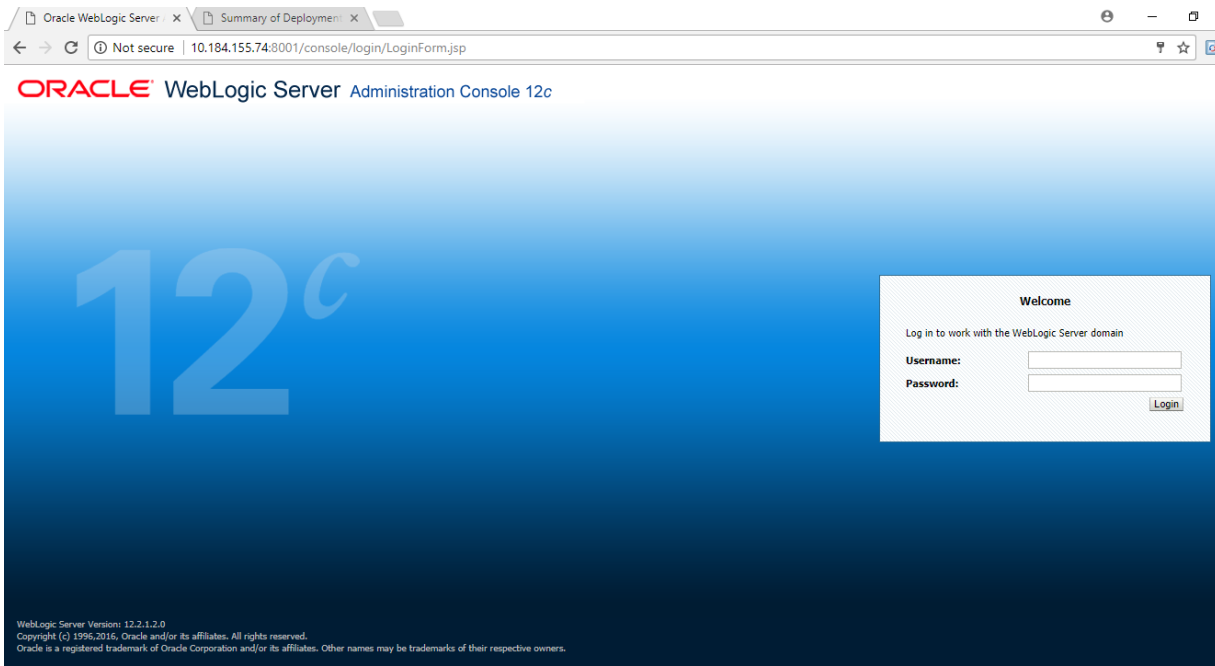
Oracle Weblogic Server - Welcome screen is displayed.
Figure 2-25 Oracle Weblogic Server - Welcome
- Specify the WebLogic Administrator Username, Password and click Log
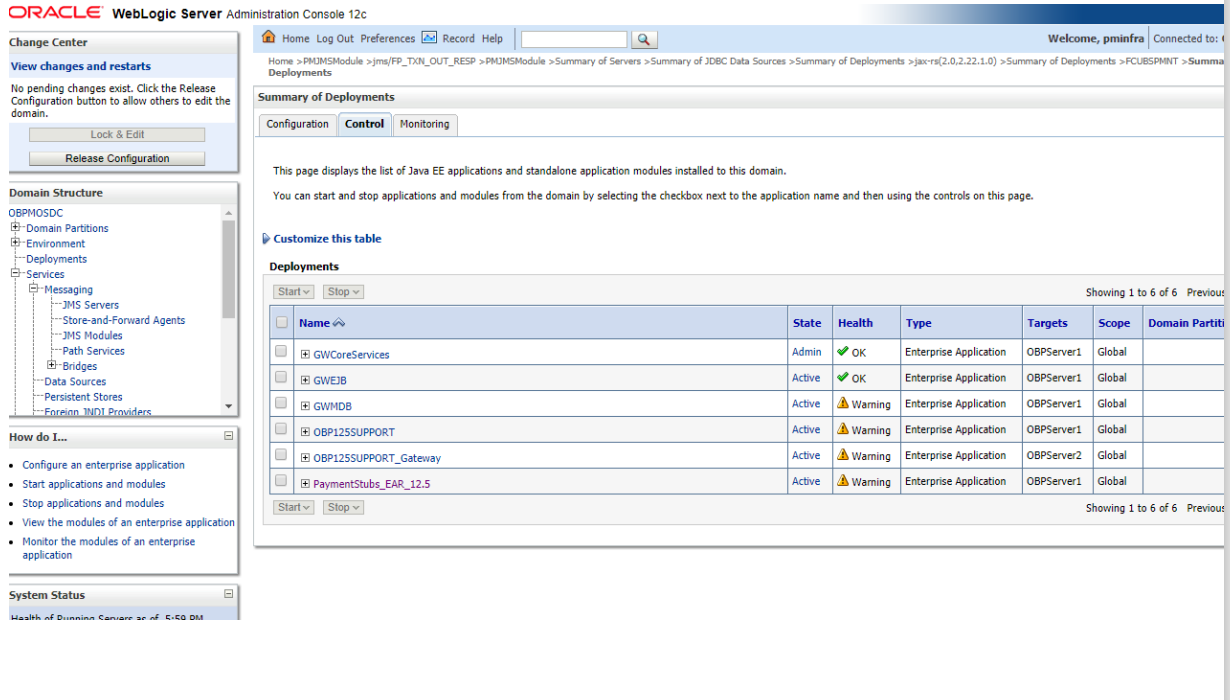
In.Oracle Weblogic Server - Home Page screen is displayed.
Figure 2-26 Oracle Weblogic Server - Home Page
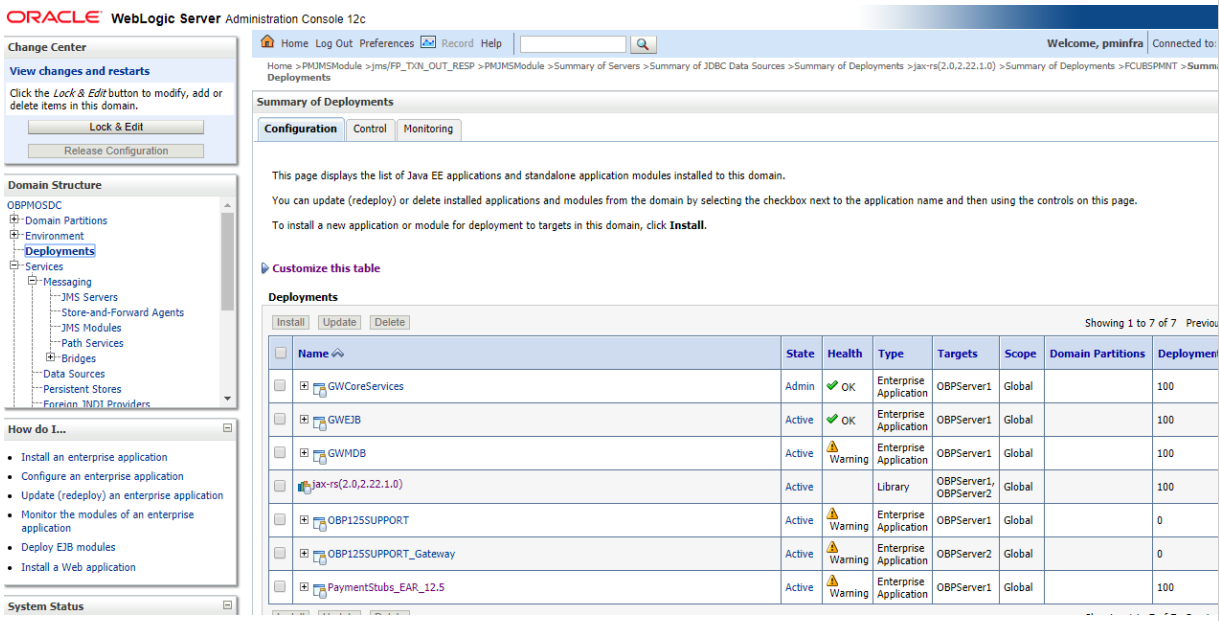
- Deploy an EAR. For e.g. ‘GWEJB.ear. On the left pane, under Domain
Structure, expand Deployments and services under it. Click the
Lock & Edit button.Summary of Deployments screen is displayed.
- Click Install button. The following screen is
displayed:
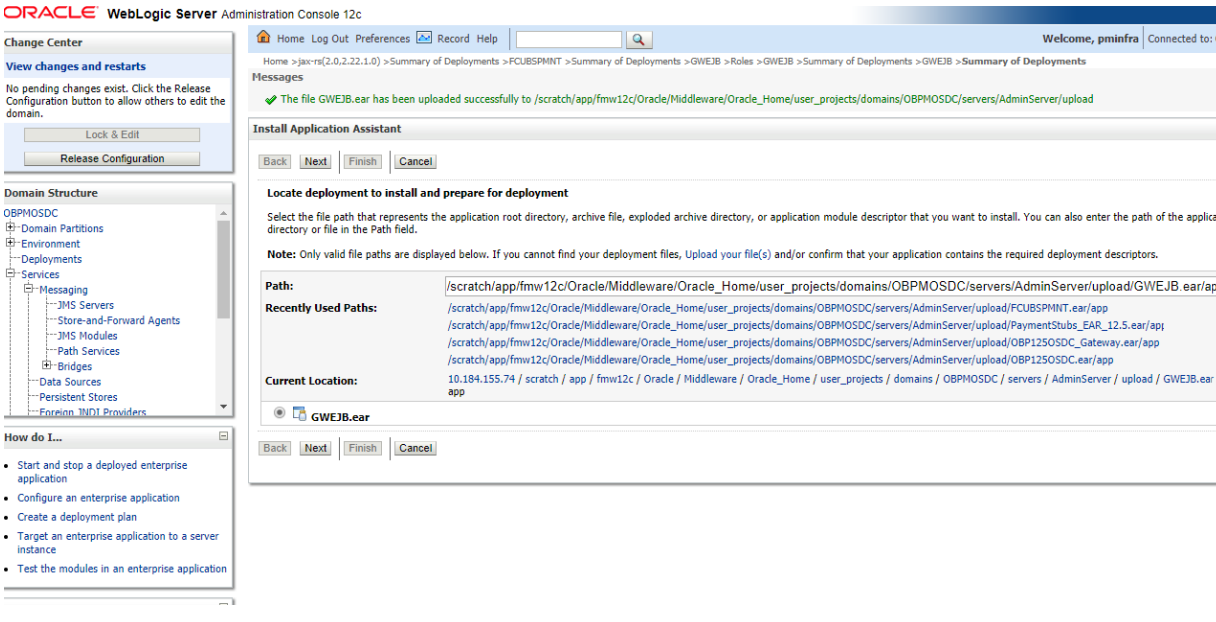
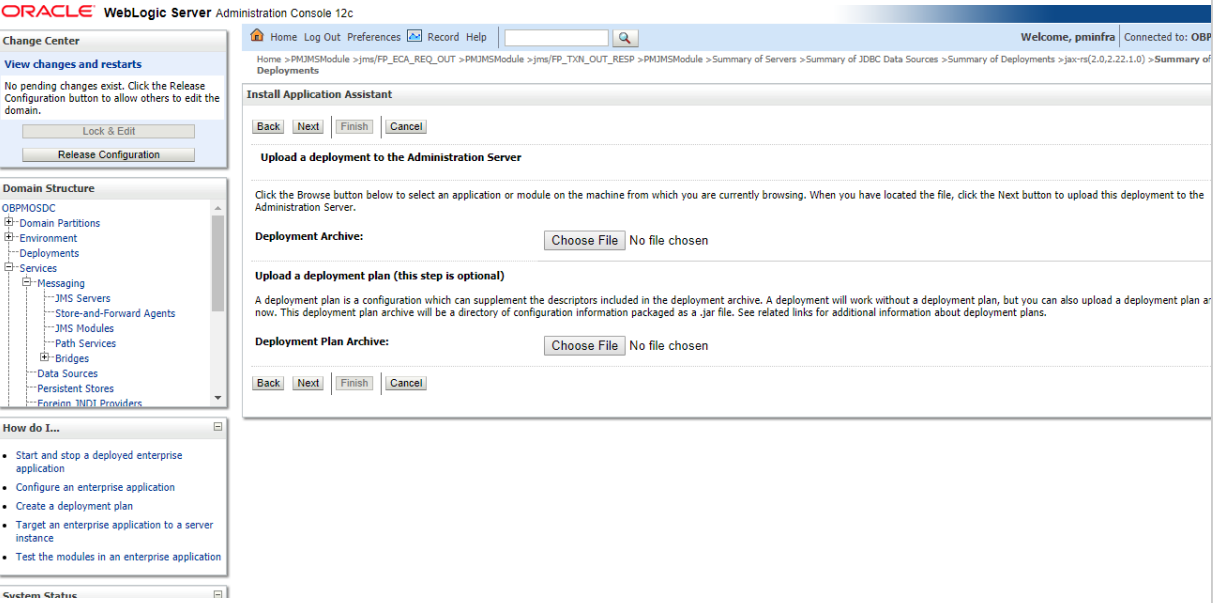
- In order to specify the path/location of the enterprise archive file, click the link upload your file
- Click Next. The following screen is displayed.
- Specify the EAR file path. You can use the Browse button to locate the file.
- Click Next. The following screen is displayed.
- Select the application from the list.
- Click Next. The following screen is displayed.
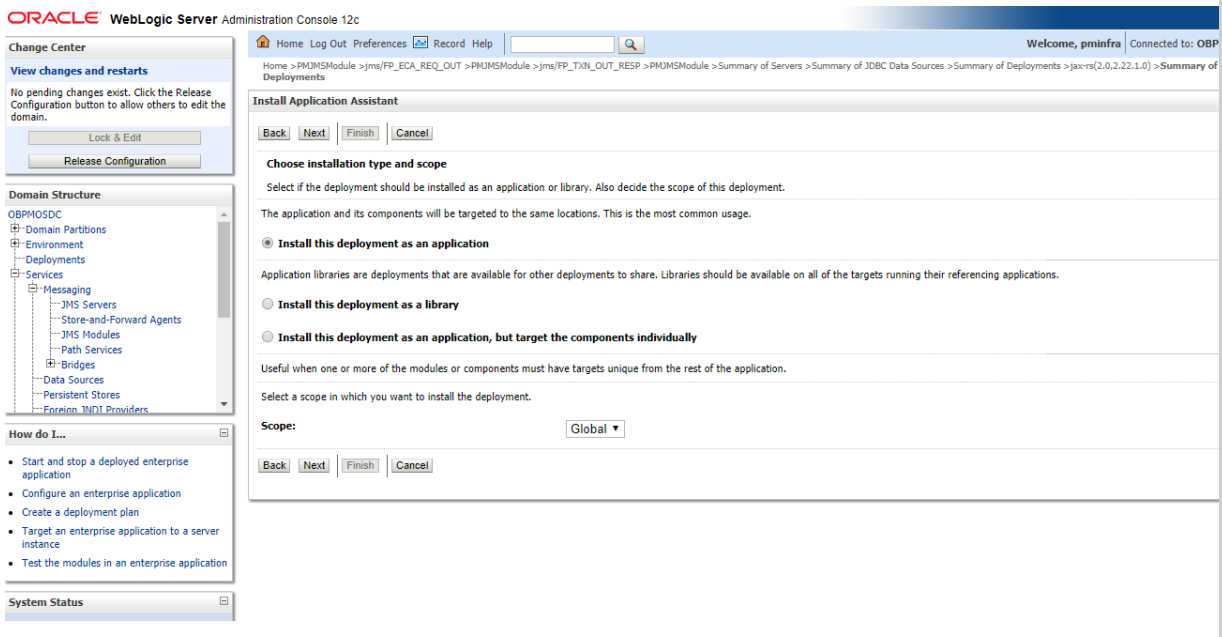
- Choose the targeting style Install this deployment as an application.
- Click Next. The following screen is displayed
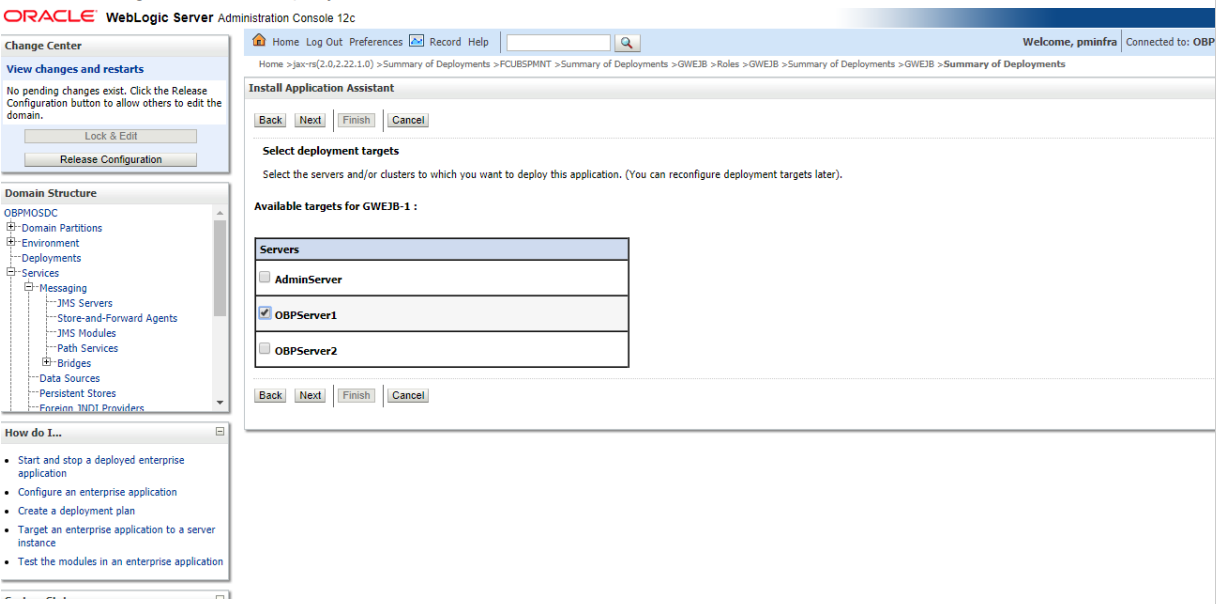
- Select the target of the application. You can choose the server AdminServer or Managed Server(s).
- Click Next. The following screen is displayed
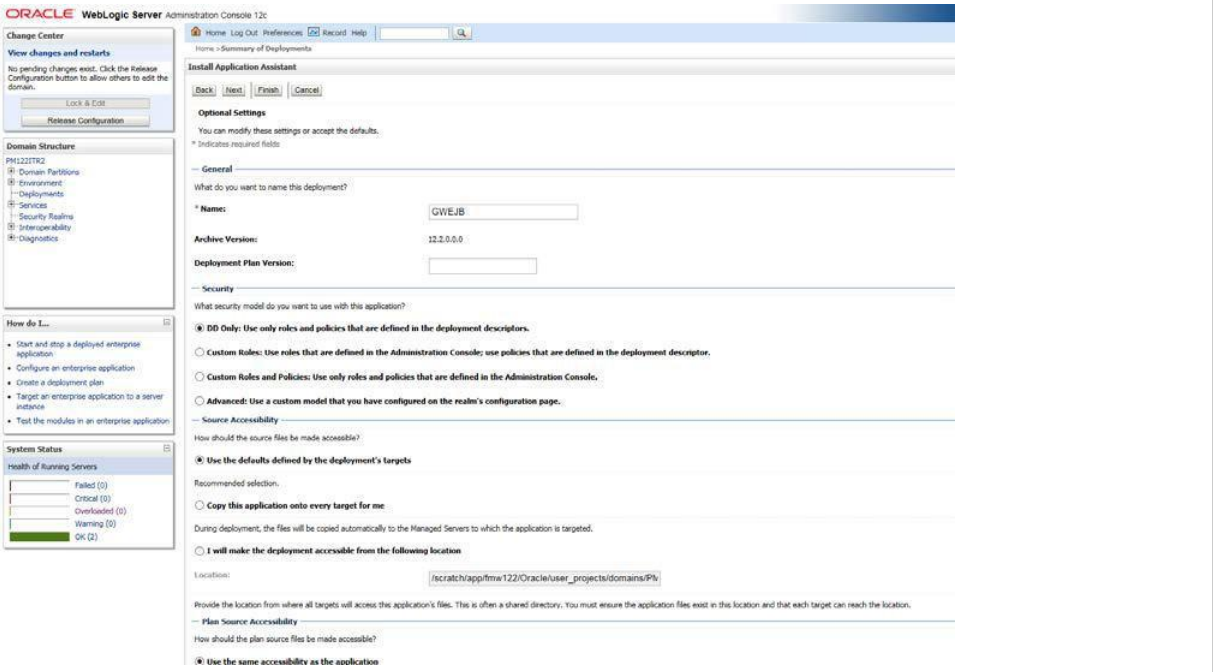
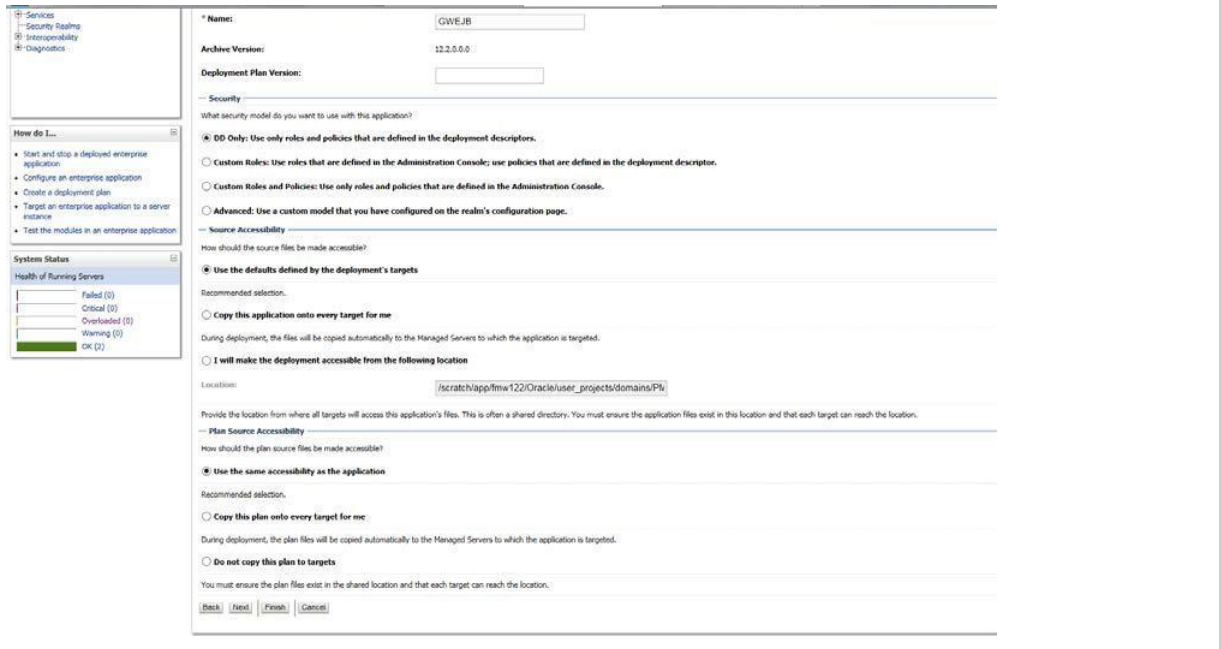
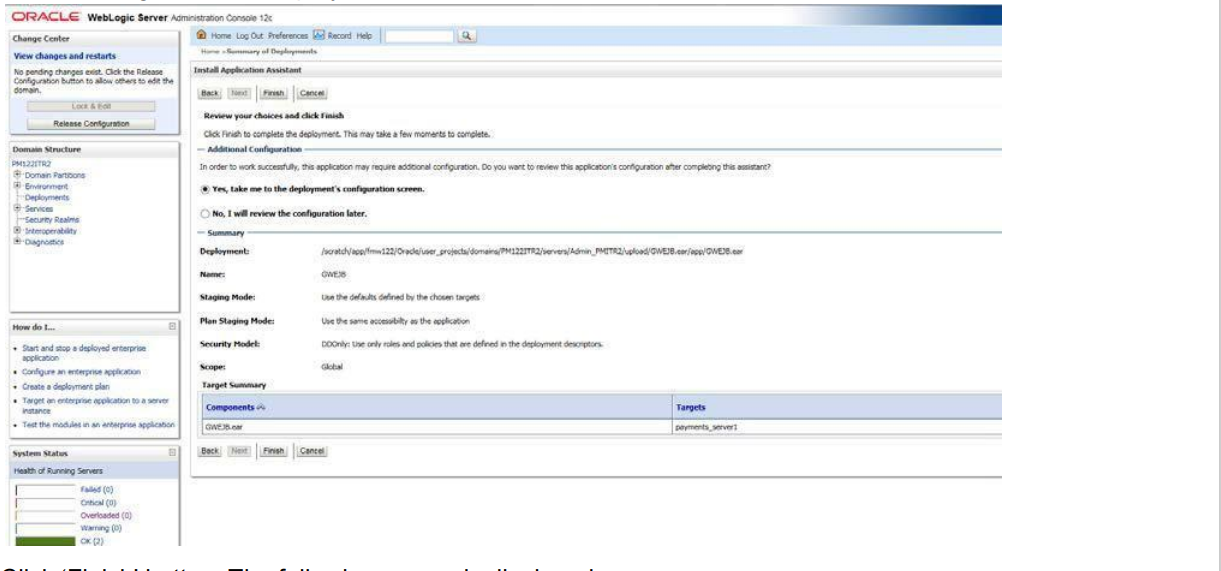
- Check the deployment name. The remaining portion of the screen is shown below:
- Check whether the deployment location is accessible or not. The following
screen is displayed.
- Click Finish button. The following screen is
displayed.
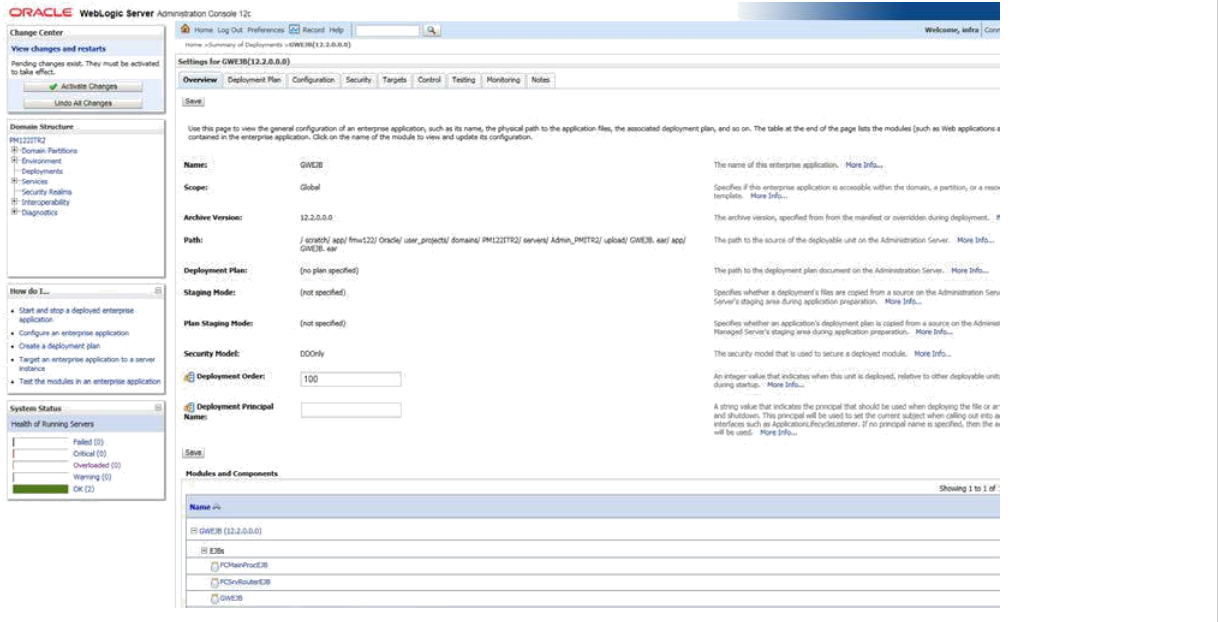
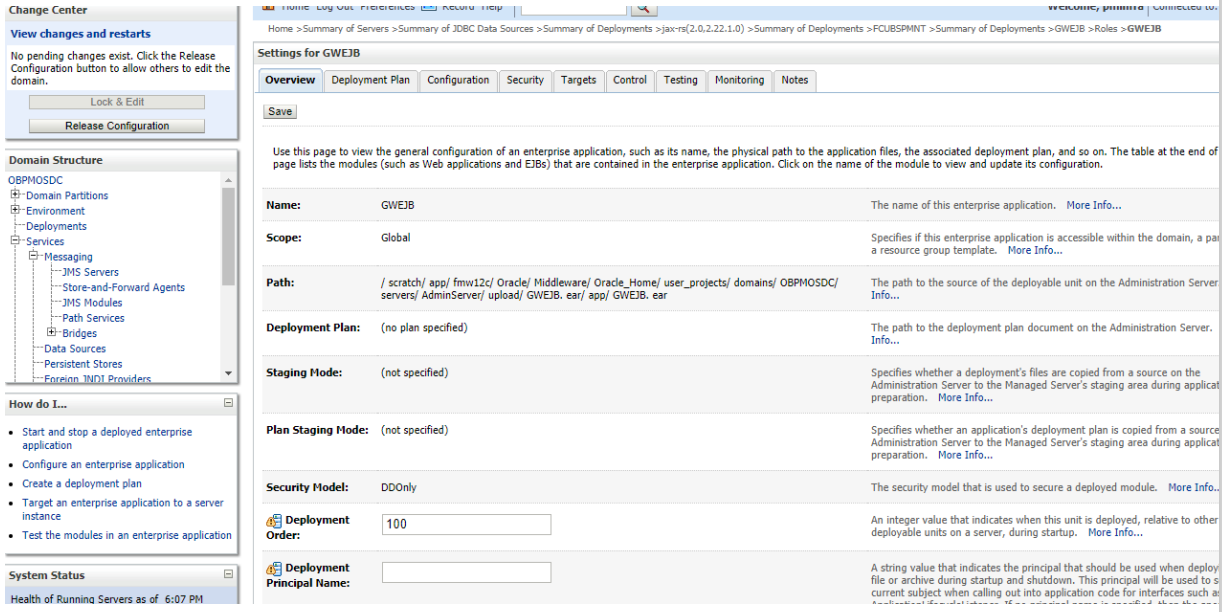
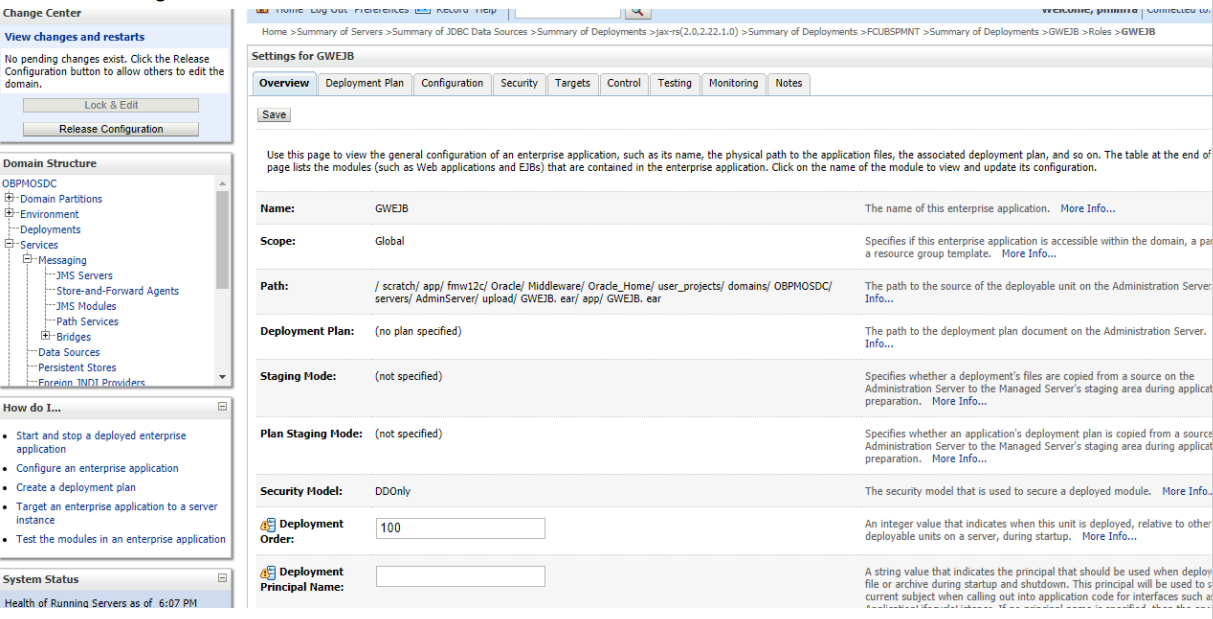
- Click Save button. The message Settings
updated successfully is displayed.
- Click Activate Changes button on the left pane. The
message All the changes have been activated. No restarts are
necessary is displayed. The screen is given below:
- Click Deployment on the left pane. Switch to Control tab
.The following screen is displayed.
- Click Start drop-down button and select
Servicing all requests. The following screen is
displayed.
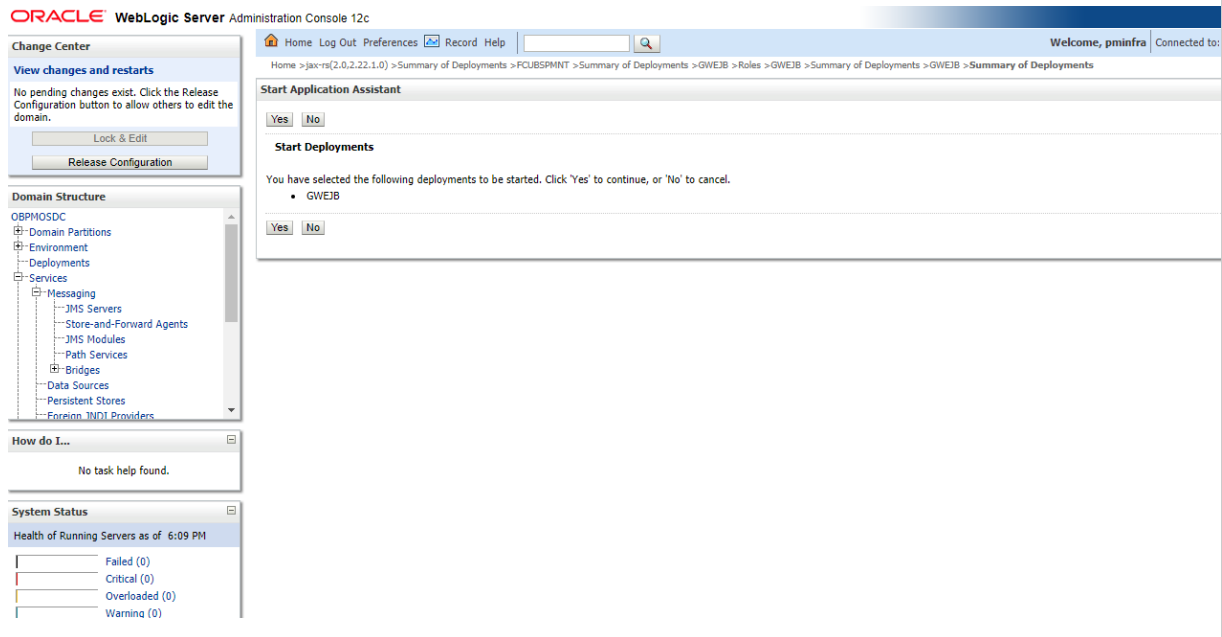
- Click Yes. The following screen is displayed.
This completes the deployment process.
Parent topic: Deploying Application in Oracle WebLogic
