1.2 Steps to Install OBX
This topic provides the systematic information to install Oracle Banking Extensibility Workbench application using installer.
This guide outlines the steps to install and configure the OBX development environment on your Windows machine.
- Remove any previously installed NodeJS or Gradle on the machine and restart the machine.
- Create a folder named OBX in your C drive.
- Create one more folder inside OBX with the name OBX_Workbench. Extract OBX-14.7.5.0.0.zip folder on your local directory in C:\OBX\OBX_Workbench folder.
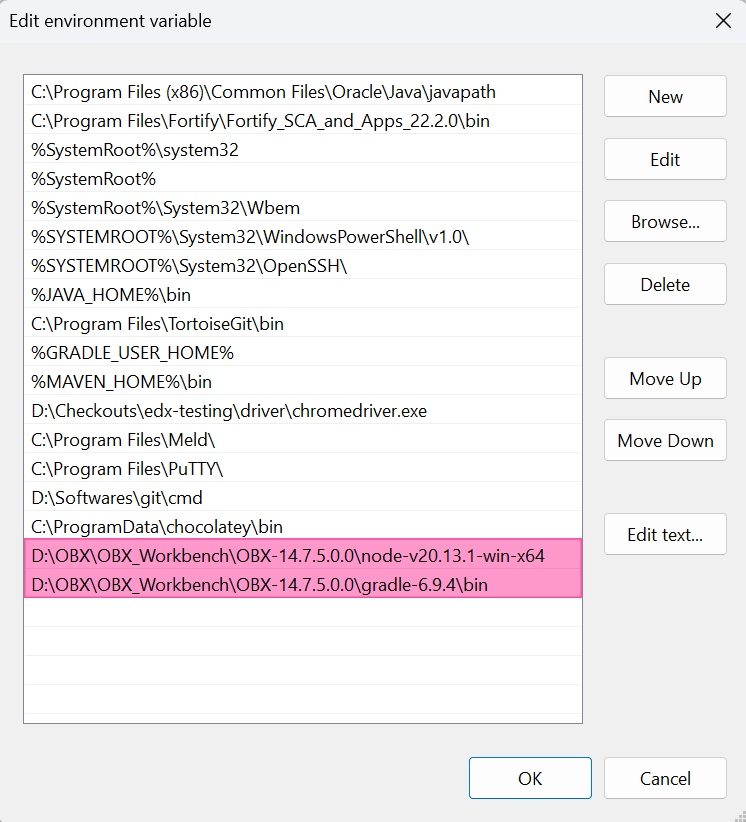
- Set the Environment Variable for Gradle, Node by modifying the Path of System Variables.
- Point the path to extracted folder of OBX.
- Run the following command to delete any existing configuration settings of npm:
npm config delete prefix. - Copy the node module path which was set above as an environment variable value. Run the following command to set a custom directory path where globally installed npm packages:
npm config set prefix "your node module path"Example:
npm config set prefix "C:\Obx\OBX-14.7.0.0.0-Copy2onlyNode\OBX-14.7.0.0.0\node-v20.13.1-win-x64". - Save all the settings and open cmder or command prompt.
- Create a directory extension_home in OBX folder like C:\OBX\extension_home.
- Through cmder or command prompt, navigate to extension_home folder.
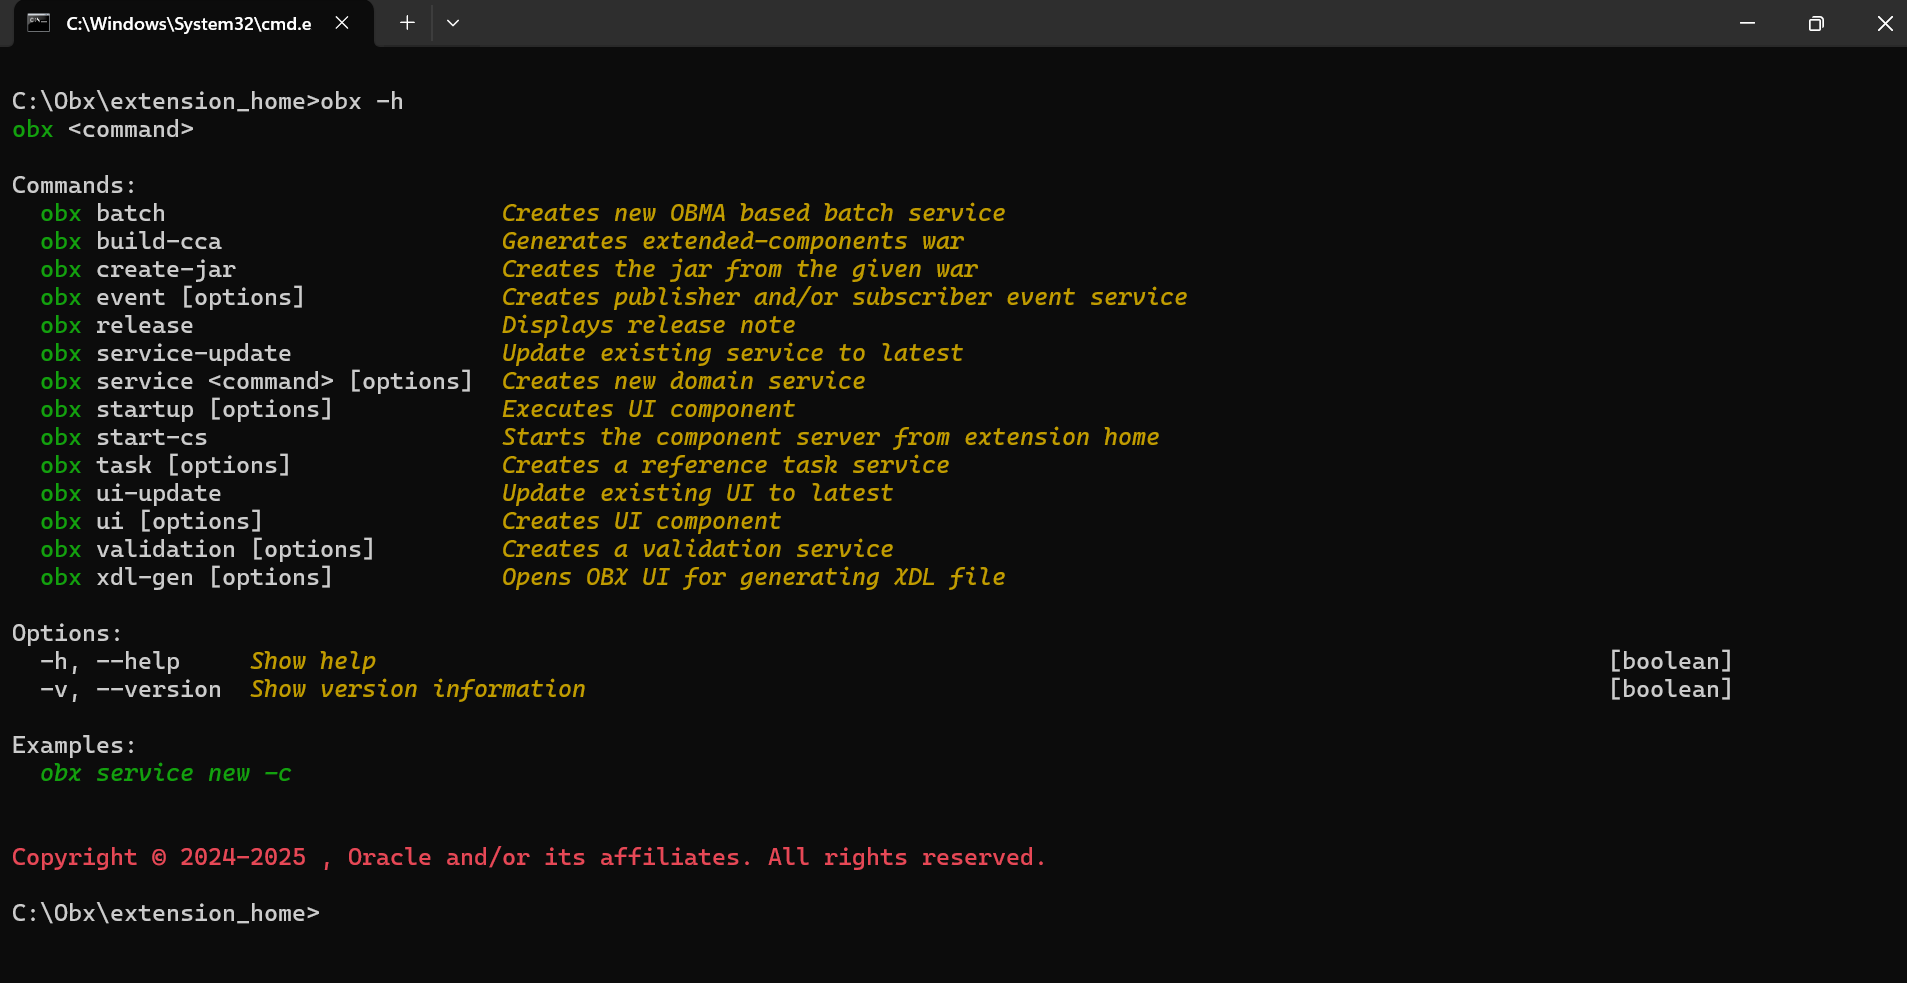
- Verify the Installation by using the command obx -h.
Parent topic: OBX Setup


