6.3 Overview
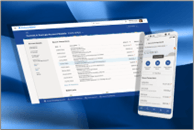
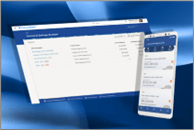
The Overview Template is used to display detailed information about a specific product or listing. It is always paired with a relevant product or listing context and is typically navigated to from a Listing Page.
Structure
The template is divided into two main sections:
- Side Panel
A compact section that displays key summary details of the product or listing.
- Overview Body
A larger, scrollable area that presents in-depth and dynamic content such as:
- Tables
- Graphs
- Stats
- Other associated details
Listing Page
This page typically includes a Tabular, Grid View or List View component. It fetches and displays data based on the attached business service.
Properties of the Overview Template:
This template includes properties of ‘Listing Page’ and ‘Overview Page’
Following are the properties of this component:
- Empty State (Listing Page): Boolean
- Listing Page
- Listing Menu: Boolean
- Show Bottom Footer: Boolean
- Listing Body: Instance Swap
- Listing Header
- Title: Text Input
- Show Subtitle: Boolean
- Action Slot: Boolean
- Listing Body: Instance Swap
- Overview Page
- Overview Menu: Boolean
- Show Bottom Footer: Boolean
- Side Panel: Instance Swap
- Overview Header
- Title: Text Input
- Context Switcher: Boolean
- Show Subtitle: Boolean
- Action Slot: Boolean
- In App Navigation (Bottom Footer): Nested Instance Properties as provided by Redwood Design
How to design an overview template using the UX Plugin:
- Step 1: Design the Main Components
Create the Overview Body and Side Panel components in Figma.
These form the two primary sections of your overview layout—the body for detailed content and the side panel for key summary info.
- Step 2: Export as Business Components
Export both components individually as Business Components.
This ensures they can be reused and referenced when building the final template.
Note:
The procedure to export business components is the same as exporting individual pages. Link to Export to Toolkit – Individual Page. - Step 3: Generate Overview Layout
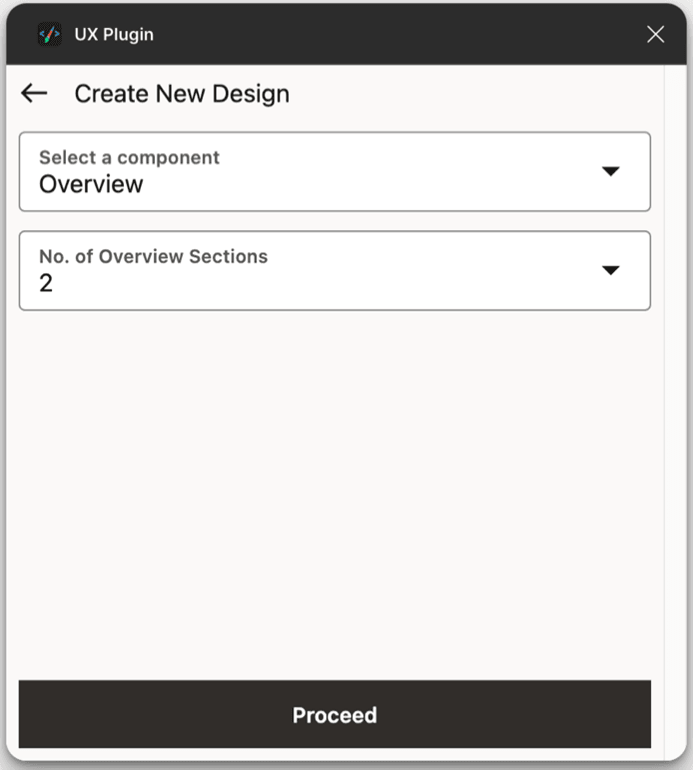
Run the plugin and use the Create New feature to create a pre-structured overview layout.
Specify how many overview sections you need.
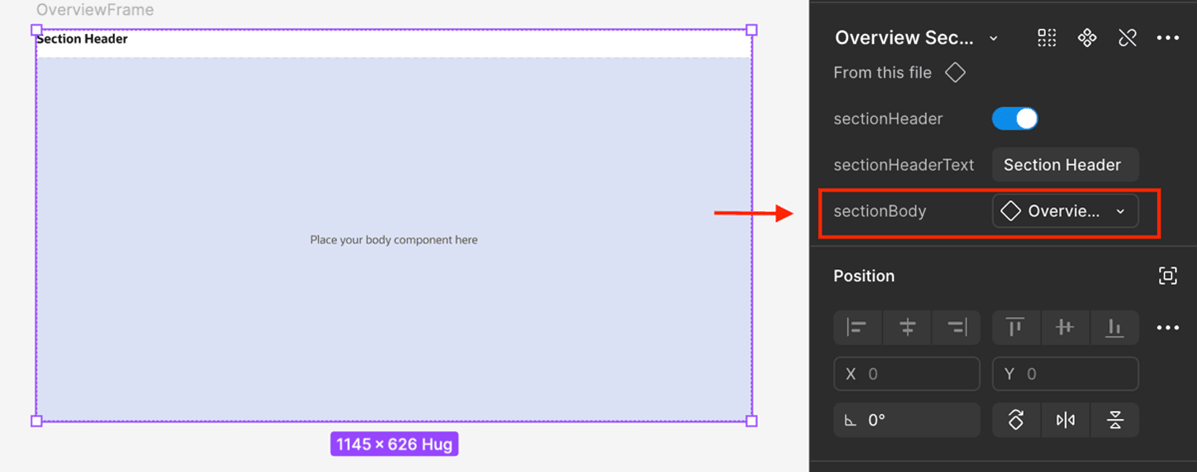
- Step 4: Replace Placeholder Content
After the layout is generated, replace the dummy overview body with your actual Overview Body component.
This lets you retain the plugin’s structure while using your real design.
Next Step
After this, convert the design into Overview Component – Link to the procedure of Convert to Template – Overview.
Parent topic: List of Templates


