3.4 Close Virtual Entity
- Perform any one of the following navigation to access View Virtual Entity
Screen.
- From the Dashboard, click Toggle menu, click Virtual Account Management, then click Virtual Entity. Under Virtual Entity, click View Entity
- From the Dashboard, click Toggle menu, click Virtual Account Management, then click Overview, and then click Entity Summary. Under Entity Summary, click View Entity
- In the Virtual Entity ID field, enter the unique ID of
the virtual entity whose details you want to edit. User can also Perform any one
of the following action:
- In the Virtual Entity Name field, enter the name of the virtual entity whose details you want to edit.
- Click the desired record under the Virtual Entity ID & Name column.The record details appears.
- User can perform any one of the following action:
- Click Search to view virtual entities.
- Click Clear to reset the entered data.
- Click Cancel to cancel the Parent Account selection.
- Click the Virtual Entity ID & Name link.The Virtual Entity - View screen appears.
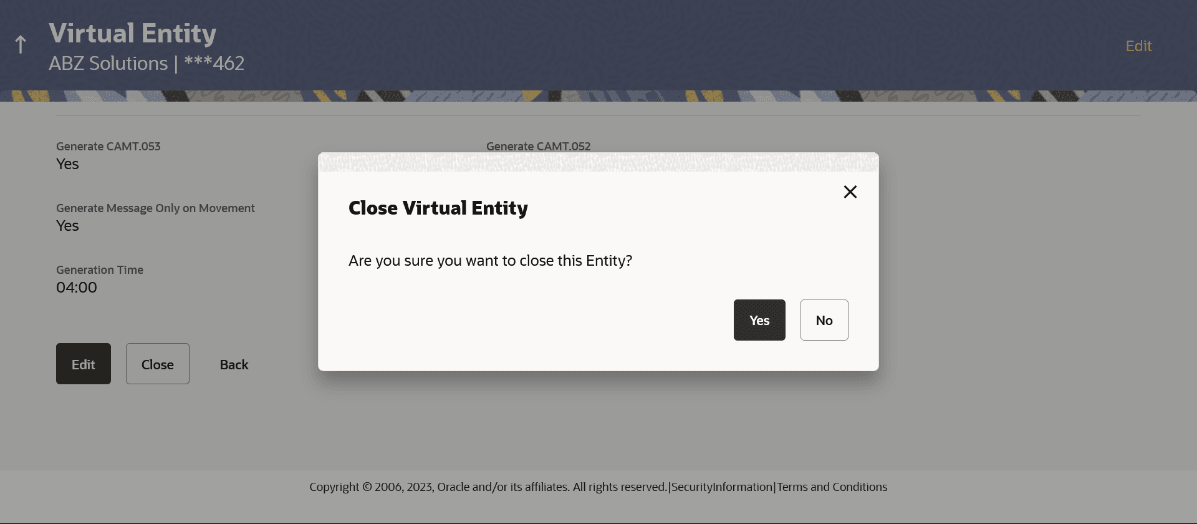
- Click Close to close the virtual entity.The message appears prompting for record closing.
Note:
You can close an entity, only if all the Virtual Accounts are closed. - User can Perform any one of the following action:
- Click Yes to close the virtual entity. The success message of Virtual Entity deletion appears along with the reference number.
- Click No if you do not wish to close the Virtual Entity.
- Click Go to Dashboard to navigate to the dashboard screen.
Parent topic: Virtual Entity
