5.6 Account Preferences
You can set or modify the preferences for the CASA account using this screen.
To set the account preferences:
Note:
The fields marked as Required are mandatory.- On the Homepage, from Account
Services, under Maintenance, click
Account Preferences, or specify the
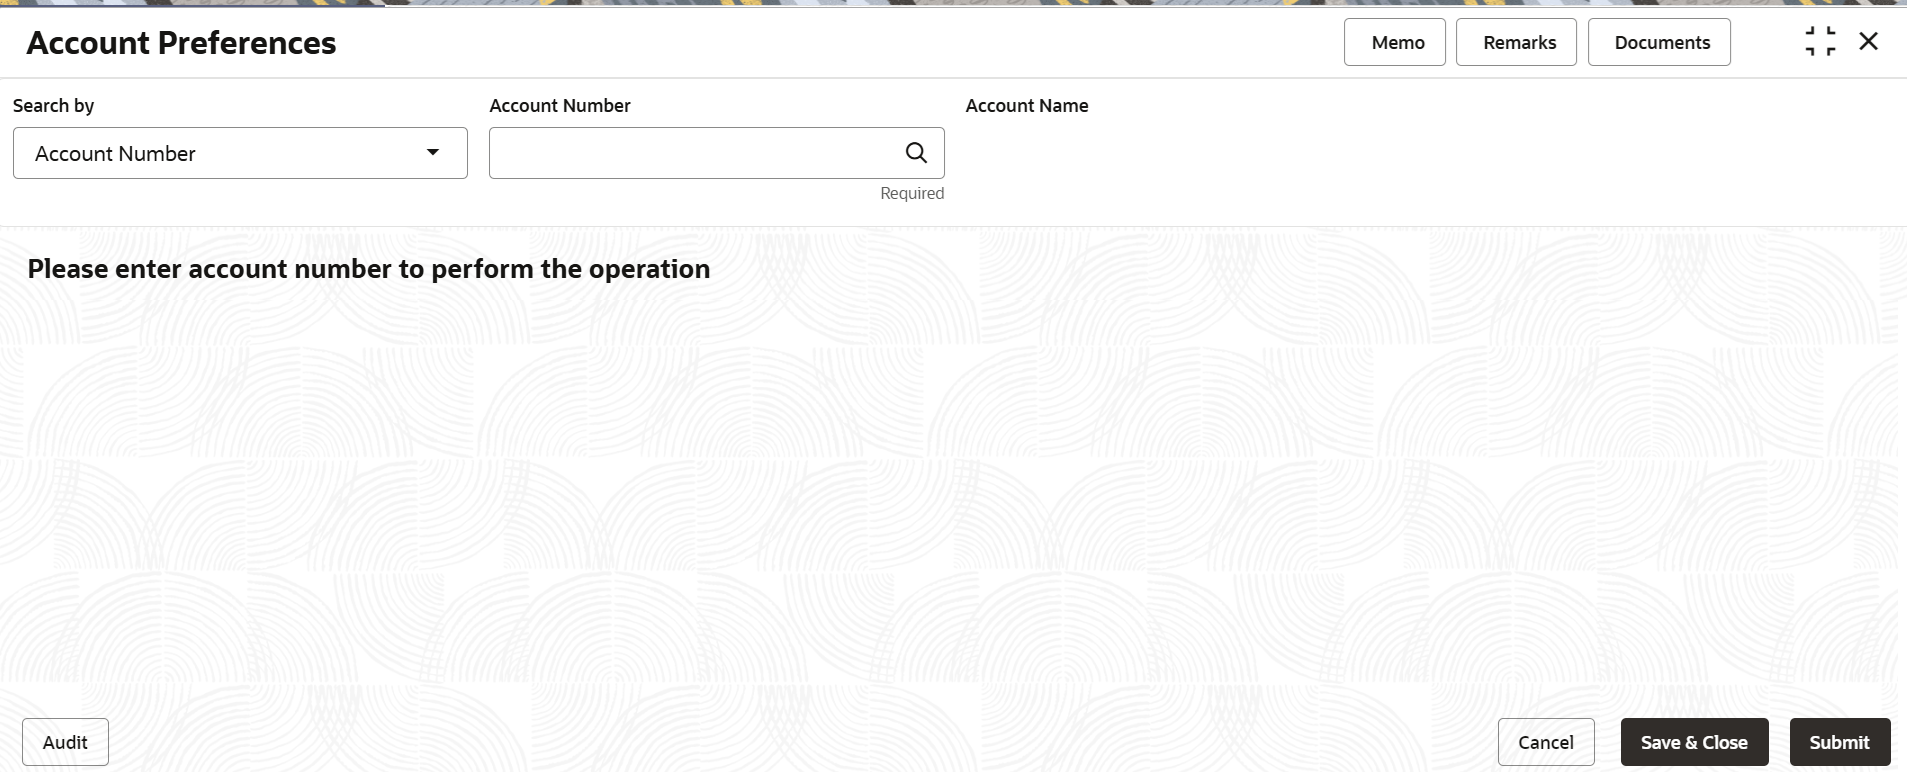
Account Preferences in the Search icon bar.The Account Preferences screen is displayed.
- On Account Preferences screen, specify the fields. The fields to set the preferences for the account are displayed.
- On the Account Preferences screen, you can set the
preferences for the account based on the requirement.For more information on fields, refer to the field description table.
Table 5-12 Account Preferences - Field Description
Field Description Search by Users can search for an account number by using any of the available search criteria. The account number is set as the default search option. Users can specify the account number directly in the adjacent field or search for an account number by clicking the Search icon. Users can also search for the specific account number by providing customer ID, account number, or account name.
Other search options available in the Search by field are Customer ID, SSN, Mobile Number, and Email.
A specific customer ID can be searched by providing the customer name or customer ID. If SSN, mobile, or email IDs are chosen to find an account number, the respective IDs have to be input entirely in the adjacent field for the system to display the account number. For a given search criteria, multiple account numbers may be linked.
For example, two or more account numbers can be linked to a single mobile number. In such cases, the system displays all the account number matches and the user can select the relevant account number on which to perform a servicing operation.Note:
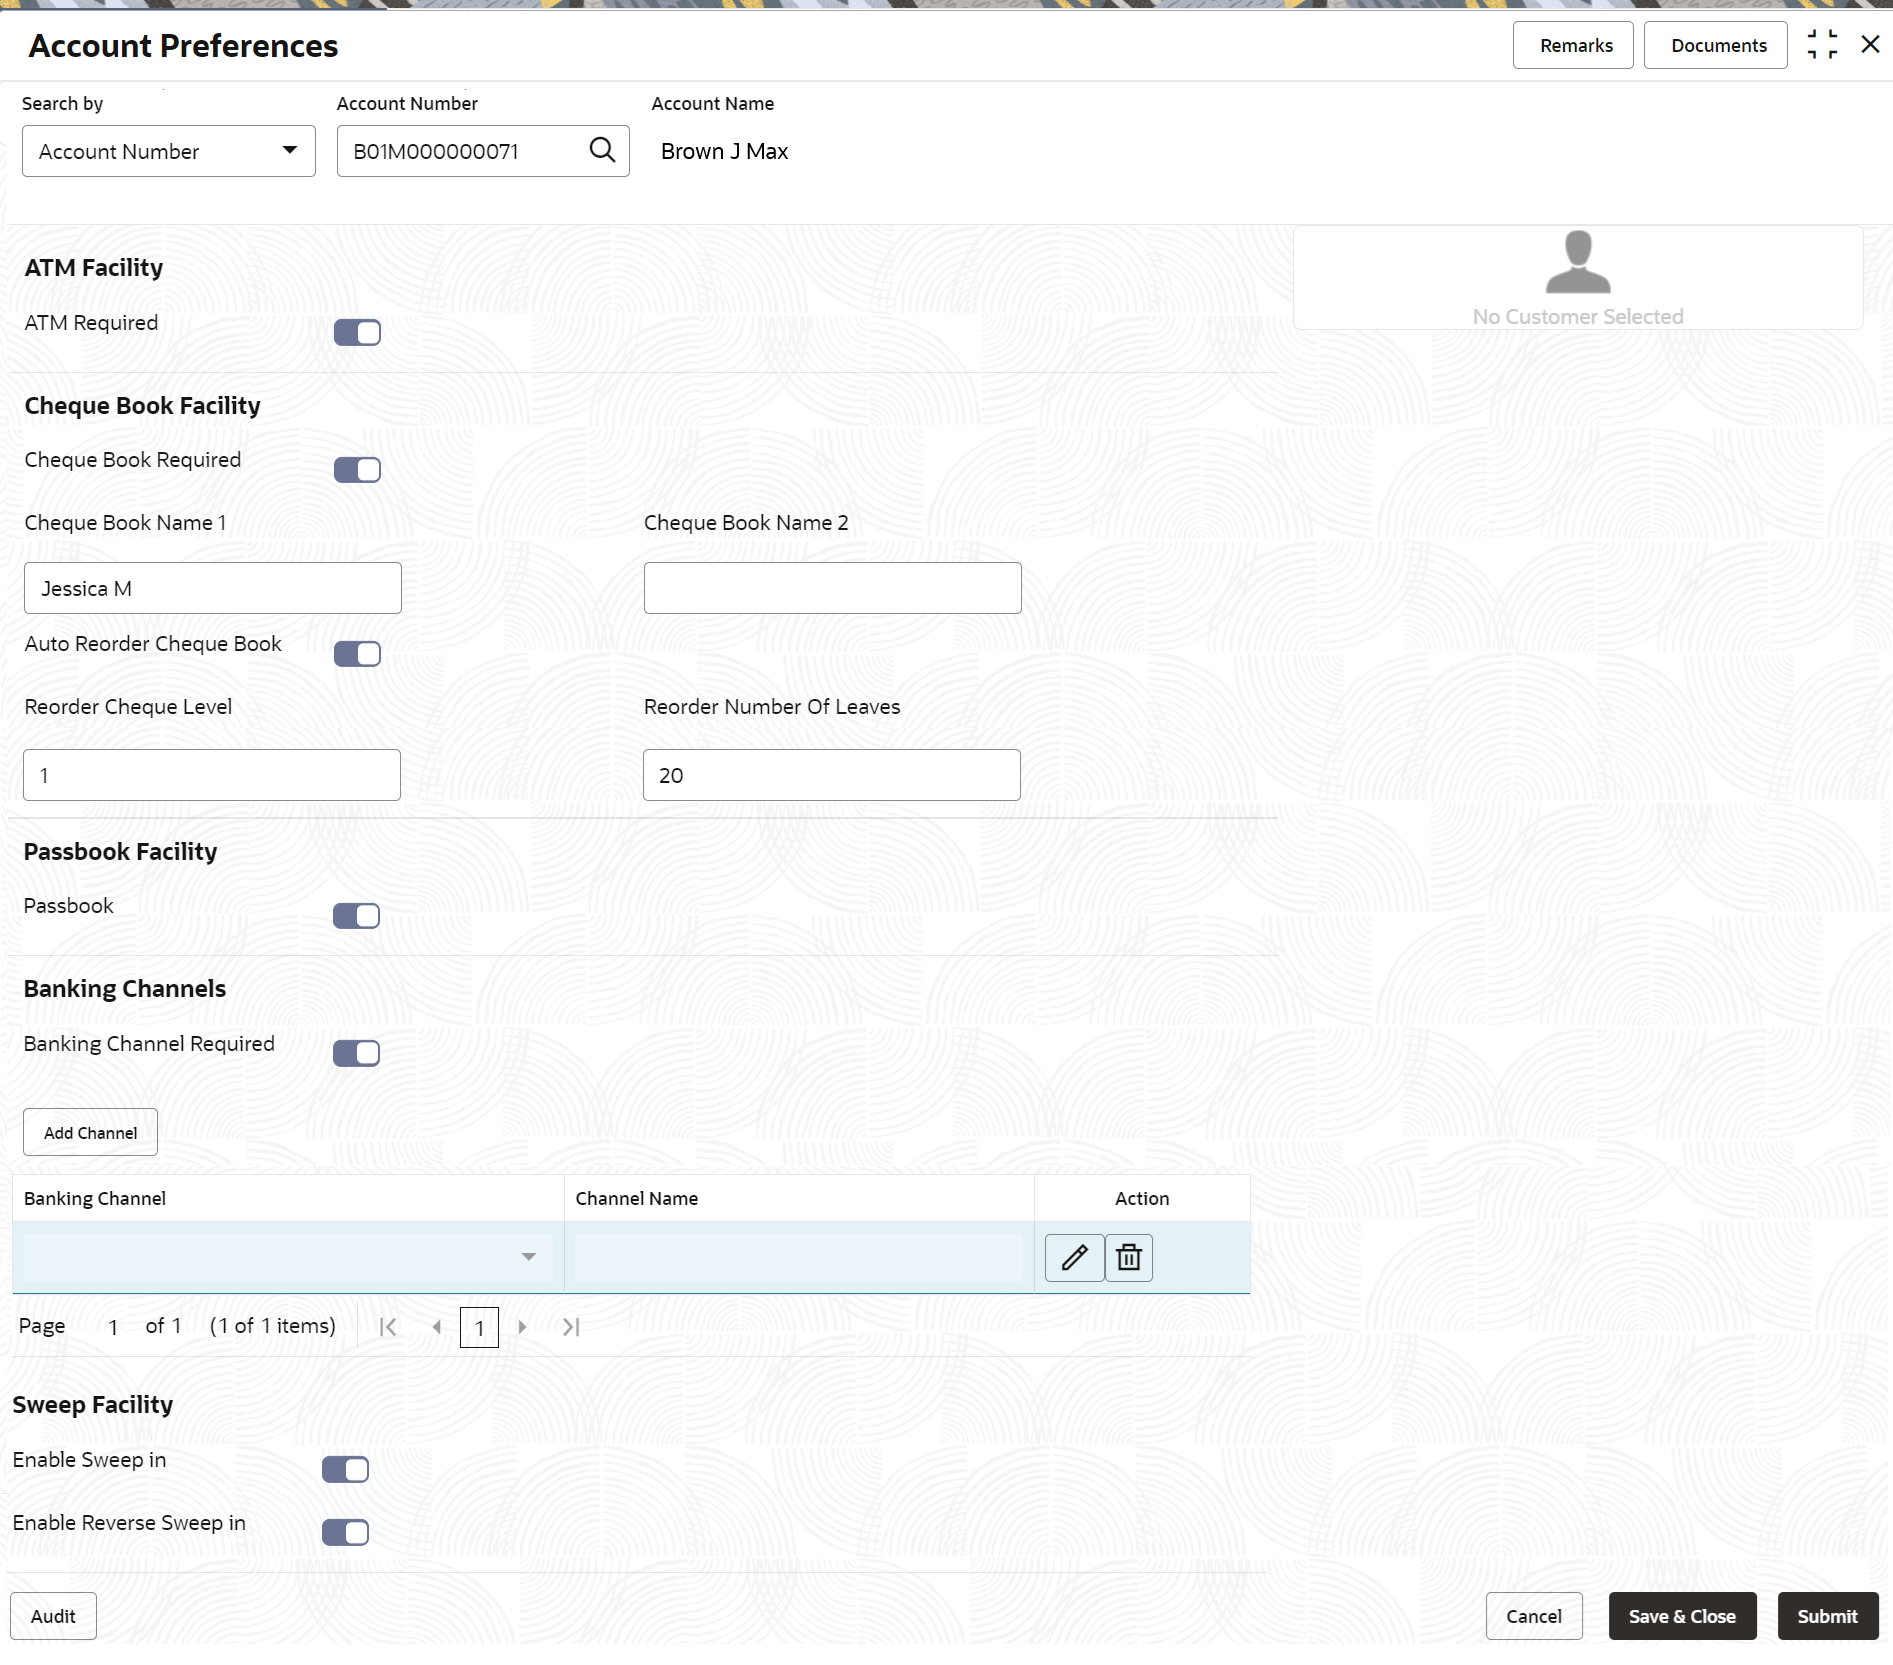
The label of the field adjacent to the Search by field changes dynamically. For example, if the Account number is chosen as the search criteria, the label of the adjacent field is displayed as the Account Number. If SSN is chosen as the search criteria, then the adjacent field would display the label as SSN.ATM Facility This section displays the field to set preference for the ATM facility. ATM Required Swtich to  to subscribe for ATM facility for the
account.
Switch to
 to unsubcribe for ATM facility for the account.
Cheque Book Facility This section displays the fields to set the preferenes for cheque book. Cheque Book Required Swtich to  to subscribe for cheque book facility for the
account.
Switch to
 to unsubcribe for cheque book facility for the
account.
Cheque Book Name 1 Specify the primary name on the cheque book. Note:
This field is displayed if you swtich to from the Cheque Book
Required field.
Cheque Book Name 2 Specify the secondary name on the cheque book. Note:
This field is displayed if you swtich to from the Cheque Book
Required field.
Auto Reorder Cheque Book Swtich to  to reorder the cheque book automatically.
Swtich to
 to stop reordering of the cheque book
automatically.
Reorder Cheque Level Specify the level for the cheque reorder. Note:
This field is displayed if you swtich to from the Auto Reorder Cheque
Book field.
Reorder Number Of Leaves Specify the number of leaves for the cheque book reorder. Note:
This field is displayed if you swtich to from the Auto Reorder Cheque
Book field.
Passbook Facility This section displays the field to set the preference for passbook. Passbook Swtich to  to avail the passbook facility for the
account.
Swtich to
 to unavail the passbook facility for the
account.
Banking Channels This section displays the fields to set the preference for banking channels. Banking Channel Required Swtich to  to set the banking channel facility for the
account.
Swtich to
 to stop the banking channel facility for the
account.
Banking Channel Select the preferred banking channel for the account. Note:
- This field is displayed if you swtich to
 from the Banking Channel
Required field.
- This field is enabled if you click Add Channel.
Channel Name Displays the channel name based on the banking channel selected. Note:
This field is displayed if you swtich to from the Banking Channel
Required field.
Action Displays the following icons to perform required action:  : Click to edit the baking channel set for
the account.
 : Click to delete the banking channel set
for the account.
Note:
This field is displayed if you swtich to from the Banking Channel
Required field.
Sweep Facility This section displays the fields to set the preferences for sweep in. Enable Sweep in Swtich to  to enable the sweep in facility for the
account.
Swtich to
 to stop the sweep in facility for the
account.
Note:
This field is displayed if you swtich to from the Sweep Facility
field.
Enable Reverse Sweep in Swtich to  to enable reverse sweep in facility for the
account.
Swtich to
 to stop the reverse sweep in facility for the
account.
Note:
This field is displayed if you swtich to from the Sweep Facility
field.
- This field is displayed if you swtich to
- Click Submit.The screen is successfully submitted for authorization.
Parent topic: Maintenance

