- Installation Guide
- Configure Oracle Banking Branch UI Domain and Cluster
11 Configure Oracle Banking Branch UI Domain and Cluster
The configurations for the new domain and cluster need to be completed as a part of the installation of the Oracle Banking Branch.
-
The machine should have Java JDK has installed.
-
The machine should have Fusion Middleware Configuration Wizard installed.
Note:
For the exact version to be installed, refer to the Software Pre-requisites section in the Oracle Banking Branch License Guide.
To configure the domain and cluster:
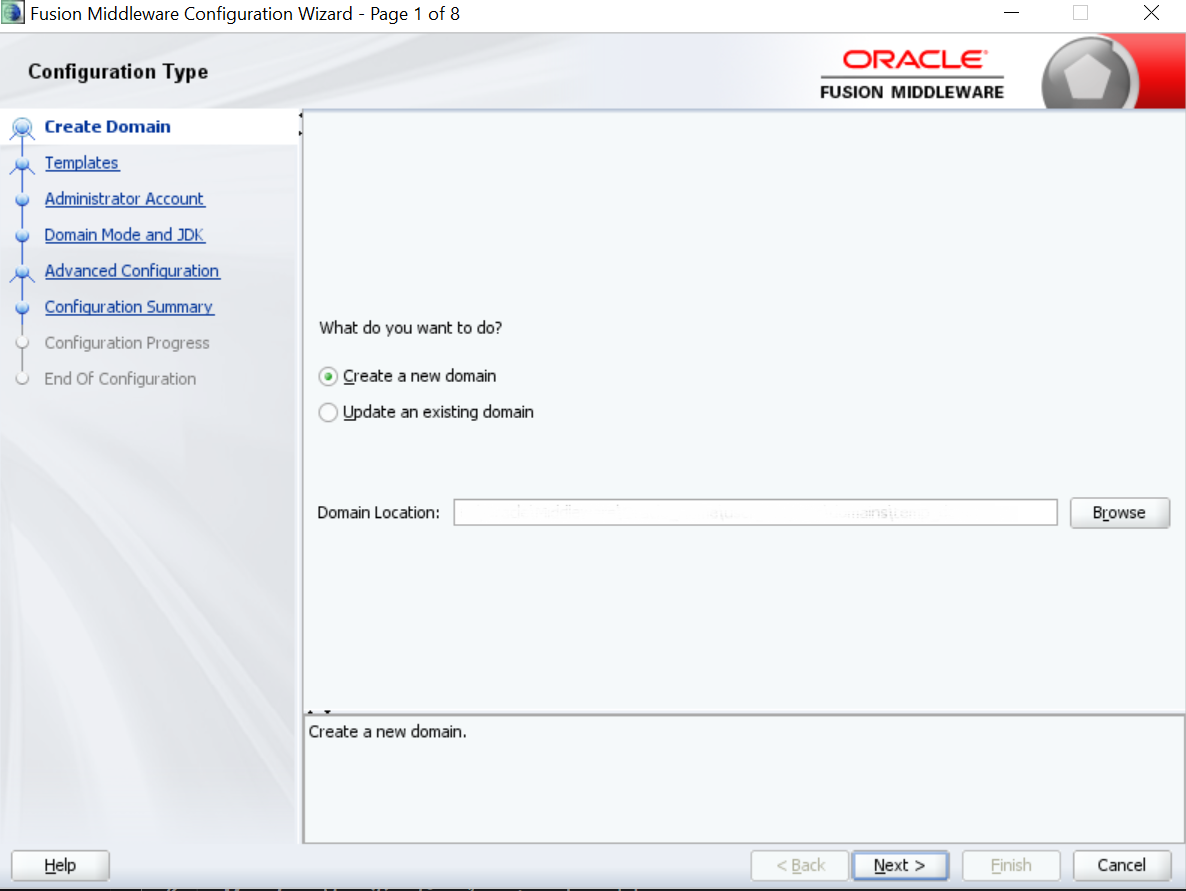
- On the Fusion Middleware Configuration Wizard window,
click Create Domain.
The Create Domain segment is displayed.
- On the Configuration Type segment, select Create a new domain, and specify the file path of the domain in the Domain Location field.
- Click Next.
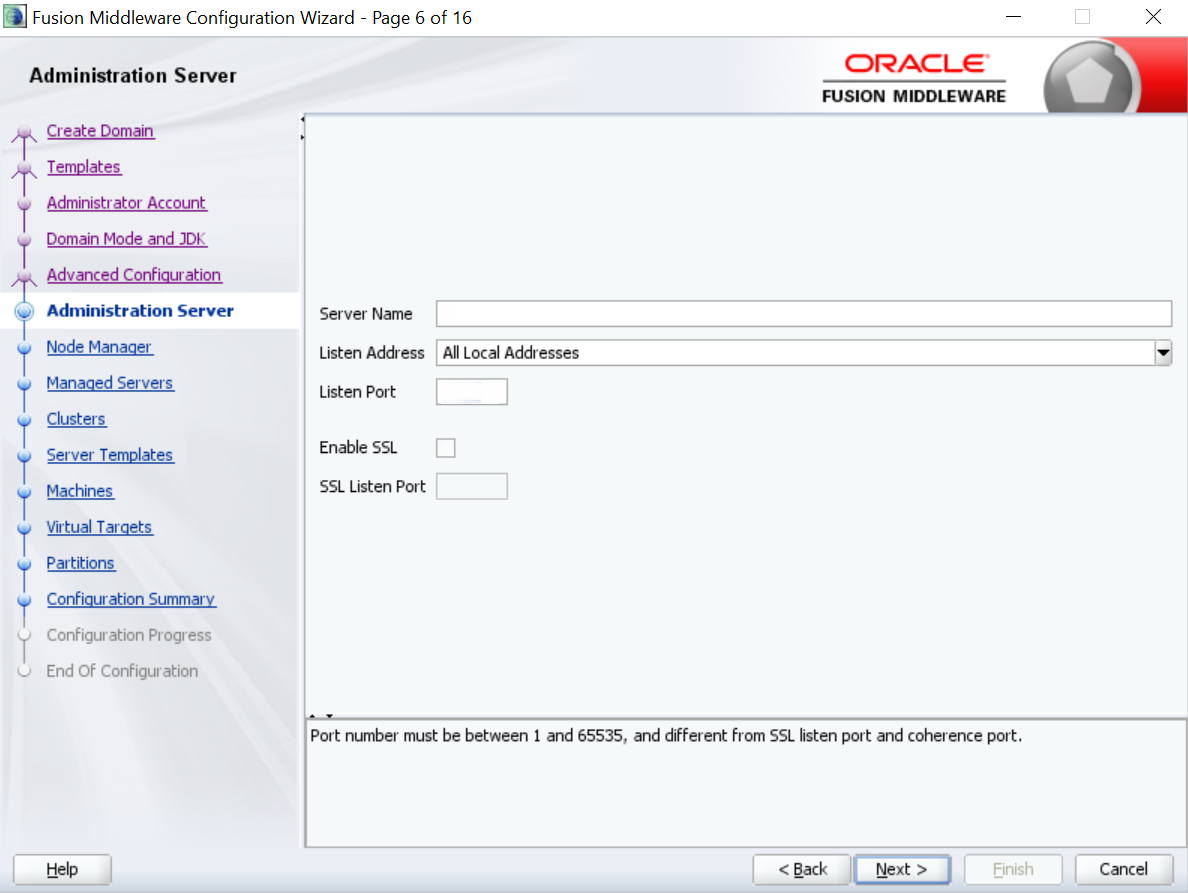
The Administration Server segment is displayed.
- Specify the fields in the Administration Server segment.
For more information on fields, refer to the field description table.
Table 11-1 Administration Server - Field Description
Field Description Server Name
Specify the name of the server.
Listen Address
Select All Local Addresses from the drop-down values.
Listen Port
Specify the listen port.
Enable SSL
Select if the SSL needs to be enabled.
SSL Listen Port
Specify the SSL listen port.Note:
This field is enabled only if Enable SSL is selected. - Click Next.
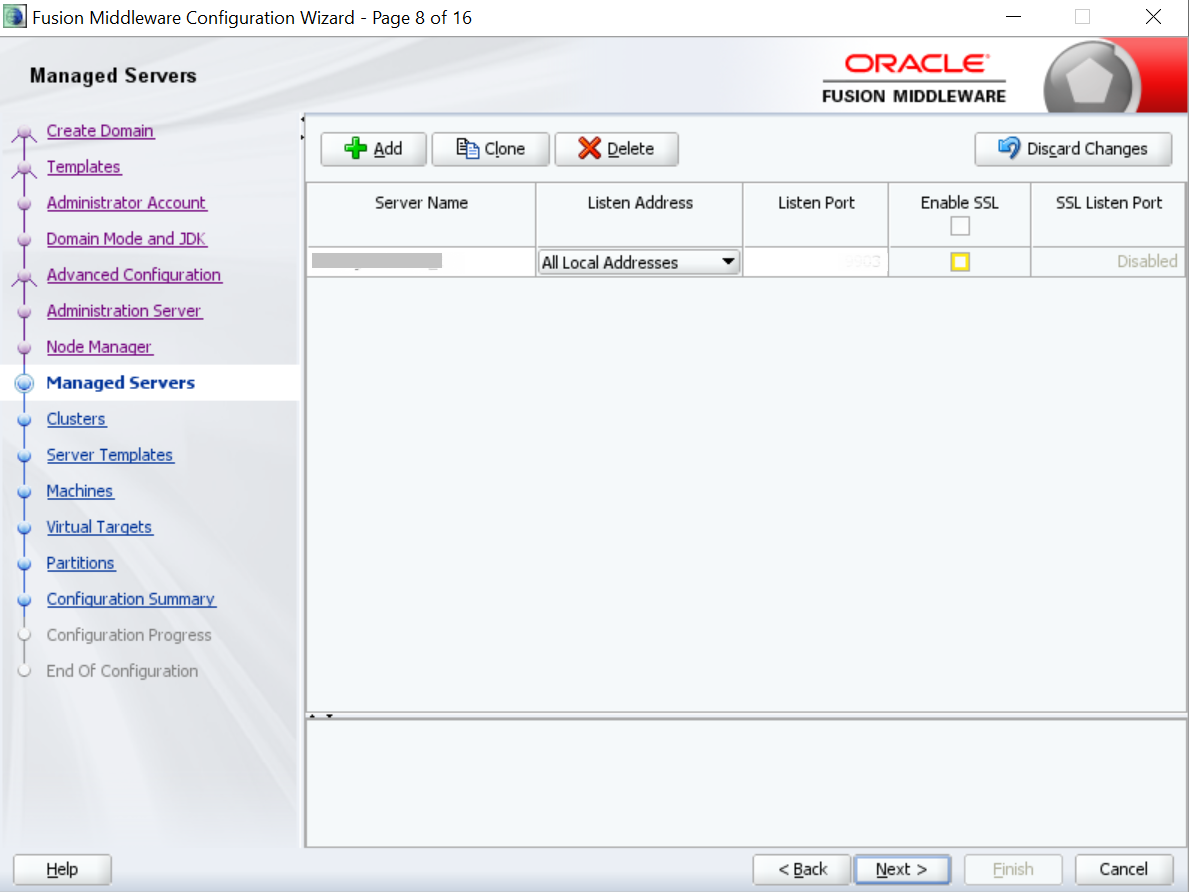
The Managed Servers segment is displayed.
- Add an entry for the managed server in the Managed Servers segment. For more information on fields, refer to the Table 11-1.
- Click Next.
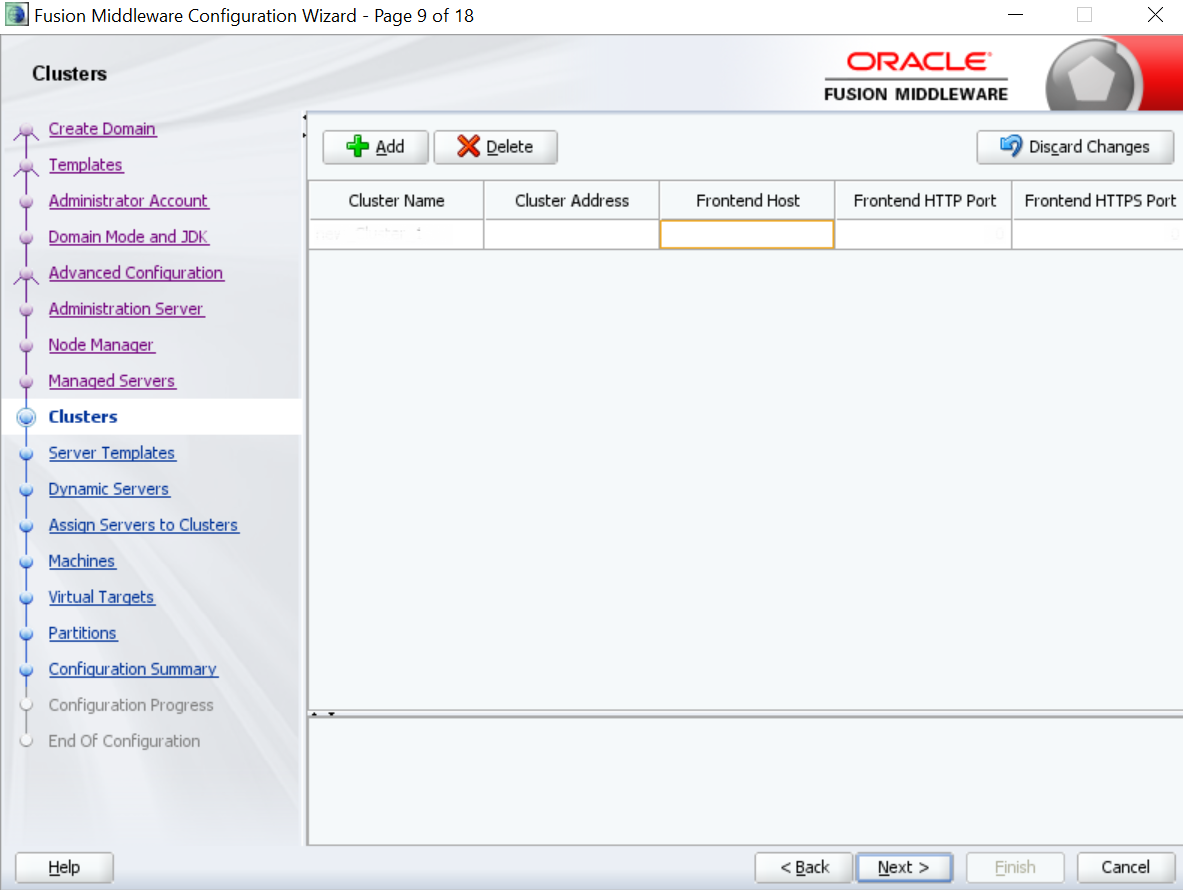
The Clusters segment is displayed.
- Add an entry for the cluster in the Clusters segment.
For more information on fields, refer to the field description table.
Table 11-2 Clusters - Field Description
Field Description Cluster Name
Specify the name of the cluster.
Cluster Address
Specify the address of the cluster.
Frontend Host
Specify the value of the front-end host.
Frontend HTTP Port
Specify the value of the front-end HTTP port.
Frontend HTTPS Port
Specify the value of the front-end HTTPS port.
- Click Next.
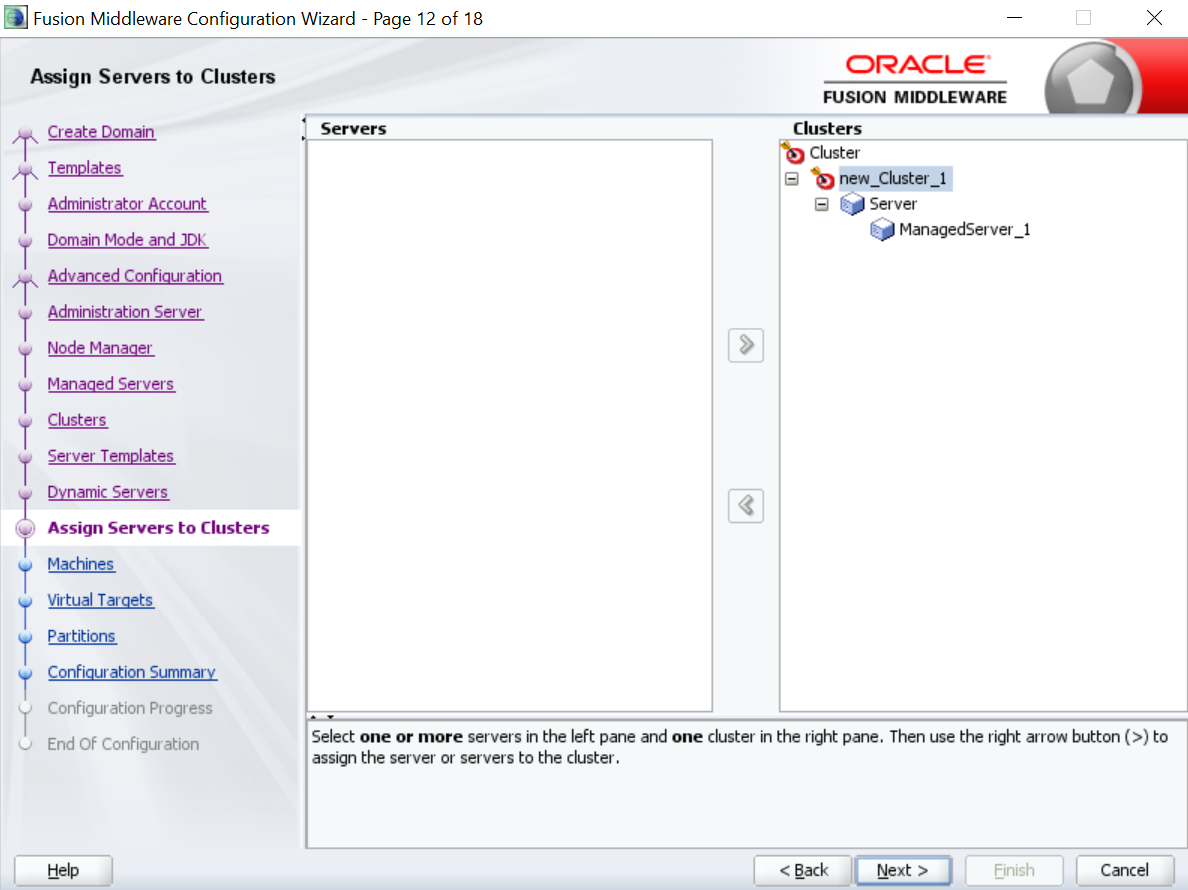
The Assign Servers to Clusters segment is displayed.
- Assign the necessary servers in the Assign Servers to Clusters segment.
- Click Next.
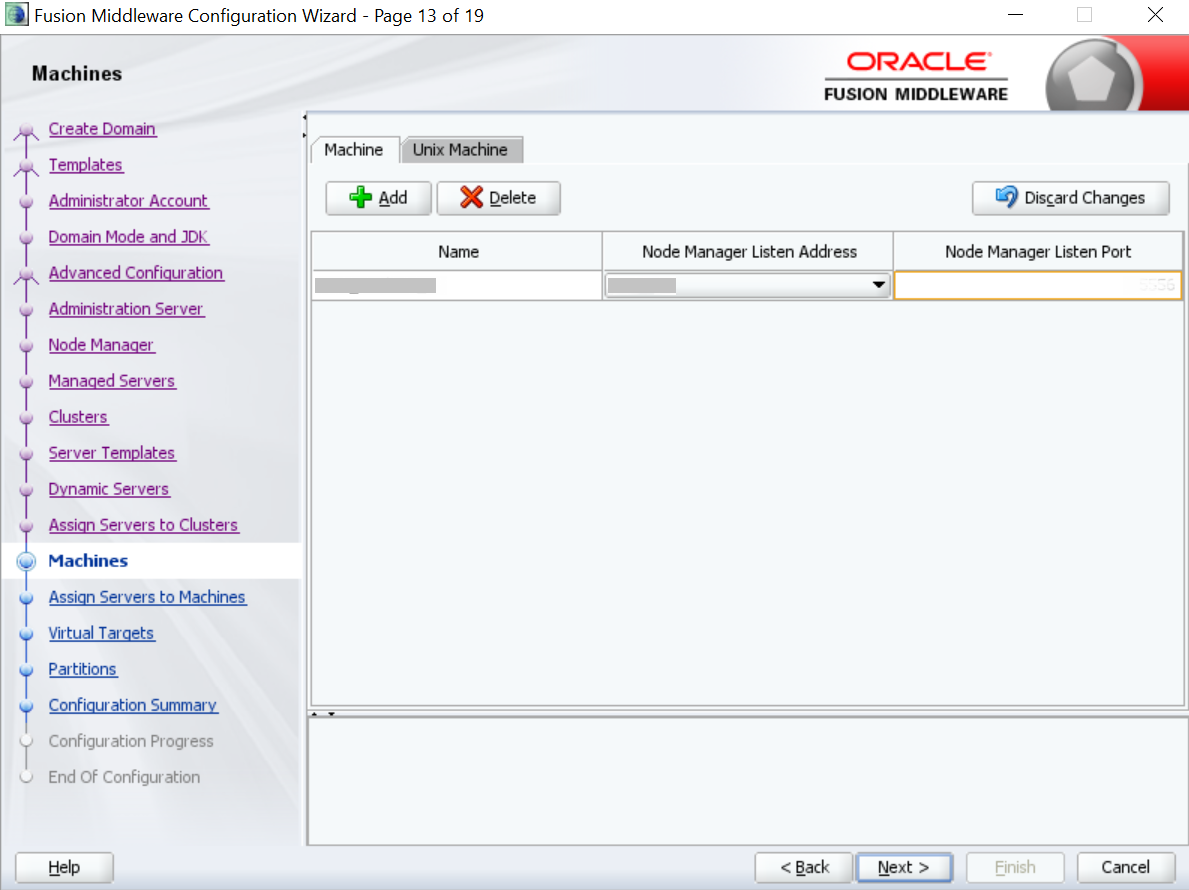
The Machines segment is displayed.
- Add an entry for the machine in the Machines segment.
For more information on the fields, refer to the field description table.
Table 11-3 Machines - Field Description
Field Description Name
Specify the name of the machine.
Node Manager Listen Address
Select the listen address of the node manager from the drop-down values.
Node Manager Listen Port
Specify the listen port of the node manager.
- Click Next.
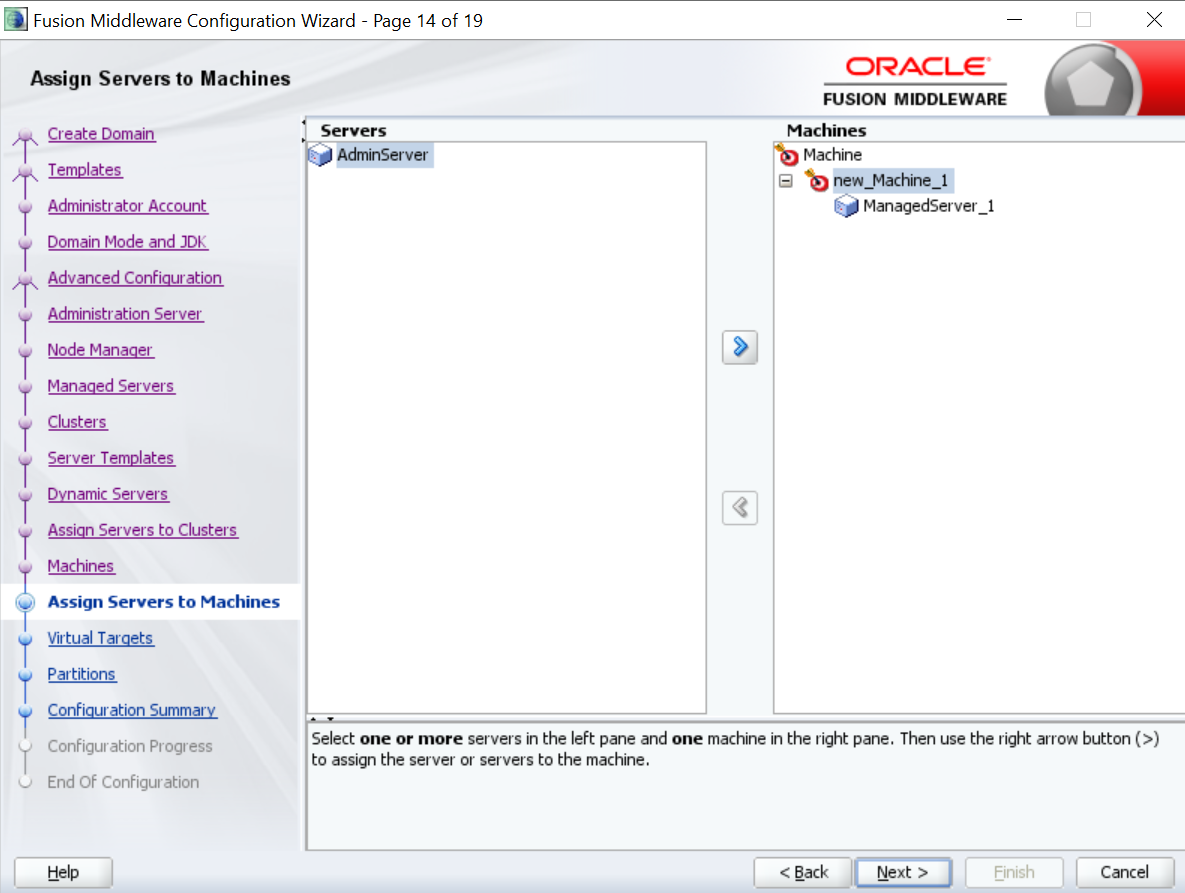
The Assign Servers to Machines segment is displayed.
- Assign the required machine in the Assign Servers to Machines segment.
- Click Next.
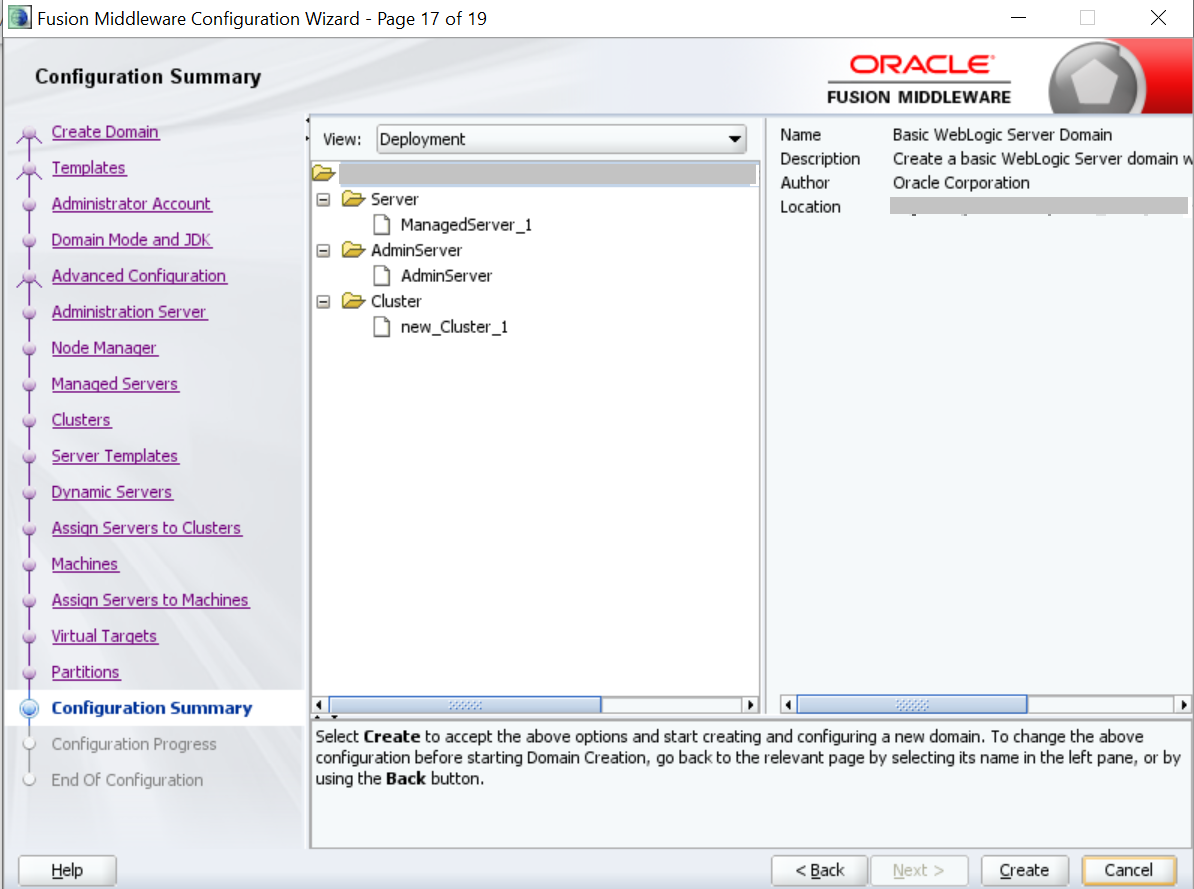
The Configuration Summary segment is displayed.
- Click Create to configure a new domain.
- Verify the configuration details. For information on how to verify, refer to Verify Configuration Details.
- Verify Configuration Details
You can verify the configuration details of the Oracle Banking Branch in the Weblogic Server. - Post Domain Creation Configurations
You need to complete the configurations after the creation of the domain and cluster, and verification of the configuration details in the WebLogic Server.
