- Corporate Accounts User Guide
- Corporate Account Transactions
- Stop Payments
- Close Stop Payments
5.5.3 Close Stop Payments
This topic describes the systematic instructions to close stop payments.
- Search and select the required account and initiate amend stop payment.
- Click Corporate Account Transactions, and under
Corporate Account Transactions, click
Stop Payments, then click
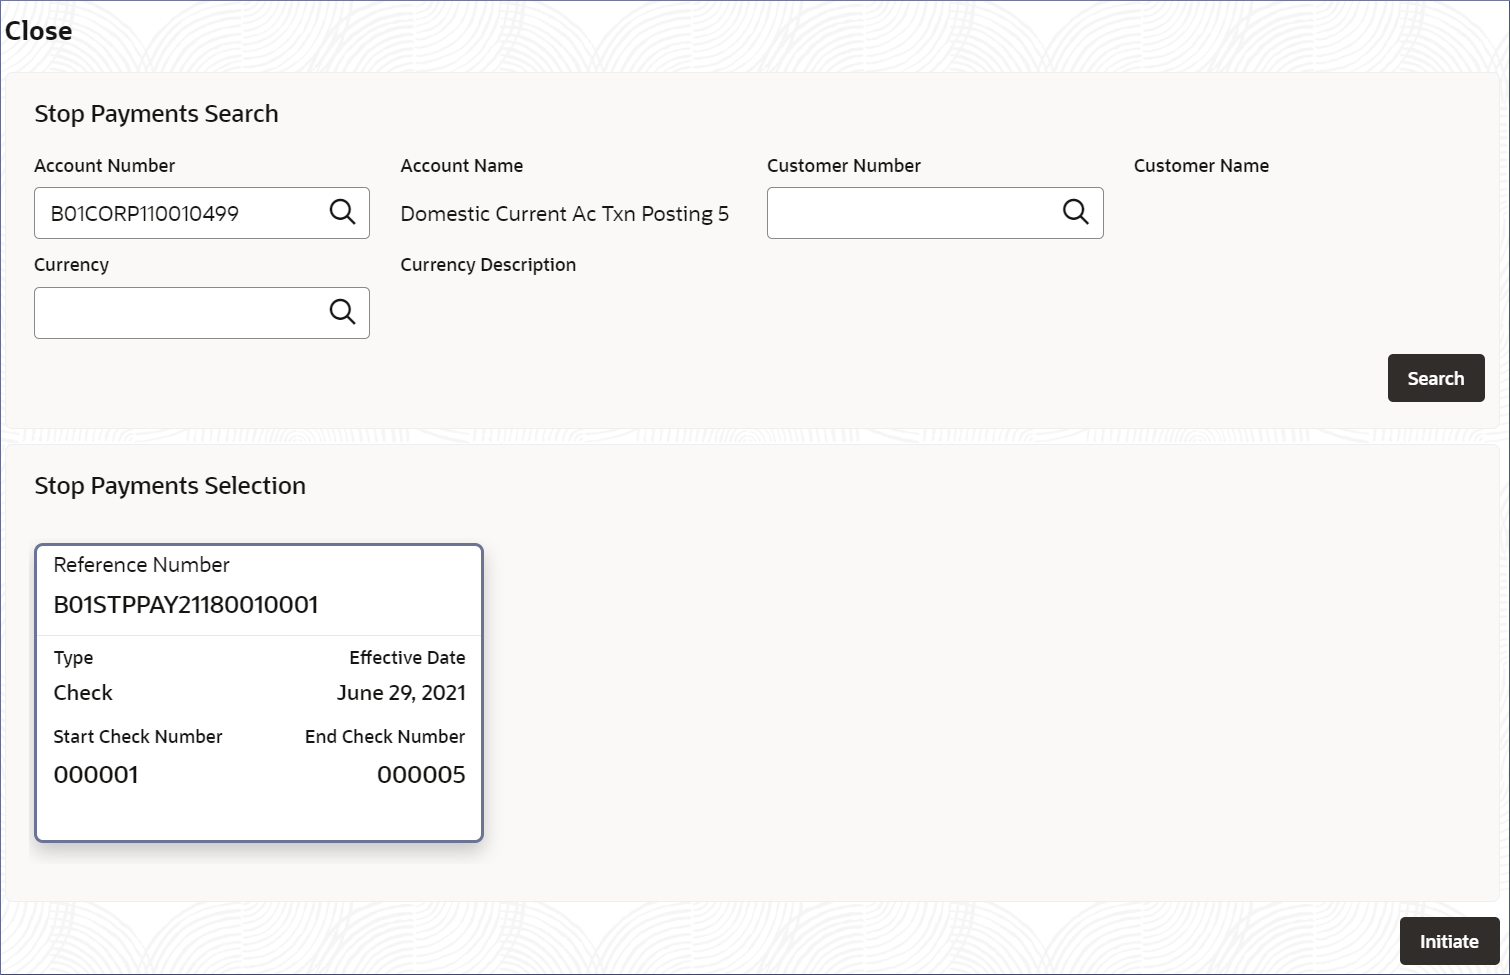
Close.The Close screen displays.
- Specify the fields in the Account Search
section.
Table 5-13 Create Legal Block - Field Description
Field Description Customer Number Specify the CIF number of the customer owning the account that contains the stop payment request. Customer Name The customer name is displayed. Account Category Specify the account category. Description The description of the account category is displayed. Currency Specify the currency of the customer account. Currency Description The description of the currency is displayed. Account Number Enter the Account Number. - Click Search.The Create page displays the accounts matching the search filters in the Account Selection section .
- Select the required account and click
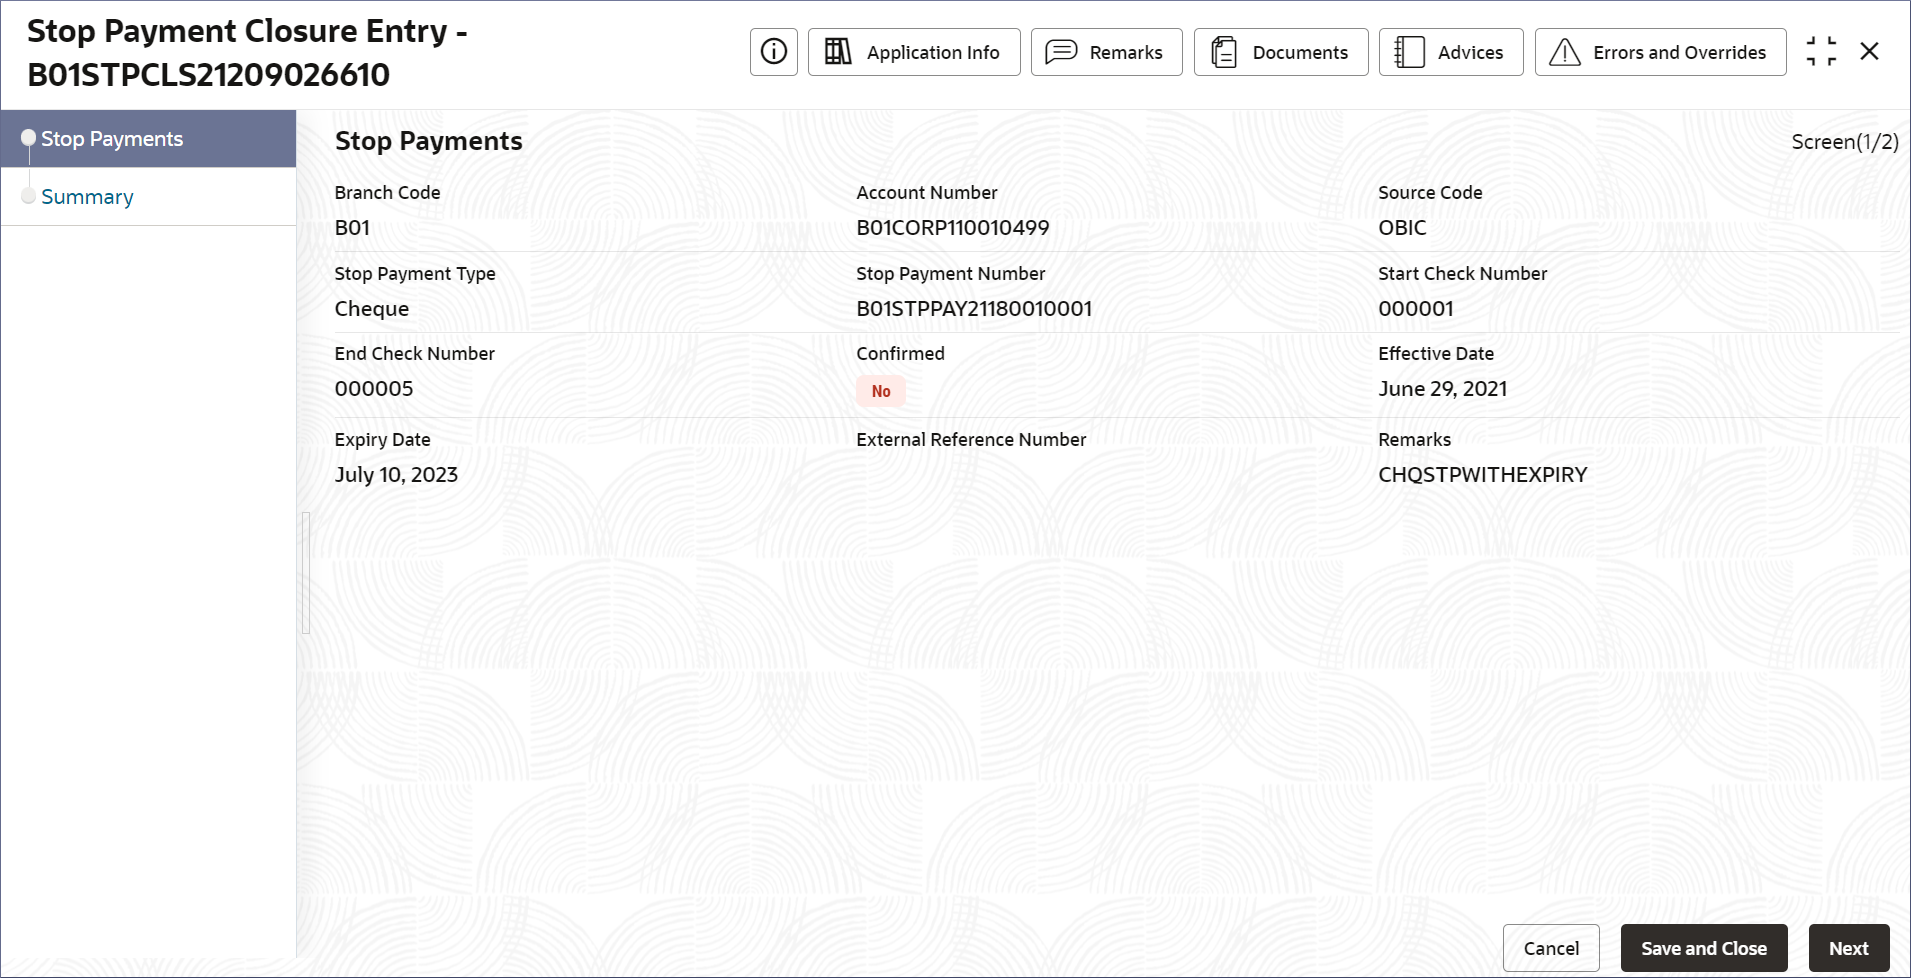
Initiate.The Stop Payment Closure Entry - <Application Number> page displays.
Tip:
Note the Application Number. It is needed to identify the tasks on the Free Tasks page.
- Click Corporate Account Transactions, and under
Corporate Account Transactions, click
Stop Payments, then click
Close.
- Review the Stop Payments screen.
- Click Next.The Summary screen displays.
- Click Submit.The Stage Movement Submission dialog for the Stop Payment Closure Entry stage displays the Overrides present on this stage.
- Complete the Stage Movement Submission process.
- Accept any Overrides generated and click Proceed
Next.The Checklist stage fetches and displays checklists mapped to the Create process.
- Confirm the checklist items and then click Proceed
Next.The Outcome stage displays.
- Select PROCEED from the drop-down list.
- Click Submit.The Approve Stop Payment Entry task is created.
- Accept any Overrides generated and click Proceed
Next.
- Acquire and edit the Approve Stop Payment Entry task.
- Click Tasks, and under
Tasks, click Free
Tasks.The Free Tasks page displays.
- Search the listed tasks with these column values. Process Name column contains Close Legal Block, the Stage column contains Approve Closure of Stop Payment and the Application Number column contains the number noted in Step 1.d.
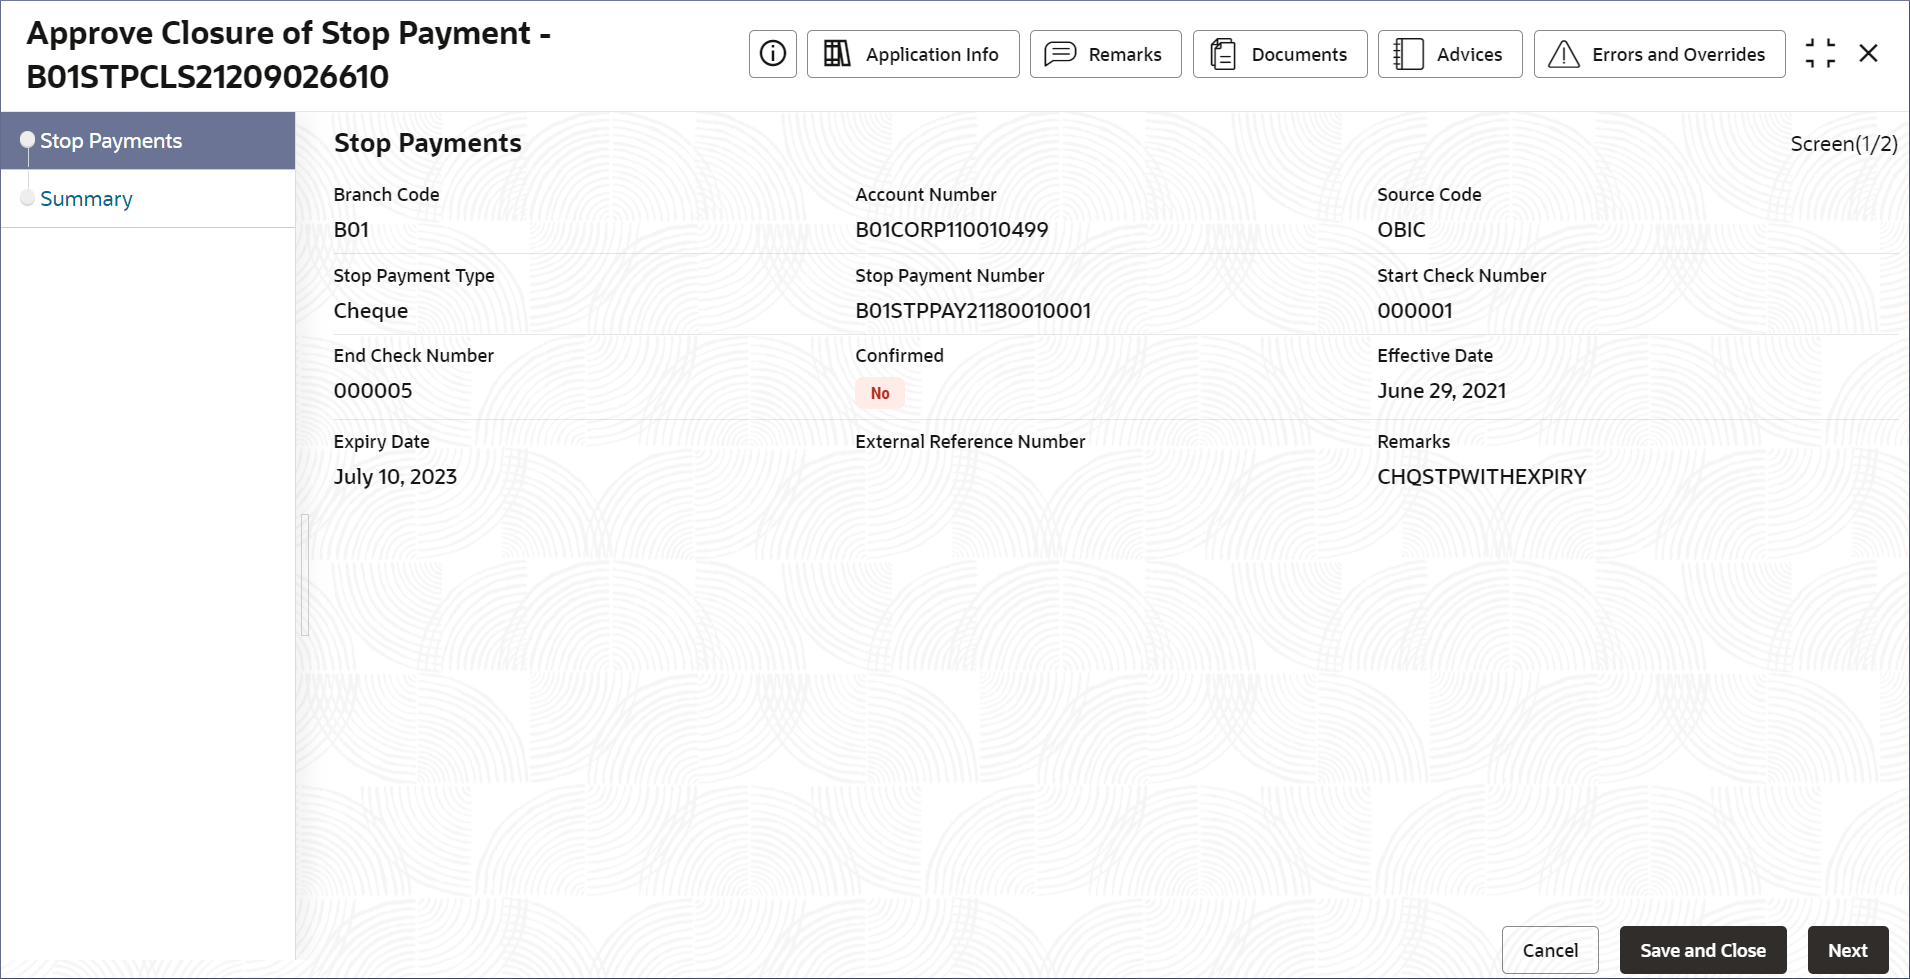
- Click Acquire and Edit.The Approve Closure of Stop Payment - <Application Number> page displays.
Figure 5-29 Approve Closure of Stop Payment
- Click Tasks, and under
Tasks, click Free
Tasks.
- Review the stop payment amendment and click Submit from
the Summary screen.The Stage Movement Submission dialog for the Approve Closure of Stop Payment stage displays the Overrides present on this stage.
- Complete the Stage Movement Submission process.
- Accept any Overrides generated and click Proceed
Next.The Checklist stage fetches and displays checklists mapped to the Approve stage.
- Confirm the checklist items and then click Proceed
Next.The Outcome stage displays.
- Select PROCEED from the drop-down list.
- Click Submit.
- Accept any Overrides generated and click Proceed
Next.
- Confirm that the Stop Payment is closed.
- Click Tasks, and under
Tasks, click Completed
Tasks.The Completed Tasks page should display the two stages of the Stop Payment Closure process: Entry and Approval.
- View the check details in the 360 view. The Check
Details tile should not show the stop payments.For more information on viewing Check details, see Check Details.
- Click Tasks, and under
Tasks, click Completed
Tasks.
Parent topic: Stop Payments


