- Nostro Reconciliation User Guide
- Nostro Account Transactions
- Incoming Messages
- Create Incoming Message
4.4.1 Create Incoming Message
Follow the instructions in this topic to manually create incoming messages
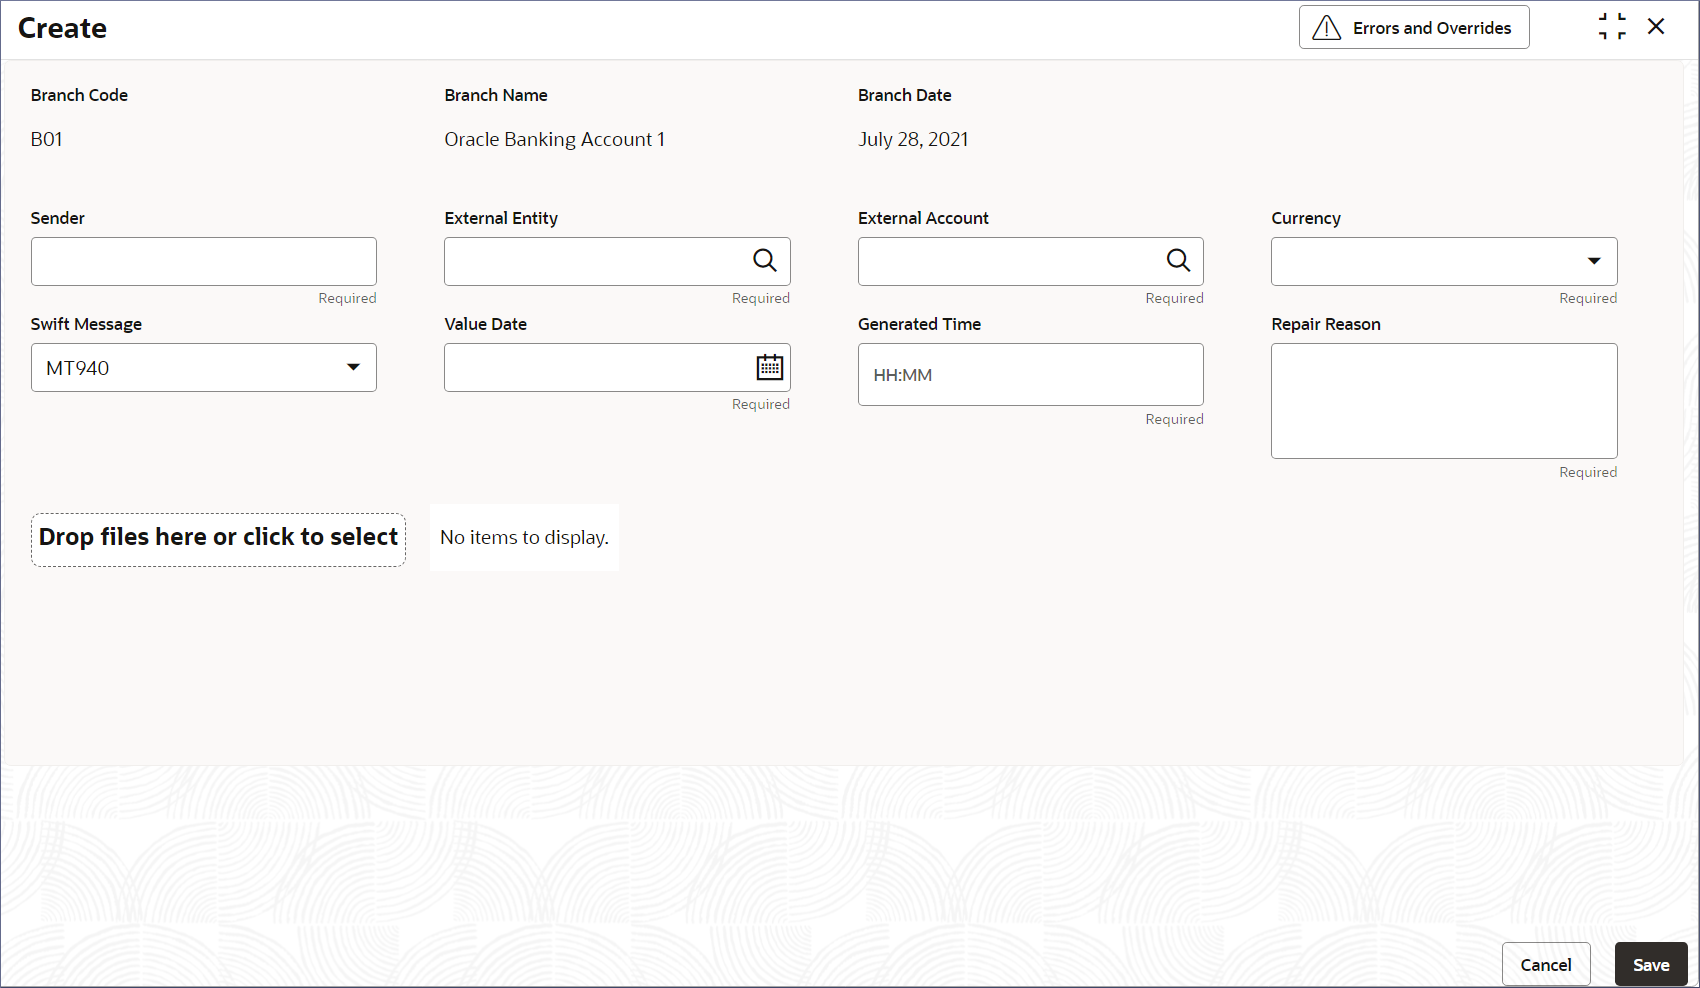
- Click Nostro Account Configurations, and under Nostro Account Transactions, click Incoming Message, then click Create.The Create page displays.
- Specify the details as described in the following table and Query for the
required messages.
Table 4-11 Field Description table
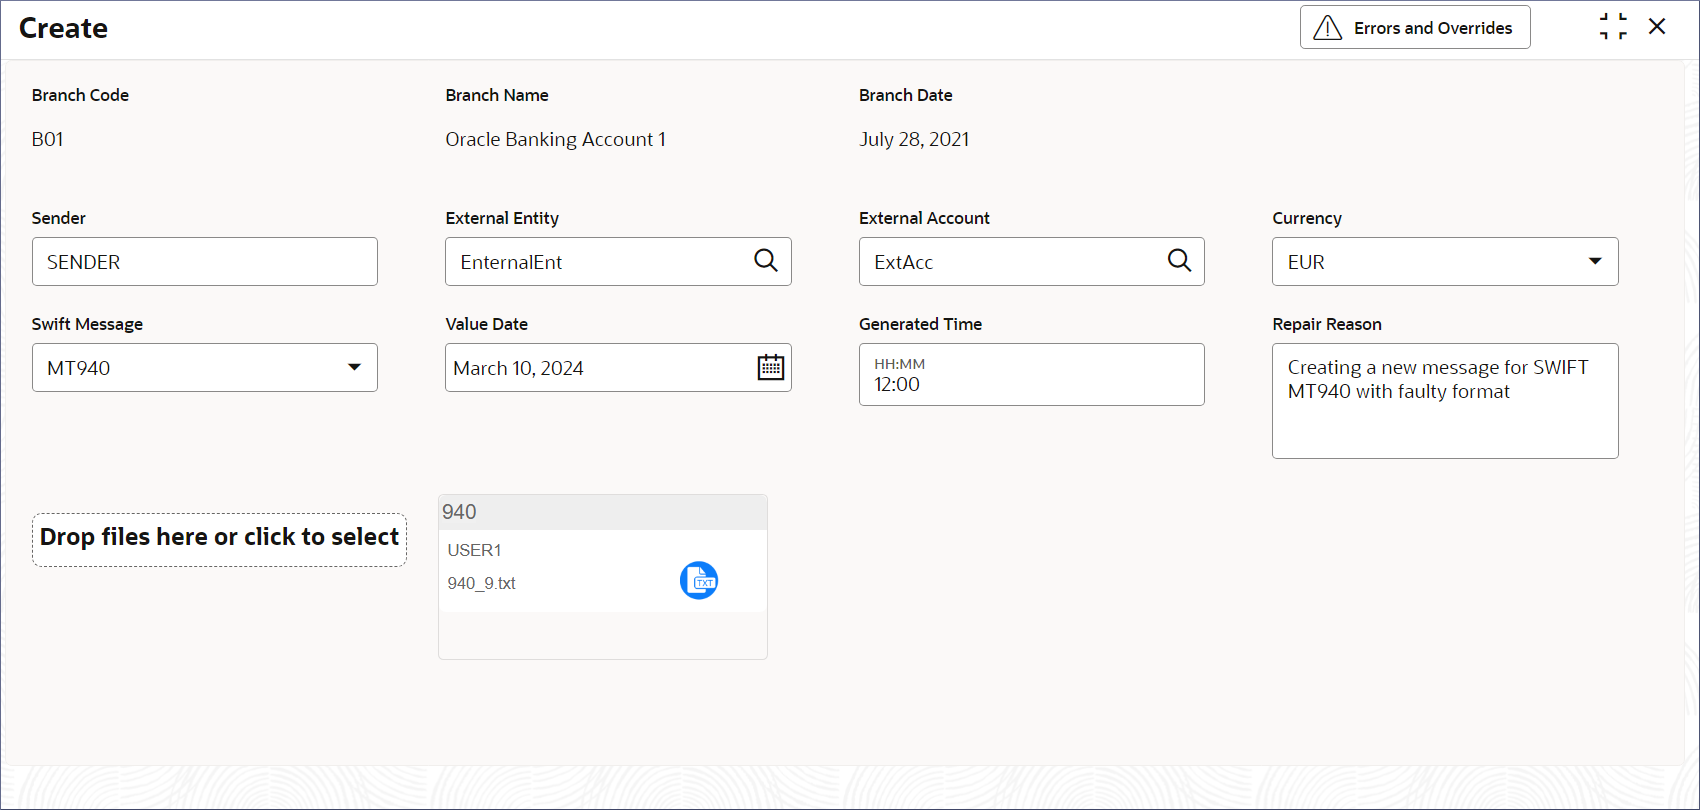
Field Description Branch Code Current Branch Code is auto-populated. Branch Name Current Branch Name is auto-populated. Branch Date Current Branch Date is auto-populated. Sender Specify the name of the financial institution or bank providing the message containing the bank statement information. External Entity Specify the name of the entity outside the bank providing or requesting the message. External Account Specify the external account for which the bank statement is being provided. Currency Specify the currency of the transaction from the drop-down list. Swift Message Select the SWIFT message type to create from the drop-down list. The following types are supported MT940 and MT942. Value Date Specify the date on which the incoming SWIFT message was generated. Generated Time Specify the time this message is created in the Hours:Minutes format. This helps establish the chronological order of messages created. Repair Reason Specify the reason for manually creating an incoming message. Some of the reasons could be technical issues, data verification, or exception handling. - Upload the SWIFT message.
- Click Drop Files Here or Click to Select.The file browser dialog displays.
Note:
You can also drag and drop a SWIFT message file on to the field. - Select the required file and upload.The selected file displays in a tile.
- Click Drop Files Here or Click to Select.
- Click Save.The Incoming Message is created.
Note:
The Incoming Message is currently Unauthorized. A user with a supervisor role has to approve the Incoming Message. Once approved, the status changes to Authorized, and the Incoming Message is available for use by another process. - Approve the Incoming.To approve or reject an Incoming Message, see View Status Code.
Note:
As a maker of this configuration, you cannot approve it. It has to be approved by another user with a Supervisor role. - Click Save.The incoming message is created.
Parent topic: Incoming Messages

