Verifying Connectivity Between the RSS and the Index
When installation of the RSS and Index are complete, you can test the connectivity between these components to verify they are working properly. Procedures in this section include:
- Testing connectivity between the RSS and Index
- Logging into the dashboard
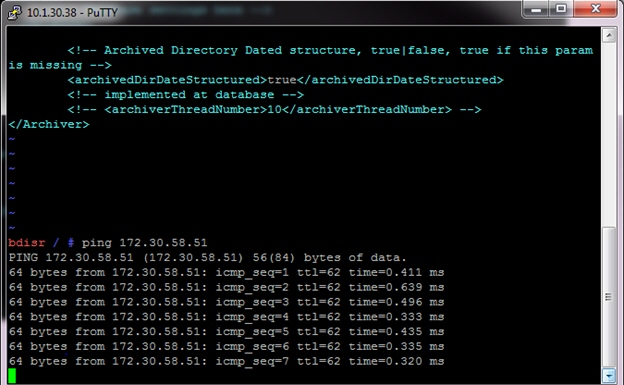
Testing Connectivity
Use the following procedure to test connectivity between the RSS and Index VM.
To test connectivity:
Logging Into ISR Dashboard
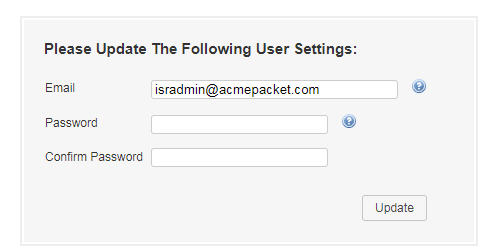
Use the following procedures to verify the administrator dashboard is working properly.
To log into the Dashboard:
Navigation Icons
The ISR Dashboard provides specific navigation tools you can use to perform functions when required. The following table identifies these tools.
| Icon | Description |
|---|---|
|
|
Add - Adds an item to the list. |
|
|
Delete - Removes the item from the list. |
|
|
Details - Shows additional information about the item. |
|
|
Back - Navigates to the previous screen. |
|
|
Forward - Navigates to the next screen. |
|
|
Play - Plays the file. |
|
|
Download - Downloads the selected recording to your local machine. |
|
|
User Audit Trail - Display the selected user’s audit trail (Action performed, time, IP address, etc.) |
|
|
RSS Details - Displays and allows you to edit RSS details and advanced configuration information about a Site. |
|
|
Enabled - Status that indicates the element is enabled or active. |
|
|
Disabled - Status that indicates the element is disabled or inactive. |
|
|
Error - Status that indicates an error occurred on the element. |
|
|
Help - Displays information about online Technical Support. |
|
|
Logoff - Exits from the ISR Dashboard. |
For more information about using the features and functions of the ISR Dashboard, see the Interactive Session Recorder Administrator Guide or the Interactive Session Recorder User Guide.
Before you can make the first call, you must configure the RSS and the route to use to receive the call. Use the procedures in Configuring the ISR for Recording a Call to configure the RSS and route.


