Adding Tables to Advanced Templates
The New Element toolbar of the template editor includes a button that you can click to insert tables on advanced PDF/HTML templates.
For better performance, you shouldn't use nested tables, that is, tables within tables.
To insert a table on an advanced template:
-
Open the advanced template in the template editor.
-
Place the cursor where you want to insert the table.
-
Click the Table button:

-
Complete the Table Properties window and click OK.
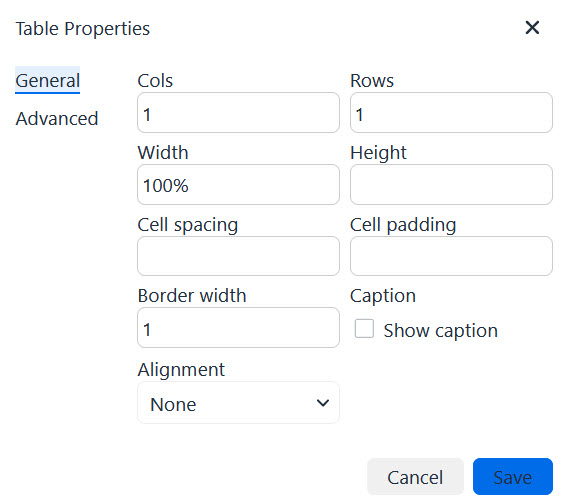
The table is added to the template in the template editor.
You can resize the rows, columns, and cells of a table by positioning the cursor over the cell border and dragging it to the required size.
You can also use HTML markup source editing to add a table to an advanced template, but it's more time-consuming and requires knowing HTML.
If you have text overlapping a footer or missing from a printout, ensure that any long content is enclosed in an HTML element that will split across pages.
The Report Generator has specific rules for where page breaks can occur. A <table> tag nested inside a <td> tag is cut off at the bottom if it spreads across multiple pages. Only the following tags split correctly if they're spread across multiple pages:
          <table>
<ul>
<p>
<pre>
<ol>
<h1>
<h2>
<h3>
<h4>
<blockquote>