Using Project Resource Management
The Project Resource Management grid is organized by project and then by task and resource. You can search the current view for a specific project by using the Search Project field at the top of the Project/Task/Resource column. Enter the name or part of the name in the Search Project field and click the search icon to filter the grid for that project.
Additionally, you can do the following in the grid:
-
Expand and collapse the resource summary and tasks for each project, and task assignments for each task by clicking the box next to the project or task name, respectively.
-
Modify resource allocations and task assignments. For more information, see Using Action Menus and Adjusting Allocations and Assignments.
-
Use your mouse to hover over a project, resource, or task assignment cell to see details, if you have the Show Details on Hover checked in your settings.
Note:Hover details aren't available in overlapping allocations. Resources with overlapping allocations are displayed on the grid in blue and are underlined.
You can also create new allocations and assignments by clicking the New Resource Allocation or New Task Assignment button at the top of the grid. For more information, see Entering New Allocations and Assignments.
Project Resource Management Grid Columns
The project resource management grid organizes resource allocations and task assignments according to the following columns:
|
Column |
Description |
|---|---|
|
Action Menu |
The action menu column, indicated by a green icon, provides actions you can select to adjust the information displayed on the grid or modify project, task, and resource details. For more information, see Using Action Menus. |
|
Project/Task/Resource |
Lists projects, tasks, and resources depending on your settings. |
|
Hours Estimated |
Lists the equivalent of each project's Estimated Work. |
|
Percent Complete |
Lists the equivalent of each project's Percent Work Complete.
Important:
Percent Complete value for each project in the grid includes Actual Work entered against tasks by both assigned and unassigned resources. |
|
Percent Allocated |
Lists the percentage of time a resource is allocated to a project. |
|
Hours Allocated |
Lists the equivalent of each resource's allocated hours and each project task's Estimated Work. |
|
Hours Assigned |
Lists the equivalent of each resource's Estimated Work for each task. The values automatically roll up to the project level. You can modify assigned hours for any task in the grid provided there is no actual work entered against it. For more information, see Adjusting Allocations and Assignments.
Important:
When viewed in the Daily time frame, a project task's total Hours Assigned includes only the Estimated Work of all resources assigned to it for the day. When viewed in the Weekly or Monthly time frame, each total includes the Estimated Work of all assigned resources and the Actual Work entered against the task for the period by any allocated resource unassigned to the task. If the Allow Allocated Resources to Enter Time to All Tasks preference is enabled for a project, the Hours Assigned column lists assigned resources' Estimated Work and time entered by allocated resources unassigned to the task in any time frame. |
|
Hours Worked |
Lists the equivalent of each resource's Actual Work for each task. The values automatically roll up to the project level. For more information, see Adjusting Allocations and Assignments. |
For more information about project records, see Working with Project Records.
Using Action Menus
The action menu column, in the far left pane of the project resource management grid, contains a dropdown list of actions in each project/task/resource level.
-
Header level - Click the green icon at the top of the column and select Add Project to add a project or project template to the grid. Only projects and project templates that don't have any resource allocations and task assignments can be added. If Include All Projects is selected in your settings, the Add Project action is disabled.
-
Project level - Click the green icon next to a project name to add a resource to the project, remove allocations from the project, or remove resource allocations and task assignments.
-
Add Resource Allocation - Select this action to add resource allocations using the Resource Allocation form. For more information, see Entering New Allocations and Assignments.
-
Remove Allocations - Resource allocations may be removed from a project provided that none of the resources has any task assignments. Additionally, a project will also be removed from the grid when its resources are removed and it has no task assignments.
-
Remove Resource Allocations and Task Assignments - Select this action to delete all allocations and task assignments from the project. This action isn't available when at least one project task assignment has worked hours entered against it.
-
-
Resource summary level - Click the green icon next to a resource name to assign the resource to a task, edit the resource, or remove resource allocations from the project.
-
Assign Resource to Task - Assign the resource to a task using the Task Assignment form. For more information, see Entering New Allocations and Assignments. This action isn't available when the project doesn't have any task.
-
Edit Resource - This action reallocates all allocation records of the resource to another. If the Display All Resources for Project Task Assignment preference isn't enabled on the project record, this action is disabled for a resource who is already assigned to a project task.
-
Remove Resource Allocations - This action removes all allocations of the resource from the project. If the resource has no allocations, this action isn't available. If the Display All Resources for Project Task Assignment preference isn't enabled on the project record, and the resource has both allocations and task assignments, this action is also not available.
If the Display All Resources for Project Task Assignment preference is enabled and you remove a resource's allocations, the allocation records are deleted but the resource remains on the grid if that resource has task assignments.
For more information, see Adjusting Allocations and Assignments.
Note:The action menu isn't available in overlapping allocations. Resources with overlapping allocations are displayed on the grid in blue and are underlined.
-
-
Project task level - Click the green icon next to a task to assign a resource to it, re-assign resources, or remove task assignments.
-
Assign Resource - If the Display All Resources for Project Task Assignment preference isn't enabled on the project record, only resources allocated to the project are available to be assigned to project tasks.
-
Re-assign Resources - You can reassign all task assignments to a new task regardless of project task constraints, provided that none of the task assignments has worked hours entered against it.
-
Remove Task Assignments - You can remove a project task and its task assignments provided that neither project task nor any task assignment has worked hours. Project task assignments removed through this action are deleted from NetSuite and project tasks are converted into project milestones.
If a project only has the project task you removed, and it has no resource allocations, the project is removed from the grid.
For more information, see Adjusting Allocations and Assignments.
-
-
Task assignment level - Click the green icon next to a task assignment to edit or remove task assignments.
-
Edit Task Assignment - If the Display All Resources for Project Task Assignment preference isn't enabled on the project record, only resources allocated to the project and generic resources are available to be assigned to project tasks. Otherwise, all project resources, whether allocated to the project or not, can be assigned.
You can't edit a task assignment if it has worked hours.
-
Remove Task Assignment - Take note of the following results when you select this action:
-
The resource is removed from the project task.
-
The project task is also removed when no other assignments remain.
-
The resource is removed from the resource summary if the resource has no allocations and remaining task assignments.
-
The project is also removed from the grid when it has no other resource allocations and project tasks.
-
Hours Estimated values in the project task and project levels are updated.
If the task assignment you want to remove has worked hours entered against it, the action isn't available.
-
For more information, see Adjusting Allocations and Assignments.
-
Adjusting Allocations and Assignments
The project resource management grid lets you see a total picture of your resource allocations and task assignments, and to adjust them so you are using resources effectively.
You can modify resource allocations and task assignments for your projects directly in the grid using the action menus in the leftmost column. For more information, see Using Action Menus. Any change you make from the grid is saved in corresponding records in NetSuite. Similarly, any change you make in a project, resource, allocation, task, or task assignment record is reflected in the project resource management grid.
Not all of the cells in the grid can be edited. Click the information icon in the upper right corner of the chart for the display legend.
In the grid, you can adjust values in the following cells:
-
Hours Allocated - Left-click on the Hours Allocated cell of a resource to enter the resource's allocated hours to the project. Press the Enter key to save the value. If the resource already has allocated hours and you want to edit the value, right-click on the cell and select Edit Allocation. Enter and save the new value using the Resource Allocation form.
-
Hours Assigned - Left-click on the Hours Assigned cell of a resource to adjust the resource's assigned hours to the task. Press the Enter key to save your changes. If you want to edit the task assignment, right-click on the cell, select Edit Project Task Assignment, and enter and save new values in the Task Assignment form.
-
Hours Estimated - Right-click on the Hours Estimated cell of a task assignment, select Edit Project Task Assignment, and enter changes in the Task Assignment form. For more information, see Entering New Allocations and Assignments.
Any change you make to assigned hours to tasks roll up to the project task and project's estimated work, and duration of project tasks may be affected.
To create new resource allocations and task assignments, see Entering New Allocations and Assignments.
Entering New Allocations and Assignments
For more information, see Creating a Resource Allocation Record and Assigning Resources to Project Tasks.
To enter a new allocation with project resource management:
-
Click New Resource Allocation at the top of the grid.
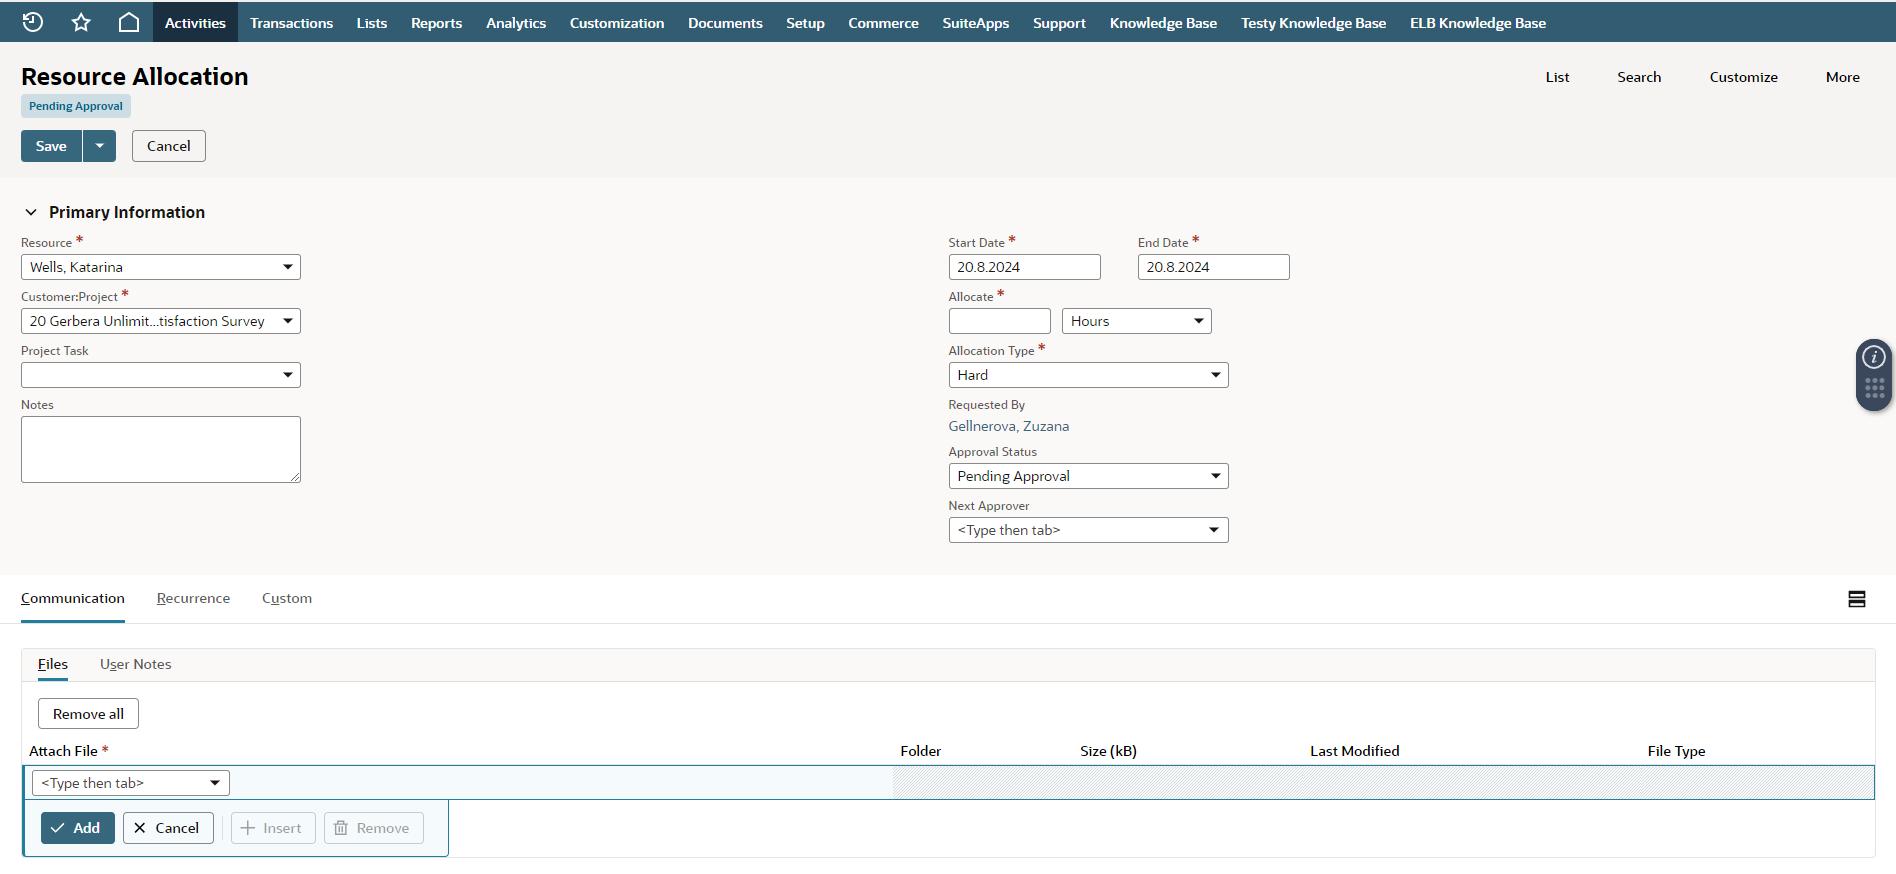
-
If you customized a resource allocation form, select it in the Custom Form field.
-
In the Resource field, select a resource for this allocation.
To search for a resource, hover your mouse to the right of the field and click the Resource Search icon. Enter or select values in the search filters and click Search.
-
Select the project to which you want to allocate this resource.
Important:For each project, it's best to either allocate resources directly to tasks or allocate them to the project and then assign them to tasks. Mixing both methods can cause inconsistencies in your project data. For more information, see Assigning Resources with Allocations.
. For more information, see Assigning Resources with Allocations.
Important:Creating new allocations with project task assignment isn't currently supported in Project Resource Management. If you're creating this allocation to assign tasks for the project, enter a new task assignment after creating this allocation.
-
In the Notes field, enter any additional information about this allocation.
-
Select a start date and end date.
Note:Resource allocations can begin and end on non-working days if at least one working day is included in the duration of the allocation.
-
In the Allocate field, enter the number of hours you want to allocate.
-
In the Allocation Type field, select the type of allocation.
-
Hard - This allocation request isn't flexible; the resource is committed to the dates and hours required on this request.
-
Soft - This allocation request is flexible; adjustments can be made to the date and hours if needed to accommodate other priorities.
Note:The allocation type pertains to project scheduling and staffing methodology. Records with a hard allocation type can still be edited. It's best practice to use the allocation types as suggested above when creating resource allocations in NetSuite.
-
-
In the Communication subtab, attach documents in the file cabinet or click the User Notes to add any notes related to this allocation.
-
In the Recurrence subtab, choose the recurrence for this allocation.
-
When you have finished, click Save.
To edit resource allocations from the project resource management grid, see Adjusting Allocations and Assignments.
To enter a new task assignment with project resource management:
-
Click New Task Assignment at the top of the grid.
Note:When opened from the grid using Assign Resource to Task, the Task Assignment form opens with the Project and Resource fields populated. For more information, see Using Action Menus.
-
In the Project field, select the project for this assignment.
-
In the Project Task field, select a task for this new assignment.
-
In the Resource field, select a resource for this assignment.
To search for a resource, hover your mouse to the right of the field and click the Resource Search icon. Enter or select values in the search filters and click Search.
-
In the Unit Percent field, enter the percentage of available work time this resource will commit to this task.
-
Select a billing class for this resource to apply to this project task. For more information about billing classes, read Project Billing Rates.
-
In the Unit Cost field, enter the cost for this resource to work on this task.
-
Enter the amount of work time you expect this resource to spend on this task.
The estimated work for the task must be specified in hours. Similarly, service items to be used on the project task must be priced in hours.
-
In the Unit Cost field, enter the cost for this resource to work on this task.
-
Select a service item for this resource's work on this task.
Only non-fulfillable or receivable service items can be selected on project tasks.
Note:Adding a service item is optional. If you don't specify a service item, unit price, or assign a resource for a task on a Time and Materials project, then NetSuite displays a warning when you refresh the Schedule subtab of the project record. For Time and Materials projects, a task must have an assignee and a unit price to be billed on the sales order.
-
When you're done, click Save.
To edit task assignments from the project resource management grid, see Adjusting and Reassigning Tasks.
Printing
To print the currently displayed page of the grid, click the printer icon in the upper right corner of the grid to open your browser printing dialog.