Enabling the SuiteProjects Pro Within NetSuite Feature in SuiteProjects Pro
After you setup the SuiteProjects Pro Within NetSuite (SuiteProjects Pro NetSuite Single Sign-On Integration) feature in NetSuite, you need to enable it in SuiteProjects Pro and allow NetSuite single sign-on access for users before they can access SuiteProjects Pro from within NetSuite.
For steps to set up the SuiteProjects Pro Within NetSuite (SuiteProjects Pro NetSuite Single Sign-On Integration) using NetSuite as OIDC Provider in NetSuite, see Enabling Access to SuiteProjects Pro From Within NetSuite.
The steps in this help topic describe how to enable the upgraded version of the SuiteProjects Pro Within NetSuite feature, which uses NetSuite as OIDC Provider as outbound single sign-on method instead of SuiteSignOn, in SuiteProjects Pro.
Until the SuiteProjects Pro 2023.2 release, SuiteProjects Pro Within NetSuite relied on the NetSuite Outbound Single Sign-On (SuiteSignOn) feature as outbound single sign-on method. NetSuite plans to end support for SuiteSignOn with the NetSuite 2025.1 for production accounts. The functionality relying on SuiteSignOn may stop working at any time after its end-of-support date.
If you are using the previous feature version relying on NetSuite Outbound Single Sign-On (SuiteSignOn), upgrade before the NetSuite 2025.1 release to ensure service continuity. For upgrade instructions, see Upgrading NetSuite Integration Features to Remove the Dependency on SuiteSignOn.
You should test all integration configuration changes on sandbox NetSuite and SuiteProjects Pro accounts before implementing them in your production accounts.
To enable the NetSuite Single Sign-On integration in SuiteProjects Pro:
-
Enable the upgraded SuiteProjects Pro Within NetSuite and Real-Time Record Import features using OAuth 2.0 in SuiteProjects Pro.
-
In SuiteProjects Pro, go to Administration > NetSuite Connector > Credentials.
-
Check the Use OAuth 2.0 for NetSuite Single Sign-On Integration and Real-Time Record Import (Configuration Changes Required Before Enabling - See Documentation) box under the Additional Integrations section.
-
Click Save.
Important:Switching to using OAuth 2.0 instead of the SuiteSignOn is not reversible. After you check this box and click Save, you cannot undo the change and go back to using SuiteSignOn.
-
Click Close to return to the Credentials tab on the NetSuite Connector page.
Tip:If you are setting up the upgraded versions of both the SuiteProjects Pro Within NetSuite and Real-Time Record Import features at the same time, do this step after completing the steps to enable the Real-Time Record Import feature. SuiteProjects Pro then generates a certificate for real-time imports and saves it to both NetSuite and SuiteProjects Pro automatically.
-
-
In SuiteProjects Pro, go to Administration > NetSuite Connector > Credentials.
-
Click the Tips button then NetSuite Connector administration.
The NetSuite Connector administration form appears.
-
Check the Enable NetSuite Single Sign-On box under the Other Features section of the form. See Enable NetSuite single sign-on.
-
Click Save.
-
Click Close to return to the Credentials tab on the NetSuite Connector page.
-
Under NetSuite OAuth 2.0 credentials, enter the Consumer Key and the Shared Secret you copied when creating an integration record for the NetSuite as OIDC Provider integration. See Enabling Access to SuiteProjects Pro From Within NetSuite.
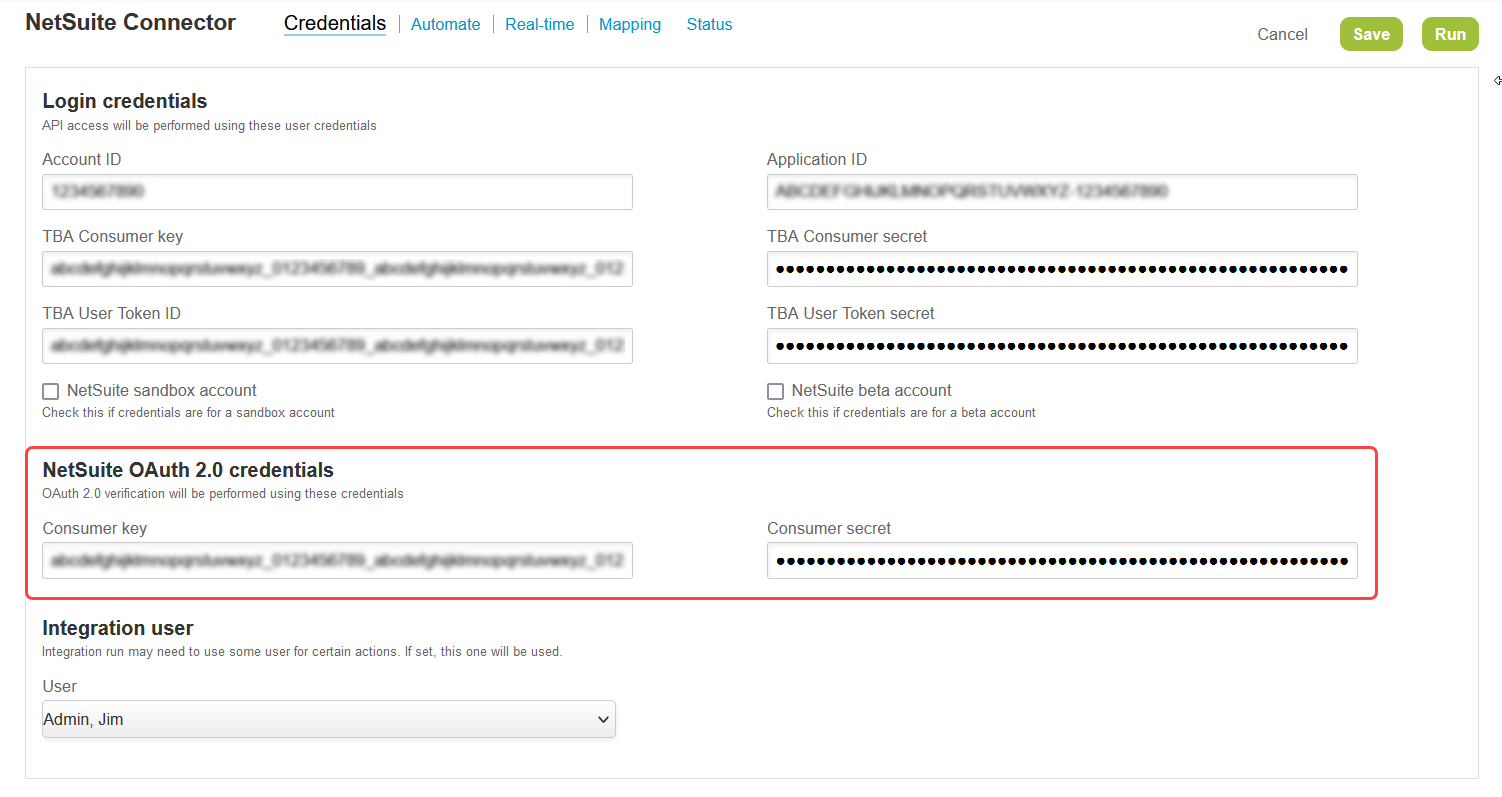
-
Click Save.
-
Run the integration for the Employees (Employees) import workflow, to ensure that all relevant user records are integrated. The SuiteProjects Pro employee record must have the correct NetSuite Employee ID for single sign-on. See Running the Bulk Import and Export Integration on Demand and Employees (Employees) Import Workflow.
-
For all relevant users, do the following:
-
Go to Administration > Global Settings > Users > Employees > [Select an employee] > Demographic
-
Check the Allow NetSuite Single Sign-On box.
Note:If you cannot locate the Allow NetSuite Single Sign-On box, check that the custom field is active and not hidden in the custom field properties and form permissions for the Employee demographic form.
-
Click Save.
Tip:Use the bulk user change wizard to enable NetSuite single sign-on access for all relevant users. See Making Changes to Multiple Employee Records at the Same Time.
-