Cherry-Pick a Commit From Another Branch
Once you have a commit’s revision ID, you can cherry-pick it to your working branch. Make sure you select the correct branch to cherry-pick the commit.
A cherry-pick applies the changes from a commit to your working branch, but it does not commit the changes automatically. You’ll need to review the cherry-picked changes and explicitly commit them to your branch. This new commit will have a different revision ID, even if its changes are just those from the original cherry-picked commit.
To cherry-pick a commit to your working branch:
- Click the Git menu in the header or in the Git panel, and select Cherry-Pick.
-
In the Cherry-Pick dialog, enter the ID of the revision you want to cherry-pick and click Fetch Revision (
 ).
).Use the Changes and Log tabs to view the changes associated with the commit you’re cherry-picking:
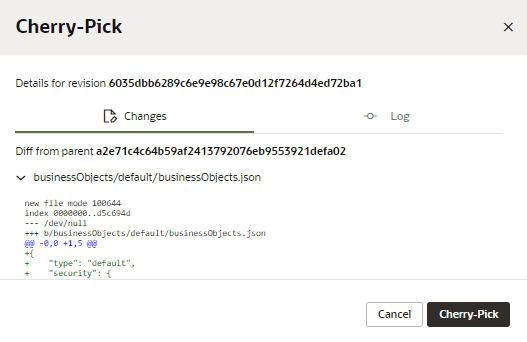
Description of the illustration cherrypick.png
If your branch has uncommitted changes, you’ll be prompted to commit your changes.
-
Click Cherry-Pick. Alternatively, click Commit All and Cherry-Pick to first commit your unsaved changes, then do the cherry-pick. (You’ll still need to explicitly commit the cherry-picked changes afterward.)
If you run into conflicts (say, because a file has been modified on two different branches), you’ll see a message similar to this image:
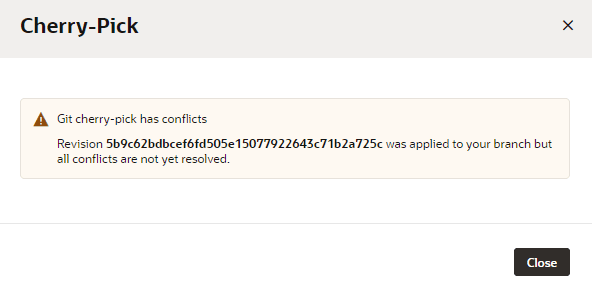
Description of the illustration cherrypick-conflict.png
To resolve the conflict, click Close, then go to the Git Panel to resolve the issue in the conflict editor.
- Once the commit is successfully applied (and any conflicts resolved), commit the cherry-picked changes to your branch, either from the Git Panel or the Commit option in the header’s Git menu.