Advanced Options
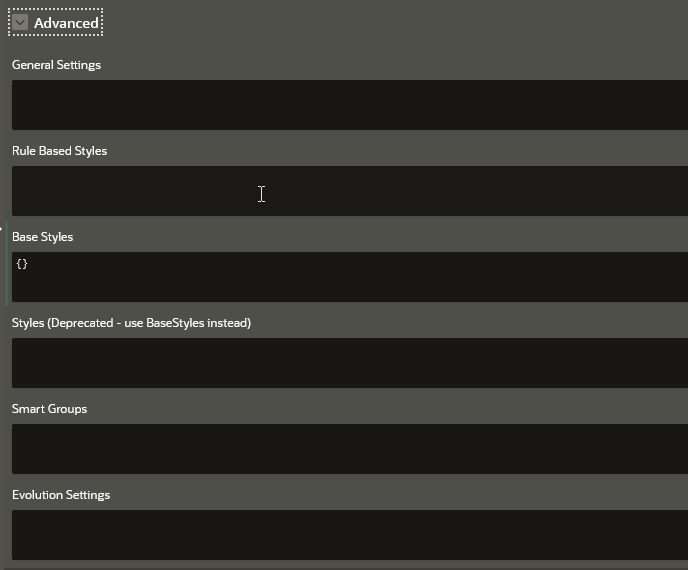
The Advanced panel appears as shown:
The Advanced panel allows you to configure custom and default styling for your graph visualization using the following options:
General Settings
You can specify the general graph visualization settings (see settings) in JSON format.
For instance, the following JSON example specifies the theme, legend width, and layout configurations:
{
"theme": "dark",
"layout": "hierarchical",
"legendWidth": "20"
}
The corresponding graph visualization is as shown:
Rule-Based Styles
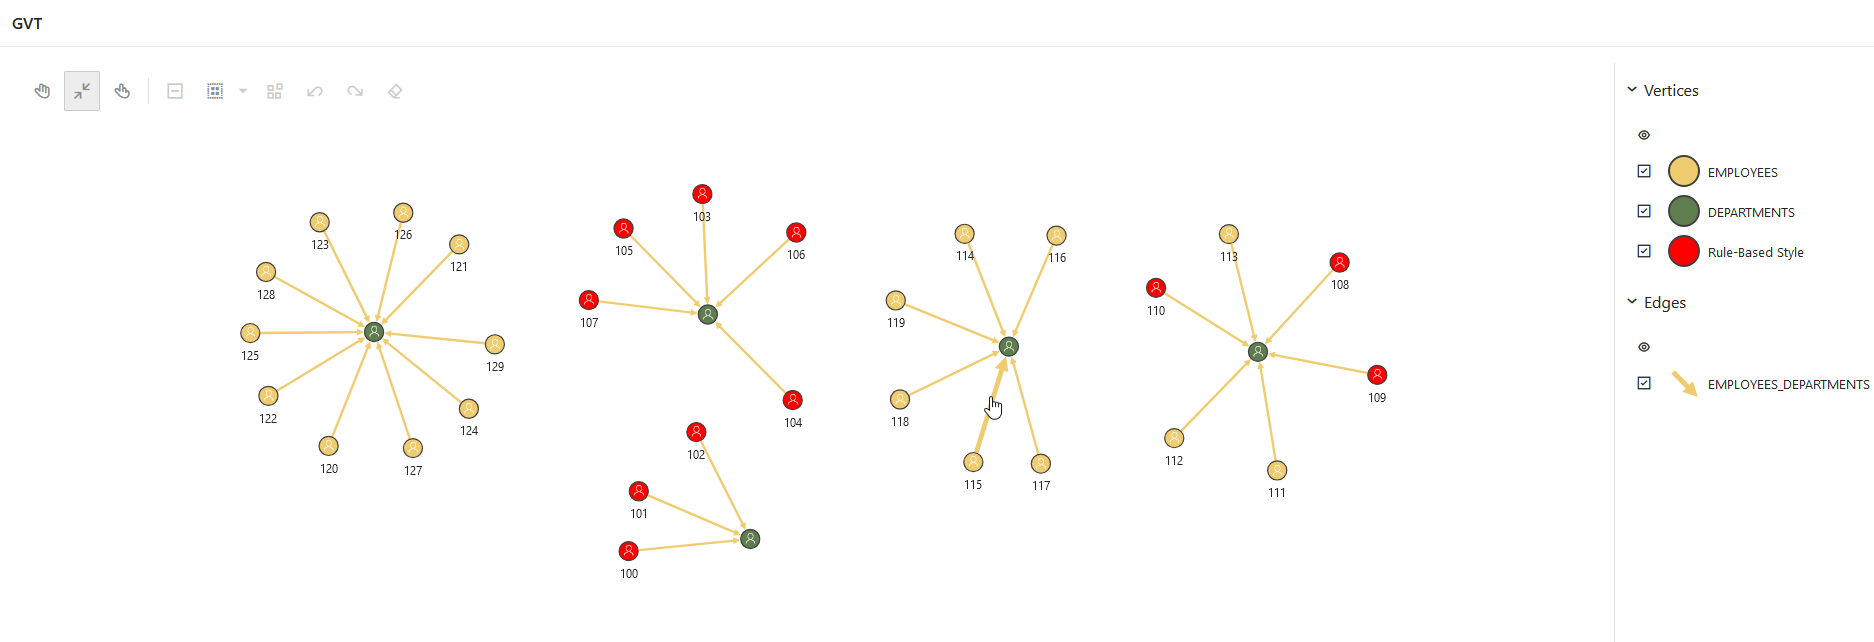
Rule-based style expressions are used to specify the target element into which the given style must be applied. The applied custom style is reflected in the legend panel as well. See Rule Expressions in Property Graph Visualization Developer's Guide and Reference for more information.
For instance, the following JSON example creates a custom color style for employee IDs ranging from 100 to 110:
[
  {
    "_id": 1,
    "component": "vertex",
    "stylingEnabled": true,
    "target": "vertex",
    "visibilityEnabled": true,
    "conditions": {
      "operator": "and",
      "conditions": [
        {
          "property": "EMPLOYEE_ID",
          "operator": ">=",
          "value": "100"
        },
        {
          "property": "EMPLOYEE_ID",
          "operator": "<=",
          "value": "110"
        }
      ]
    },
    "legendTitle": "Rule-Based Style",
    "style": {
      "color": "red"
    }
  }
]
The corresponding graph visualization is as shown:
For more examples, see Rule-Based Styles in Property Graph Visualization Developer's Guide and Reference.
Base Styles
Base style expressions are used to overwrite the default styling for the vertices and edges in the graph.
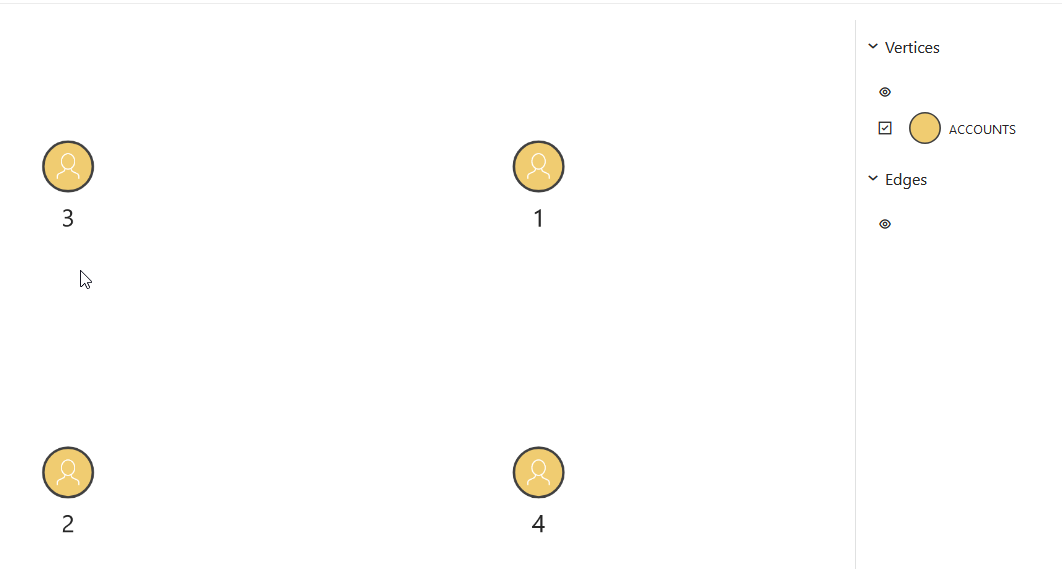
For instance, the following JSON example overwrites the default vertex styling:
{
   "vertex":{
      "size":12,
      "label":"${properties.EMPLOYEE_ID}",
      "icon":"fa-user"
    }
}
The corresponding graph visualization is as shown:
For more examples, see Base Styles in Property Graph Visualization Developer's Guide and Reference.
Smart Groups
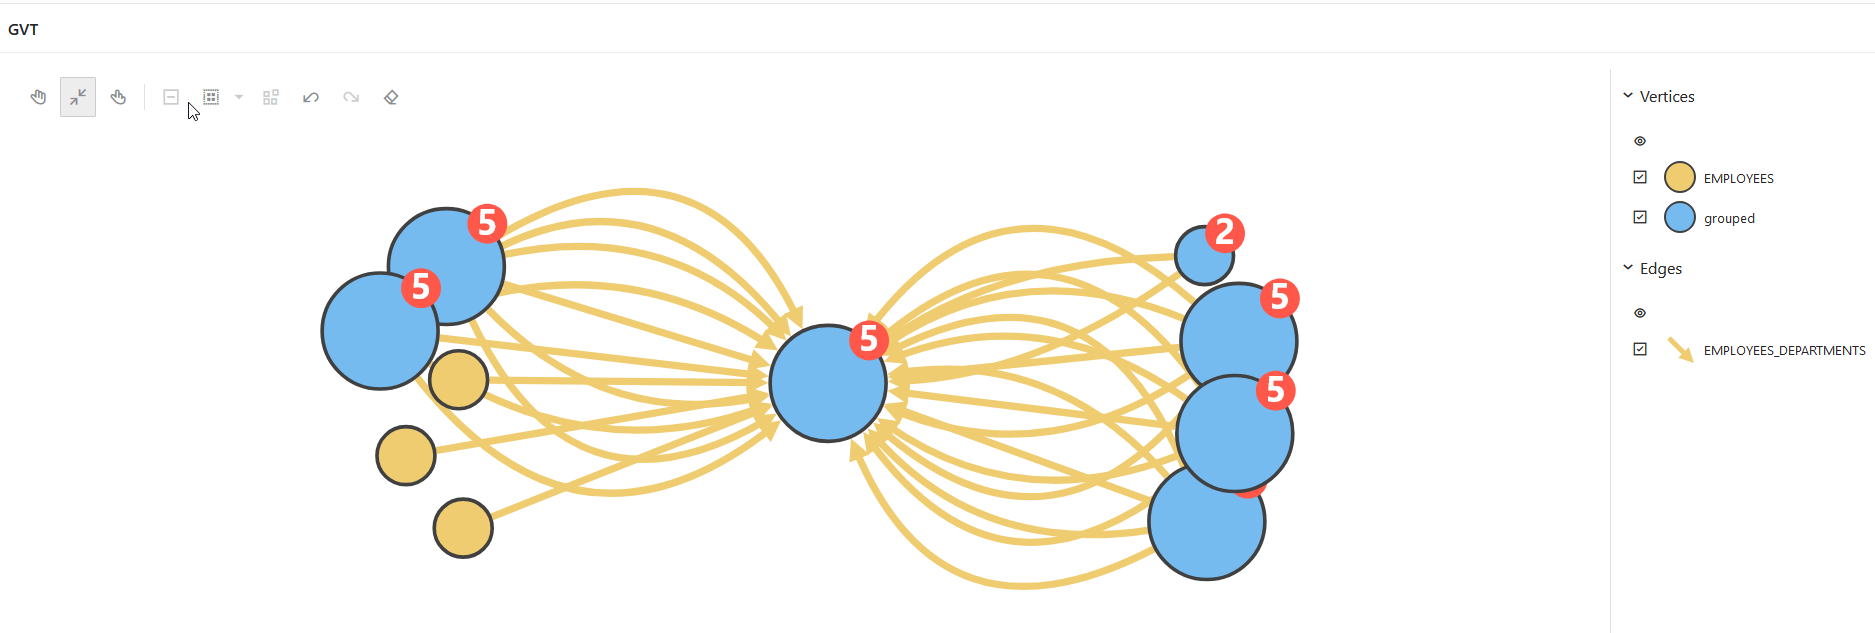
You can specify the configuration for applying smart grouping in JSON format.
For instance, the following JSON example groups employees by their
JOB_ID:
[
  {
    "_id": 1,
    "name": "Group By Job",
    "type": "group",
    "automatic": true,
    "enabled": true,
    "groupBy": "JOB_ID",
    "conditions": {
      "operator": "or",
      "conditions": [

      ]
    }
  }
]
The corresponding graph visualization is as shown:


