Create and Manage a Project Deployment

You can create and activate a project deployment consisting of integrations and robots. When you create the project deployment, you select the versions of the integrations and robots to include. You can also perform project deployment management tasks on user-developed deployments, such as editing, cloning, and deleting the deployment.

Understand the Integration Versioning Life Cycle in a Project Deployment

When you create a project deployment, you must select the integrations and their versions to include. For example, you can select integration A/version 1 and integration A/version 2. You cannot select two or more minor versions of the same major version. By default, the latest version of the integration is selected.

The following example describes the life cycle of a project deployment. The following project initially includes two integrations with the following versions prior to creation of the project deployment:
  • Project
    • Integration_A
      • Version 01.00
      • Version 01.01
      • Version 02.00
    • Integration_B
      • Version 01.00
      • Version 02.00

Because the project is all-inclusive and integrations are versioned, this project can be deployed in a number of different configurations.

The initial project deployment delivery may include the following integrations and versions:
  • Project
    • Integration_A
      • Version 01.00
    • Integration_B
      • Version 01.00
After updates are made to Integration_A, the project deployment is subsequently delivered as follows:
  • Project
    • Integration_A
      • Version 01.01
    • Integration_B
      • Version 01.00
At a later time when Integration_A/Version 02.00 is complete, but Integration_B/Version 02.00 requires further development, the project is delivered as follows:
  • Project
    • Integration_A
      • Version 02.00
    • Integration_B
      • Version 01.00

In this scenario, development of Integration_B/Version 02.00 can continue without disruption, as can delivery of the project (with Integration_B/Version 01.00).
Create a Deployment

  1. In the navigation pane, click Projects.
  2. Click the project name or click Edit icon.
  3. Click the Deploy tab.
  4. Click Create.

    The Create deployment panel appears.

  5. Enter a name, identifier, and optional description. The name is required for activating the project deployment.
  6. Select the integrations to include in the deployment.
    1. Scroll through the list of integrations included in the project and select the ones to include in the deployment.

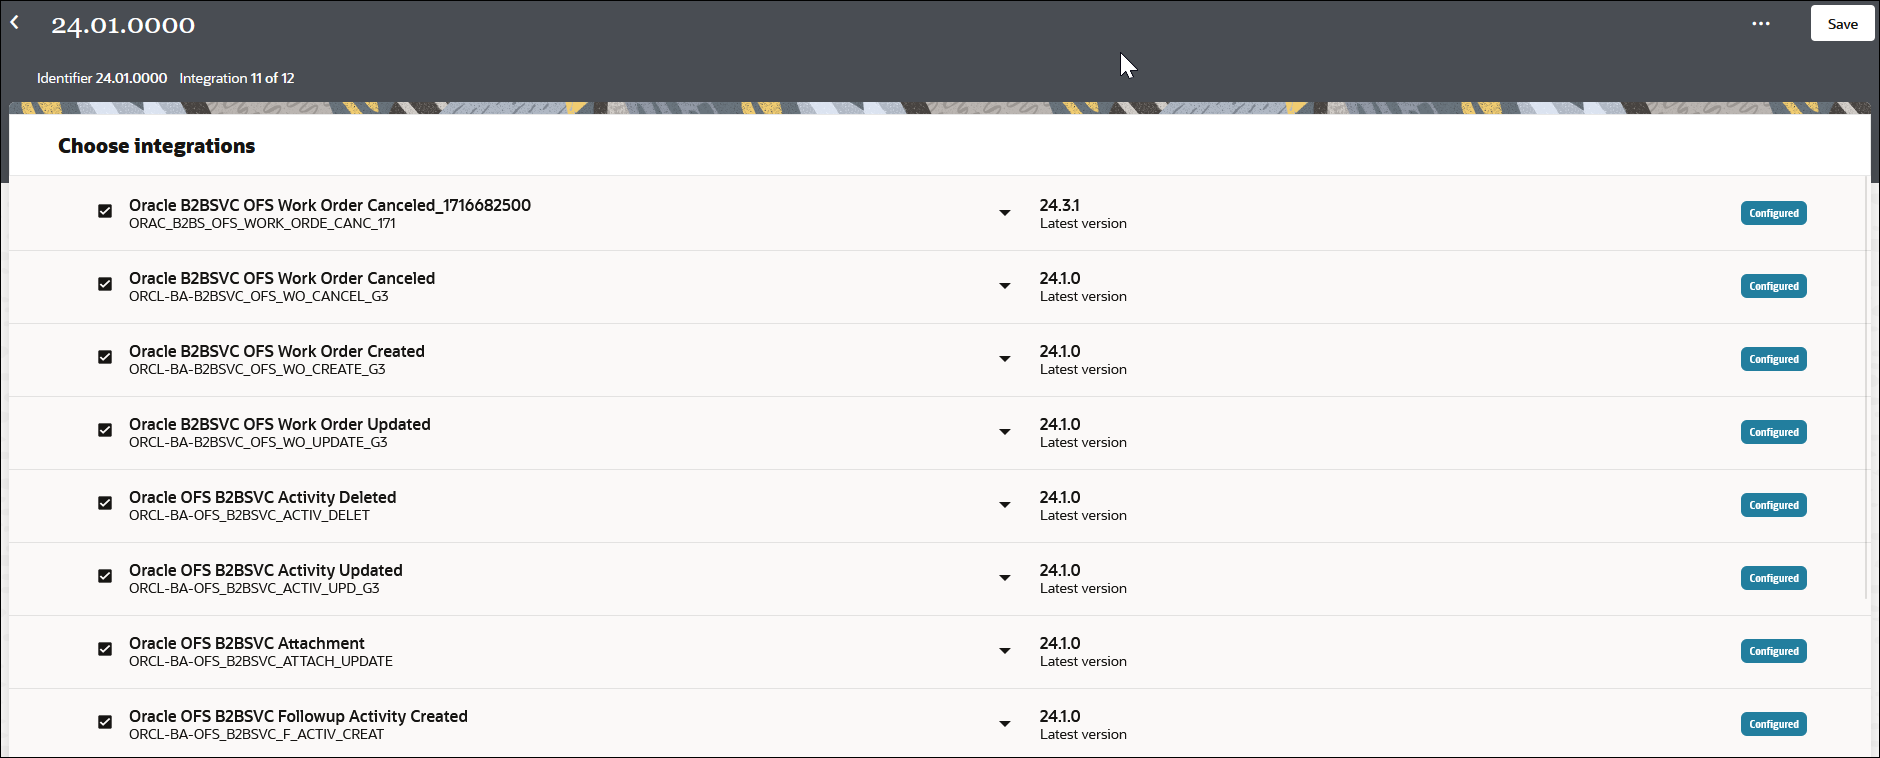
      The Choose integrations page shows the available integrations, a drop-down list of available integration versions, and an integration status column. A Save button appears in the upper right corner.

      The available versions of each integration are displayed in the second column. By default, the most recently-created versions are selected when you create a deployment.

    2. Select the version to include for each integration in the deployment. For this example, select one of the two available versions.

      The Choose integrations page shows the integrations available in the project in the first column. The versions available with each integrations are shown in the second column. The status of the version is displayed.

  7. Select the robots to include in the deployment.

    Even if you selected an integration that calls a robot, the robot is not automatically included in the deployment. You must manually select all the robots to include.

    1. In the left toolbar, select Robot Robot.
    2. Scroll through the list of robots included in the project and select the ones to include in the deployment.

      The available versions of each robot are displayed in the second column. By default, the most recently-created versions are selected when you create a deployment.

    3. Select the version to include for each robot in the deployment.
  8. Click Save, then exit the Choose integrations page.
  9. Click Activate Activate icon.

    The Activate project panel is displayed. The name of the deployment is displayed automatically and cannot be changed.

  10. Select the tracing level:
    • Production: All activities outside loops and invoke/logger activities inside loops (up to a 1000 iterations) are shown in the activity stream and the data is retained for 32 days.
    • Audit: In addition to the production settings, wire payloads of trigger/invoke(s) are also shown in the activity stream and the data is retained for eight days.
  11. Click Activate.

Manage Project Deployments

The Deploy tab provides additional management tasks.

  1. In the navigation pane, click Projects.
  2. Click the project name or click Edit icon.
  3. Click the Deploy tab.
  4. Select Actions Actions icon for a user-developed project deployment, and note the following options. For accelerator projects imported into your instance, only the View option is visible. See Understand an Imported Oracle Accelerator Project.
    Action Option Description
    Edit Select to edit a project deployment.
    View Select to view a project deployment in read-only mode.
    Clone Select to clone a project deployment.
    Export Select to export a project deployment.
    Delete Select to delete a project deployment.

    Note: If you delete an individual integration, it is removed from all deployments in which it is a included.