Installing Oracle WebLogic Server 10.3.6.0
This section describes running the Oracle Universal Installer (OUI) to install Oracle WebLogic Server 10.3.6.0.
Run the Oracle WebLogic Server 10.3.6.0 installer from the image that you downloaded from the Oracle Software Delivery Cloud.
The item name of the installer is (V29856-01). The filename of the installer is:
wls1036_generic.jarOn UNIX platforms, the command syntax to run the installer is platform dependent.
For Linux and AIX (non-Hybrid JDK)
> java -jar
                        wls1036_generic.jar
For Solaris and HP-UX (Hybrid JDK)
> java -d64 -jar
                        wls1036_generic.jar
Upon execution, the installer starts preparing the OUI install program.
On Welcome, click the Next button.
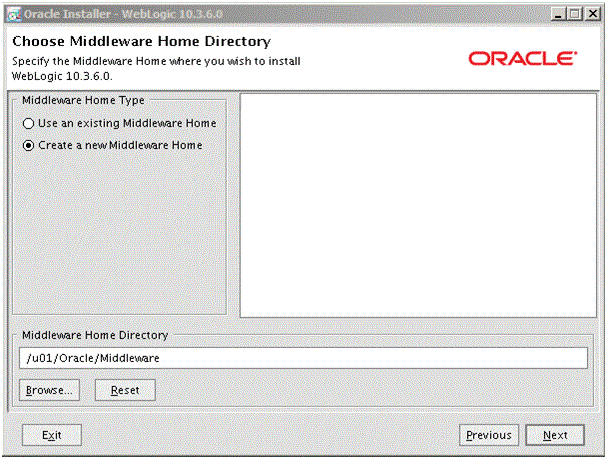
On Choose Middleware Home Directory, click this radio button:
Create a new Middleware Home
For example, your Middleware Home Directory might be:
/u01/Oracle/MiddlewareTip: The location you enter here will be yourMW_HOMEvalue.Click the Next button.
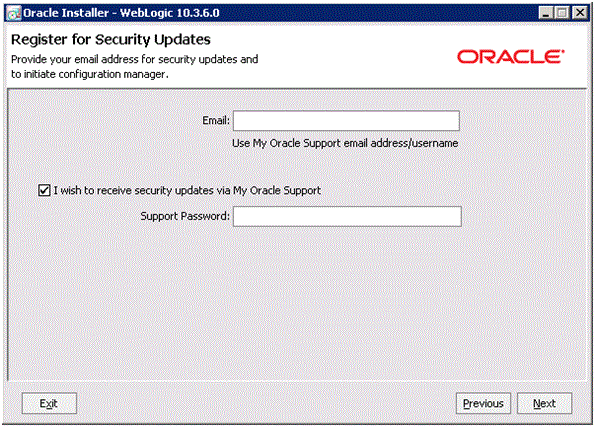
On Register for Security Updates, Oracle strongly recommends you complete the Email address and/or the My Oracle Support Password fields to register your installation of Oracle WebLogic Server 10.3.6.0. This registration will enable you to be informed of security issues.
Click the Next button.

On Choose Install Type, select the type of installation you wish to perform.
In this guide, it is assumed you select the Typical installation type, which installs the Oracle WebLogic Server 10.3.6.0 and the Oracle Coherence Server.
Note: The Typical selection automatically includes the Oracle Coherence server, which is part of Oracle WebLogic Server 10.3.6.0. This new server is a stand-alone cache server that enables dedicated JVM instances responsible for maintaining and managing cached data. As of the initial publication of this guide, the JD Edwards EnterpriseOne HTML Server has not been certified with the Oracle Coherence Server.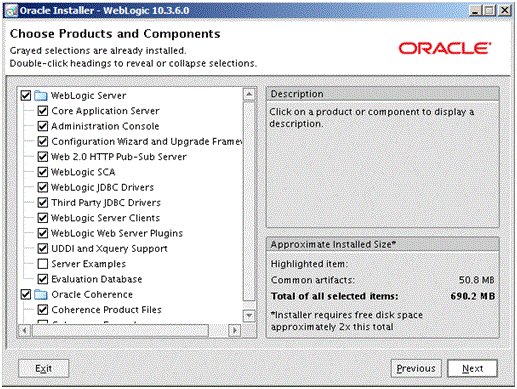
Click the Next button.
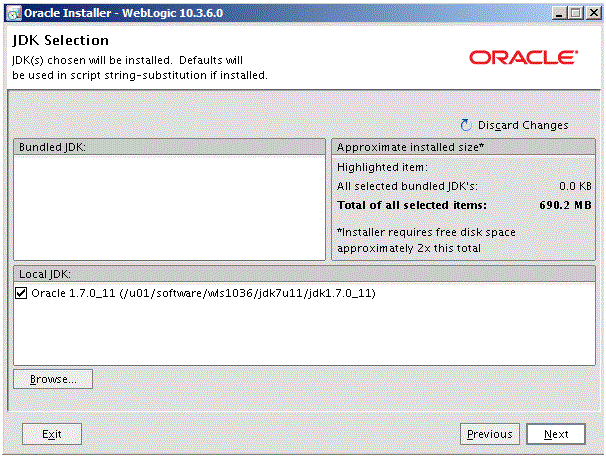
On JDK Selection, click the check box for the JDK you wish to use and install with this product installation.
Click the Next button.
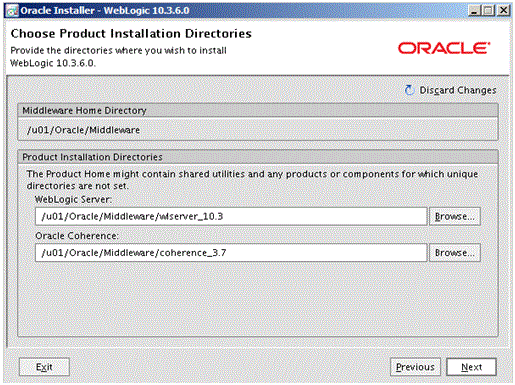
On Choose Product Installation Directories, complete these fields:
WebLogic Server
Enter or browse to a location where you wish to install an Oracle WebLogic Server 10.3.6.0.
For example:
/u01/Oracle/Middleware/wlserver_10.3Oracle Coherence
Enter or browse to a location where you wish to install the Oracle Coherence Server.
For example:
/u01/Oracle/Middleware/coherence_3.7
Click the Next button.
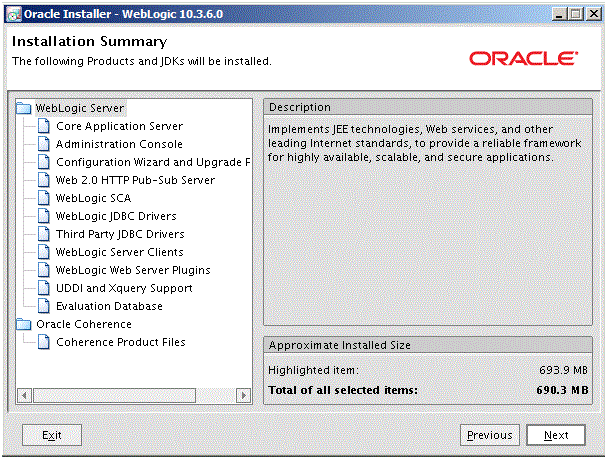
On Installation Summary, review the products that will be installed.
Click the Next button.
The installer starts copying files.
A progress bar is displayed in the lower right-hand portion of the screen.
As the installer progresses it displays the new features of the Oracle WebLogic Server 10.3.6.0.
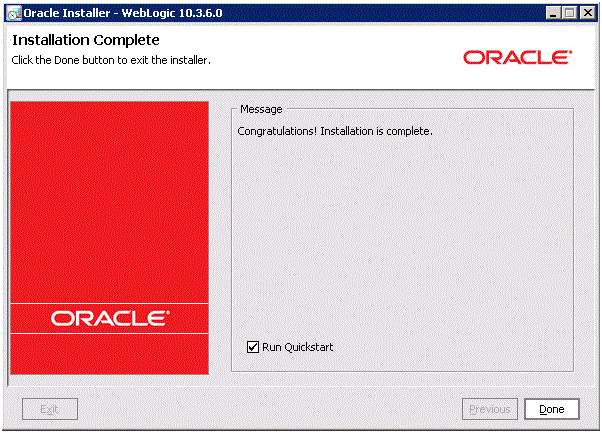
On Installation Complete, ensure the Run Quickstart check box is selected in order to launch to the Quickstart menu so that you can create your Domain.
Click the Done button.
The QuickStart menu is displayed. Refer to the next section in this guide entitled: Using QuickStart to Configure Oracle WebLogic Server 10.3.6.0.