Installing the Portal Server
To begin the installation:
Download the WebSphere Portal 8.5 software from the IBM support site.
From either the Setup CD or directory, you can use various methods to launch the installer, as shown in this table:
Installation Method
Command and Description
Graphical user interface
./install.bat
Console mode
./install.bat -console
Silent install
./install.bat -options “path_to_file/response_filename"
where path_to_file is the full path to the response file, and
where response_filename is the name of the file.
A sample install response file (installresponse.txt) and a sample uninstall response file (uninstallresponse.txt) are located in the root directory of the Setup CD.
Important: Do not place the response file in a path that contains a space and do not put a space in the file name.
Note: If the installation program does not detect a WebSphere Application Server instance that you know exists, exit the installation program and re-run it using command line options to specify the WebSphere Application Server instance location. For example: ./install.bat -W was.undetectedWas="/my/WAS/location" Upon execution, by default the installer creates a separate profile called wp_profile. This profile is used to host the Portal contents. Therefore, you should not install Portal into an existing profile with other applications installed.To run the installer interactively (via GUI), export the DISPLAY using a XWindows Server, using the following syntax:
set DISPLAY=IP:0 (i.e set DISPLAY=10.139.157.63:0)
	export DISPLAY
Click the install icon to begin the installation.
The IBM Installation Manager presentation screen will appear.
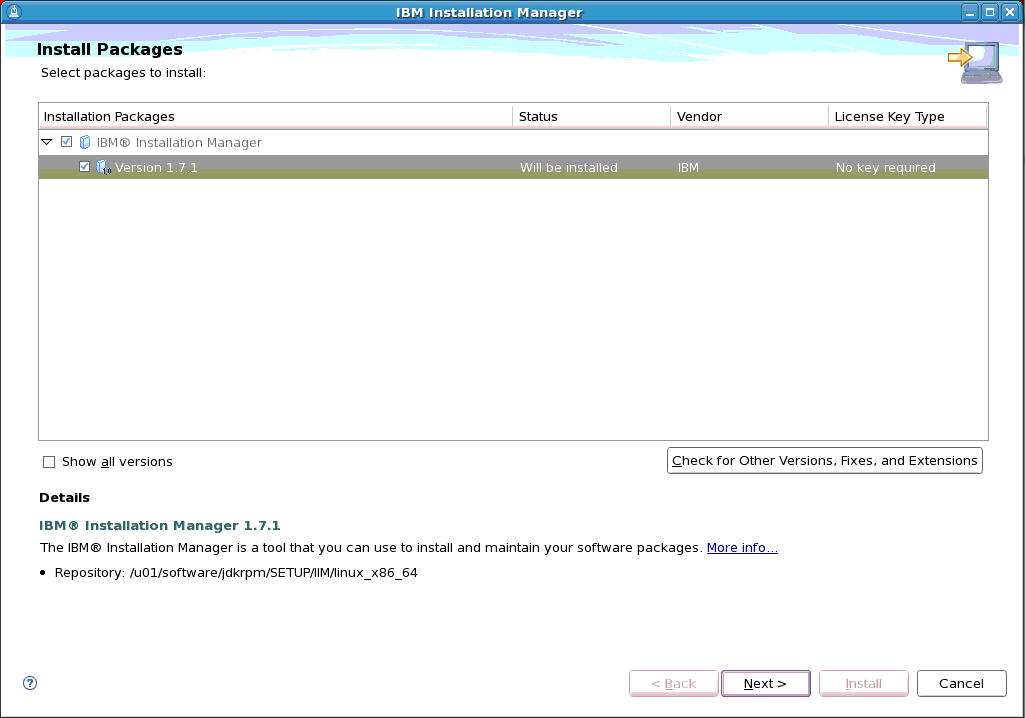
Select the version package to be installed.
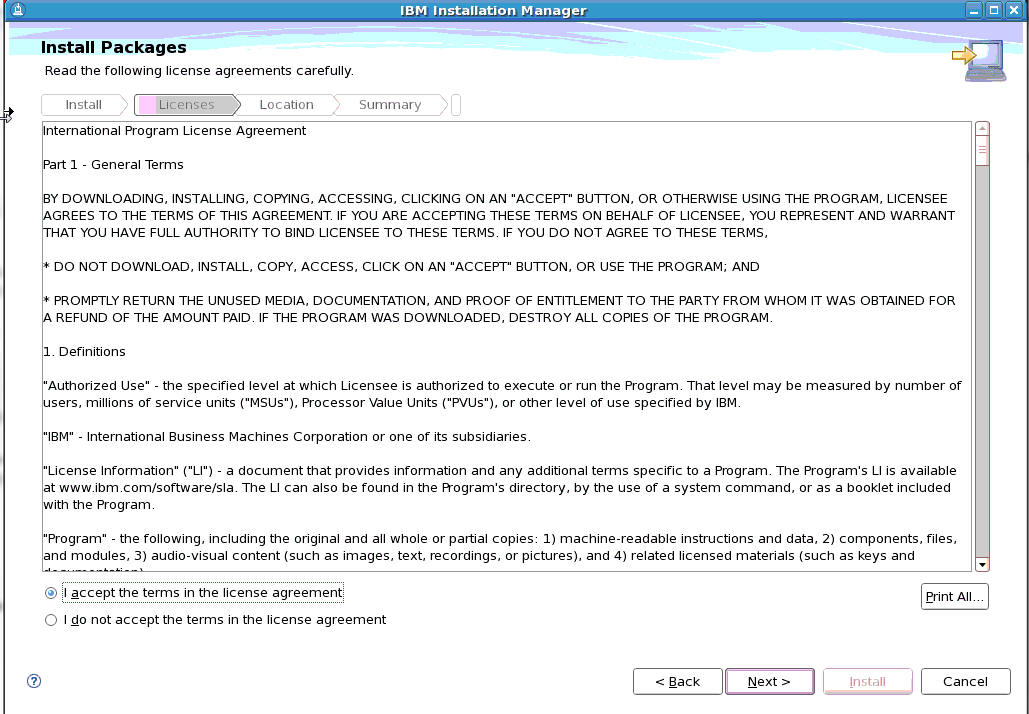
Accept the license agreement terms and click the Next button.

If it is not already listed, enter the Installation Manager Directory and click the Next button.
Important: Any file path in this chapter that begins with /u01/, such as the path in the above screenshot, should be replaced with /QIBM/.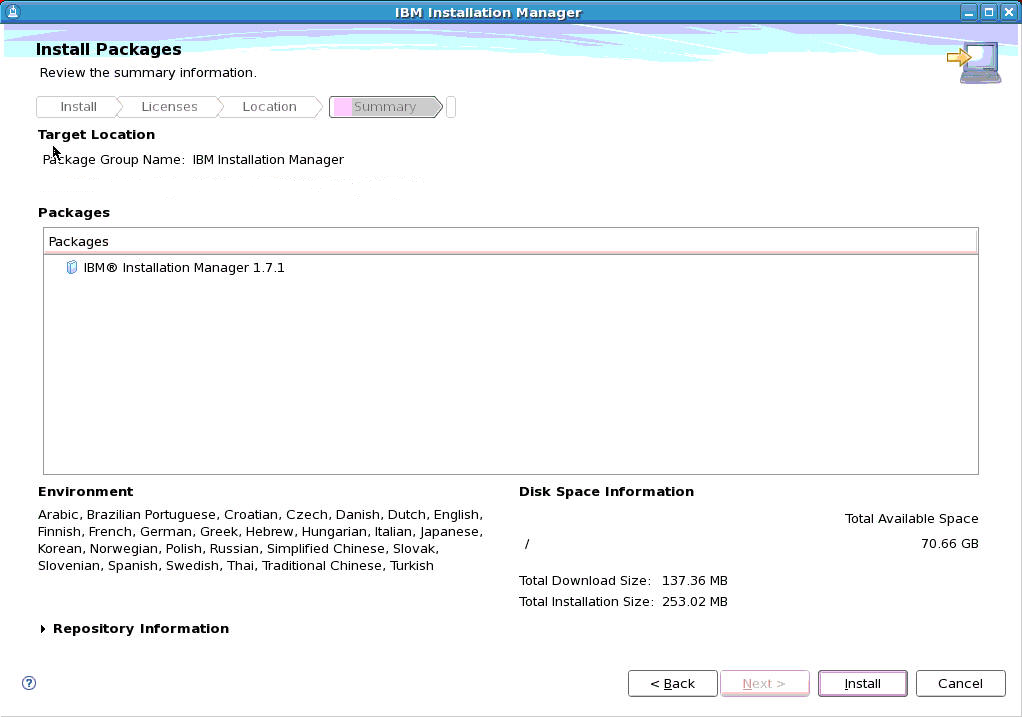
Review the summary information for the target location and click the Install button.
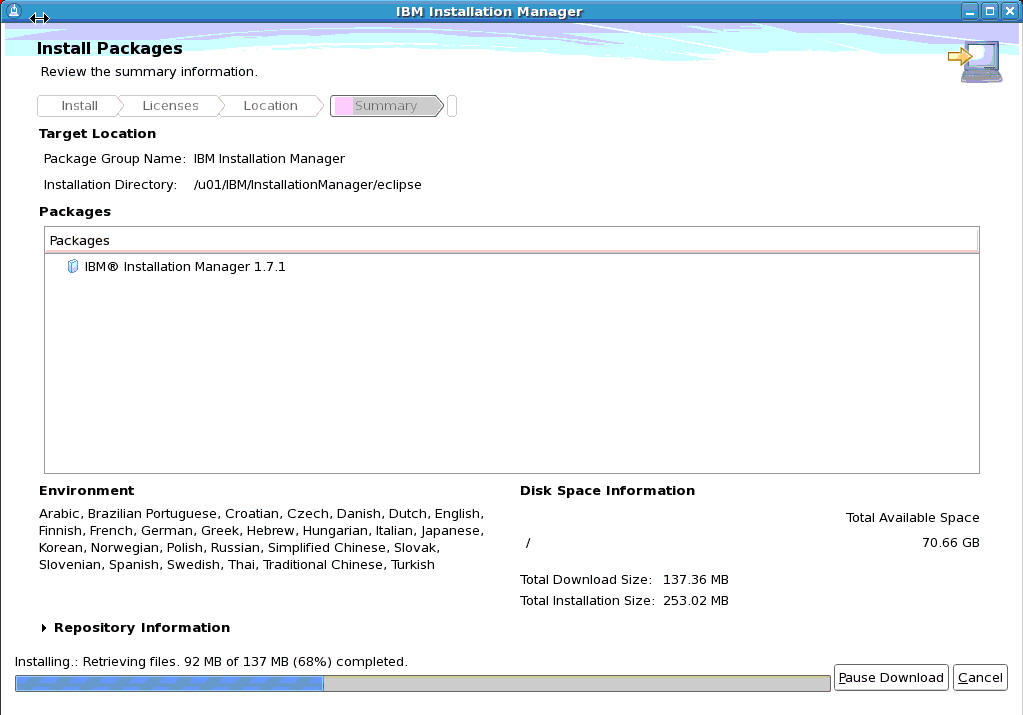
A progress bar will appear along the bottom of the screen.
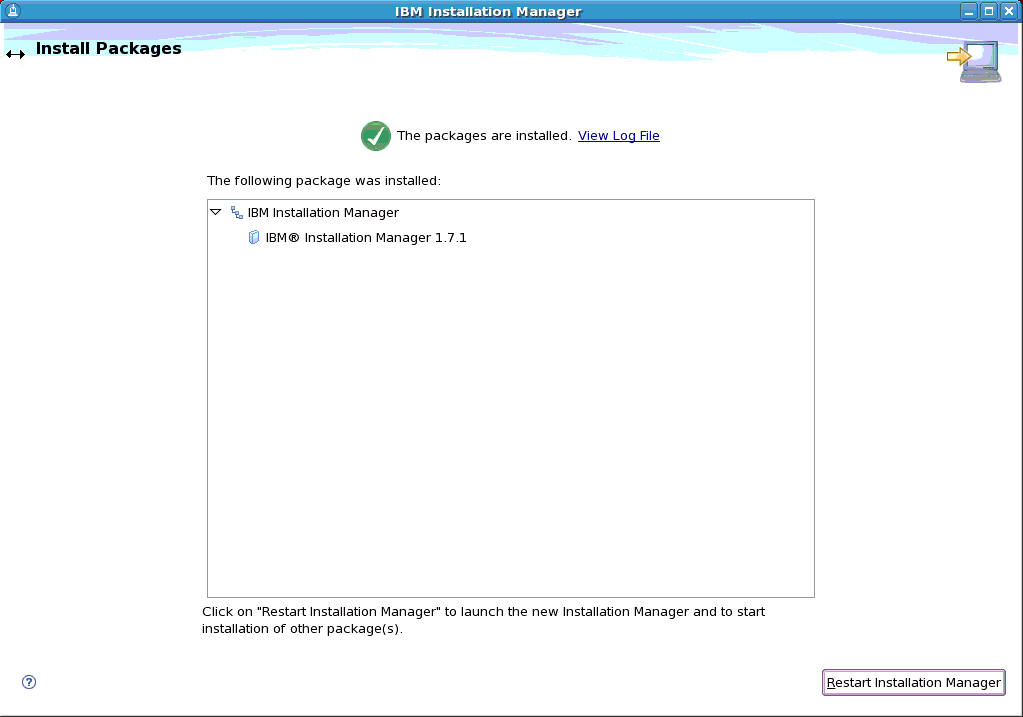
An Install Packages screen will appear providing a summary of the installed packages. Click the Restart Installation Manager button to launch the Installation Manager and to start installation of any additional packages.
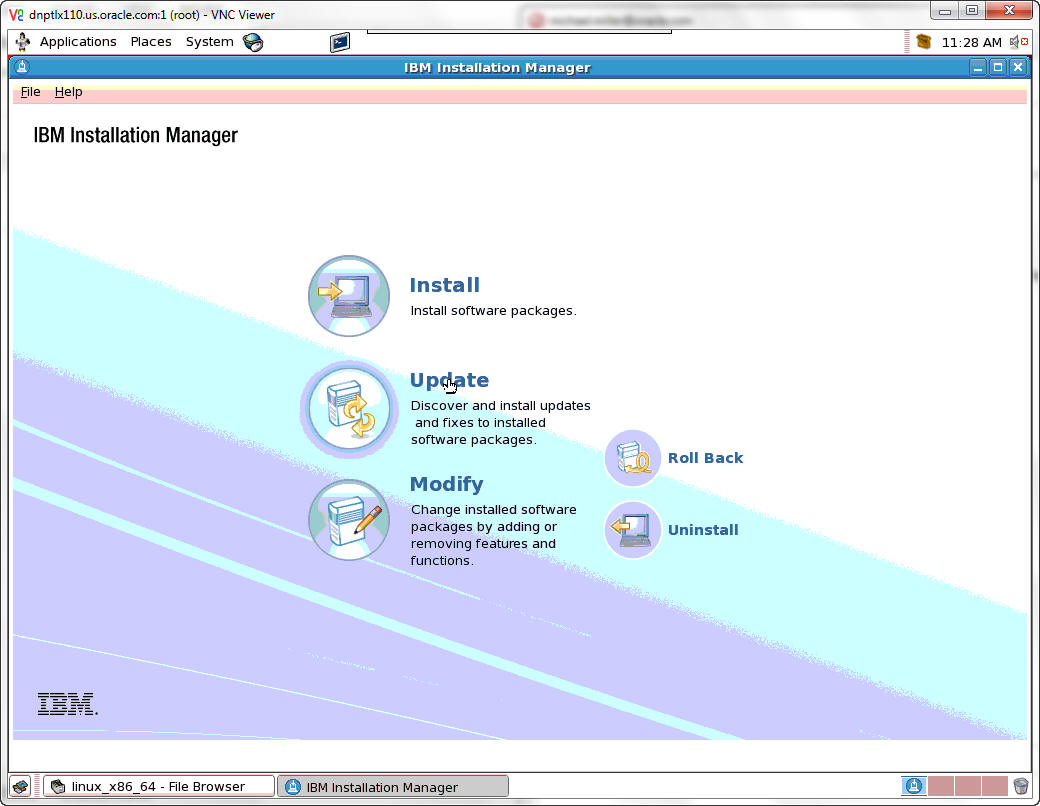
If there are no additional software packages to install, click Update to proceed.
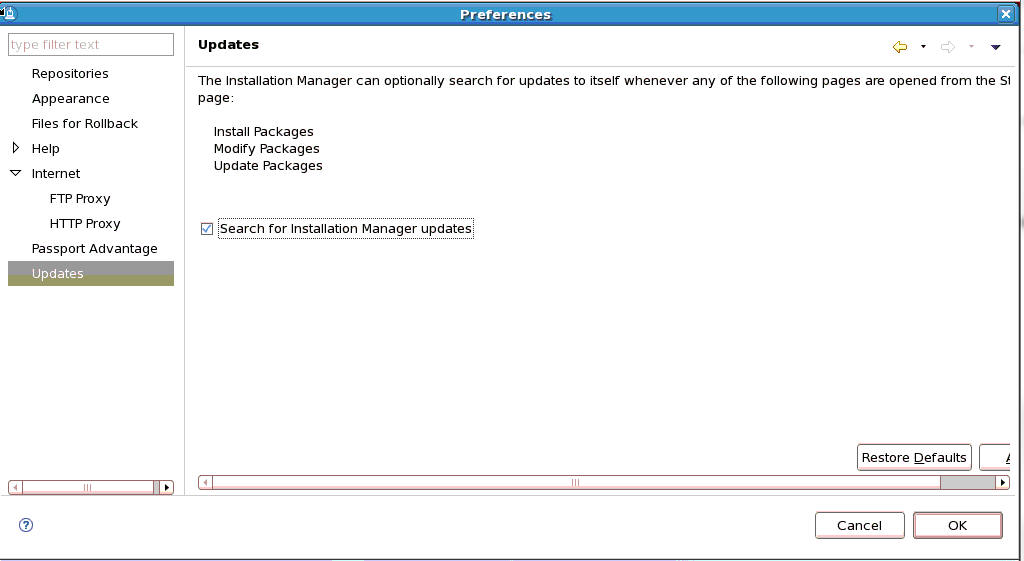
Select the checkbox for Search for Installation Manager updates and then click OK.
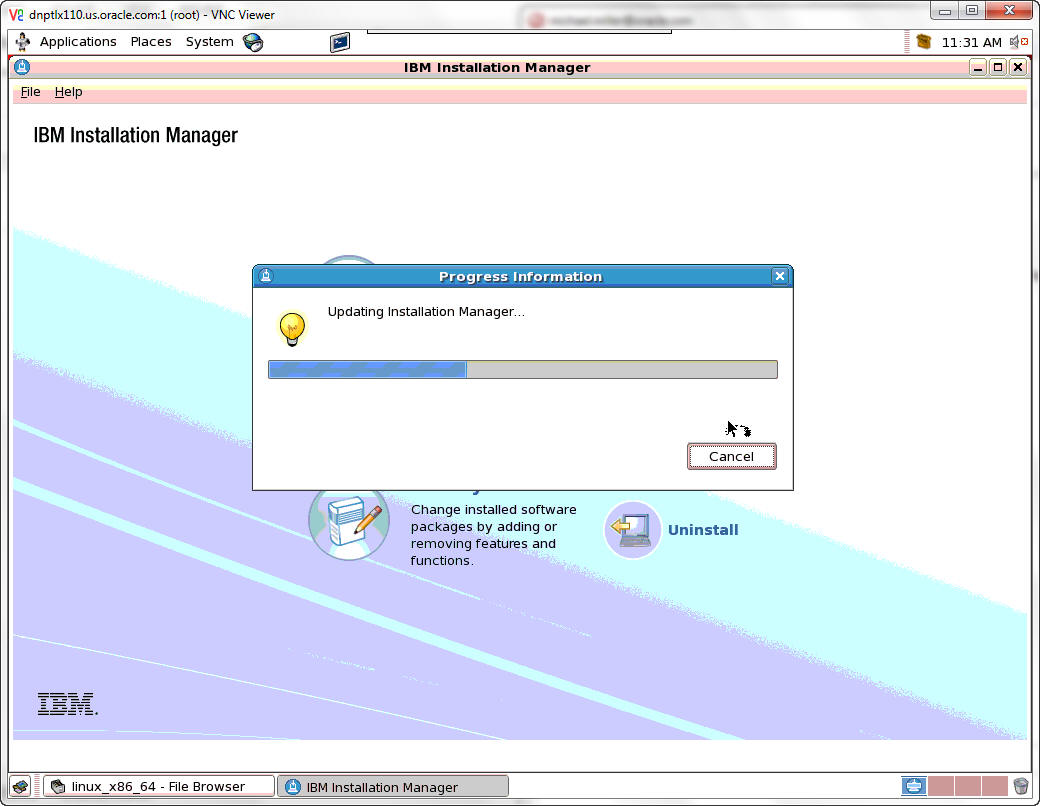
A popup window with a progress bar will appear.
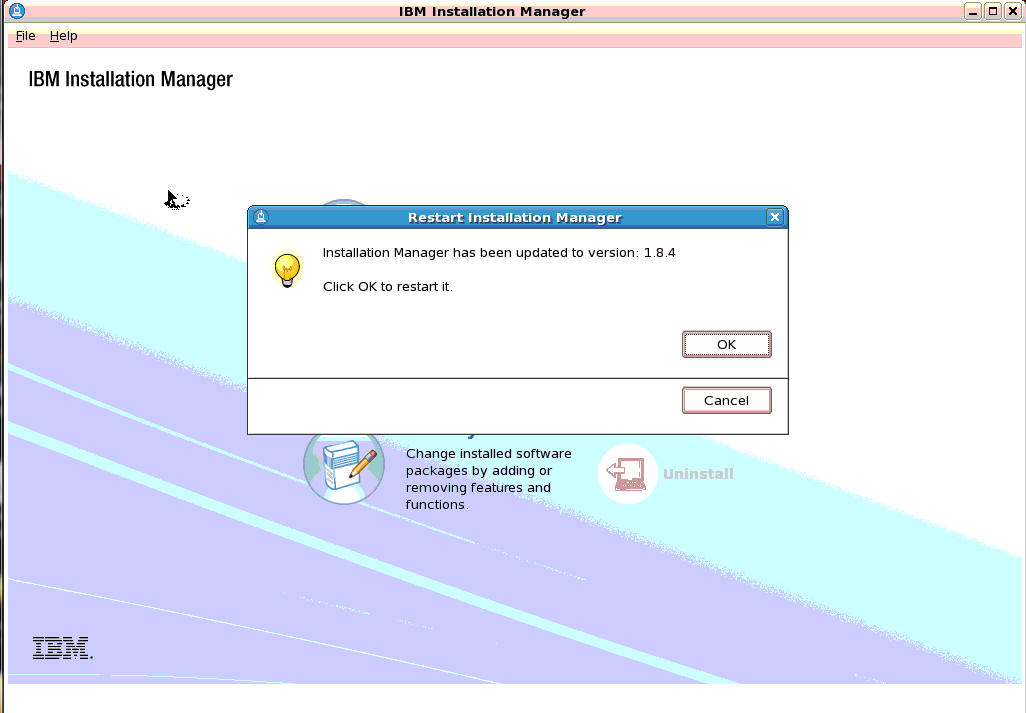
When the Installation Manager has been updated, a popup message will appear. Click OK to restart Installation Manager in the newly installed version.

Select File | Preferences.
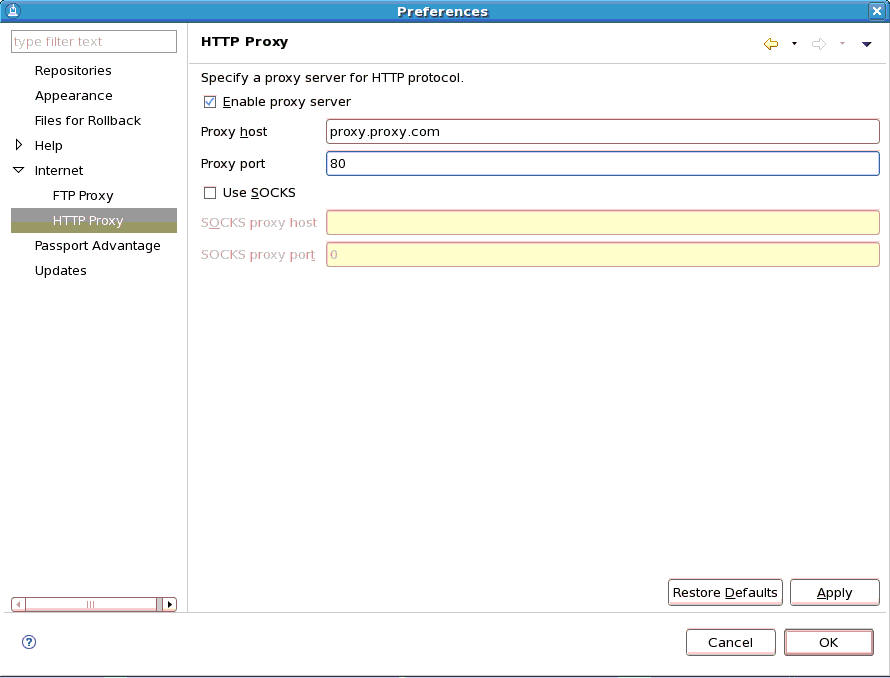
Select the checkbox for Enable proxy server, enter the proxy information and click OK.
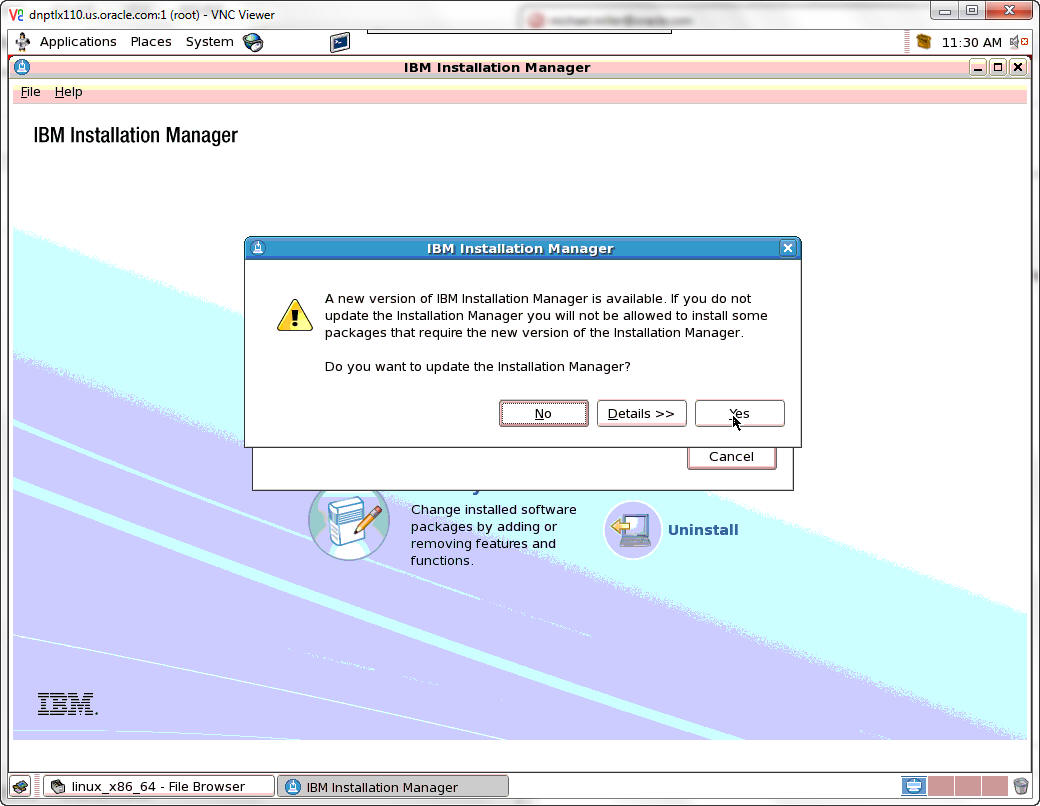
If a newer version of the IBM Installation Manager is required, a popup window will appear giving you the option to update Installation Manager. Click Yes.
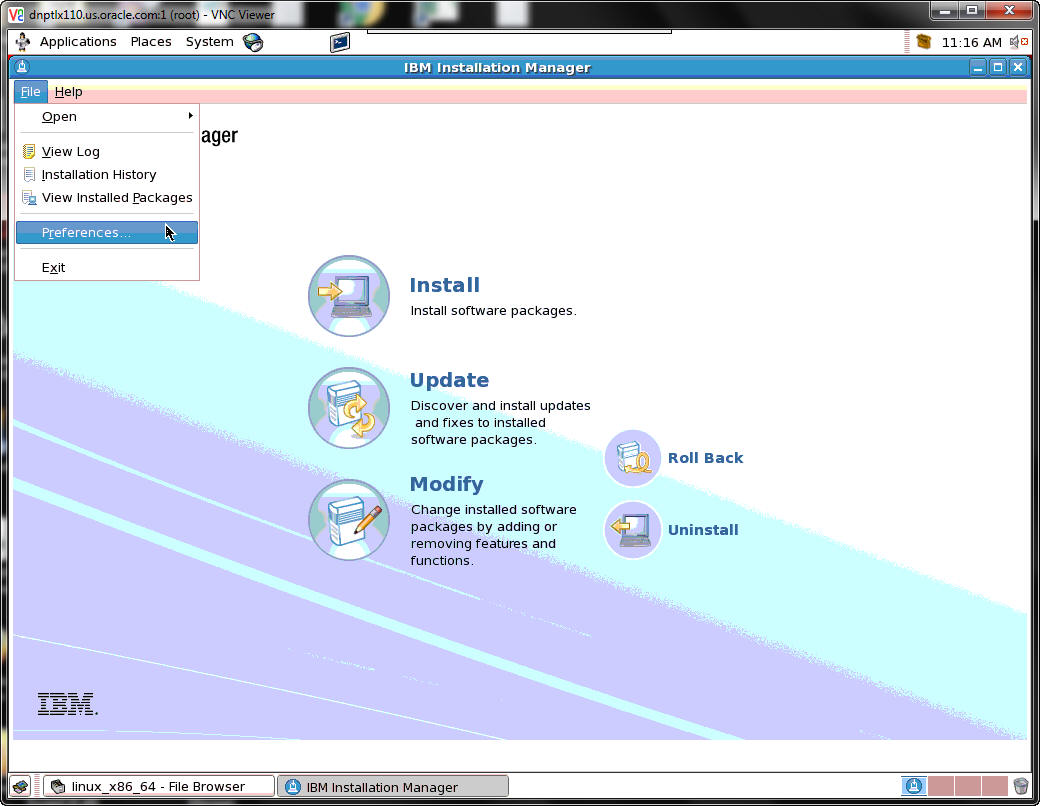
Select File | Preferences.
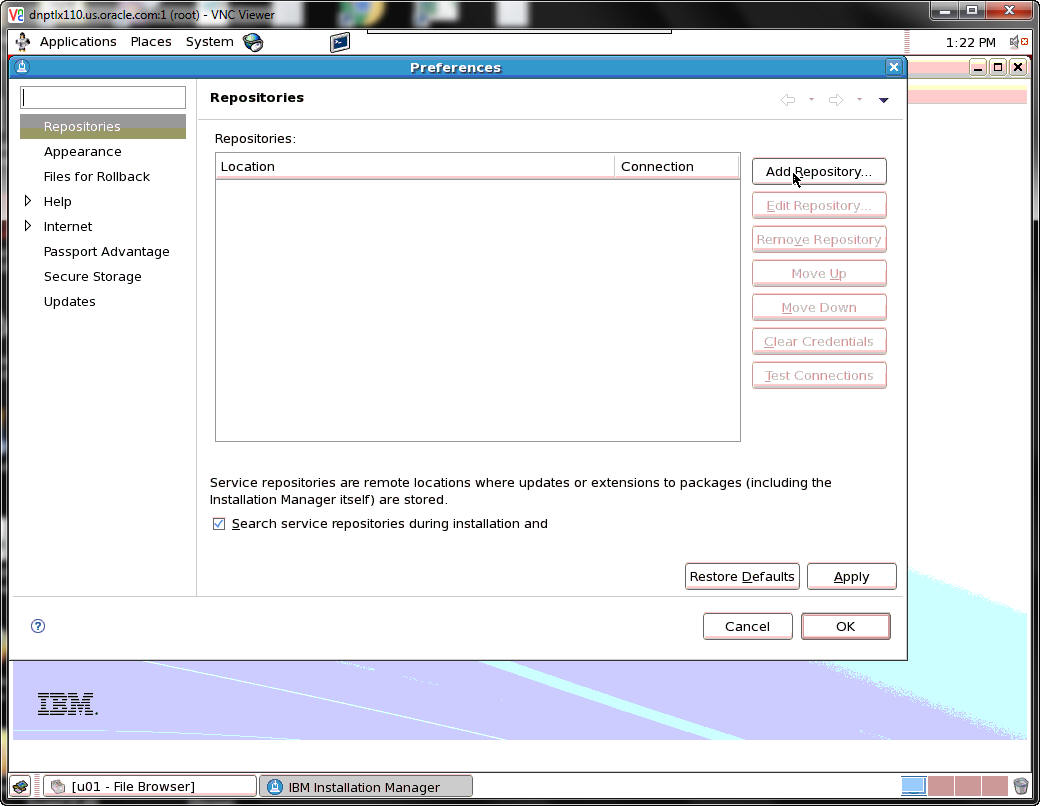
Click the Add Repository button.

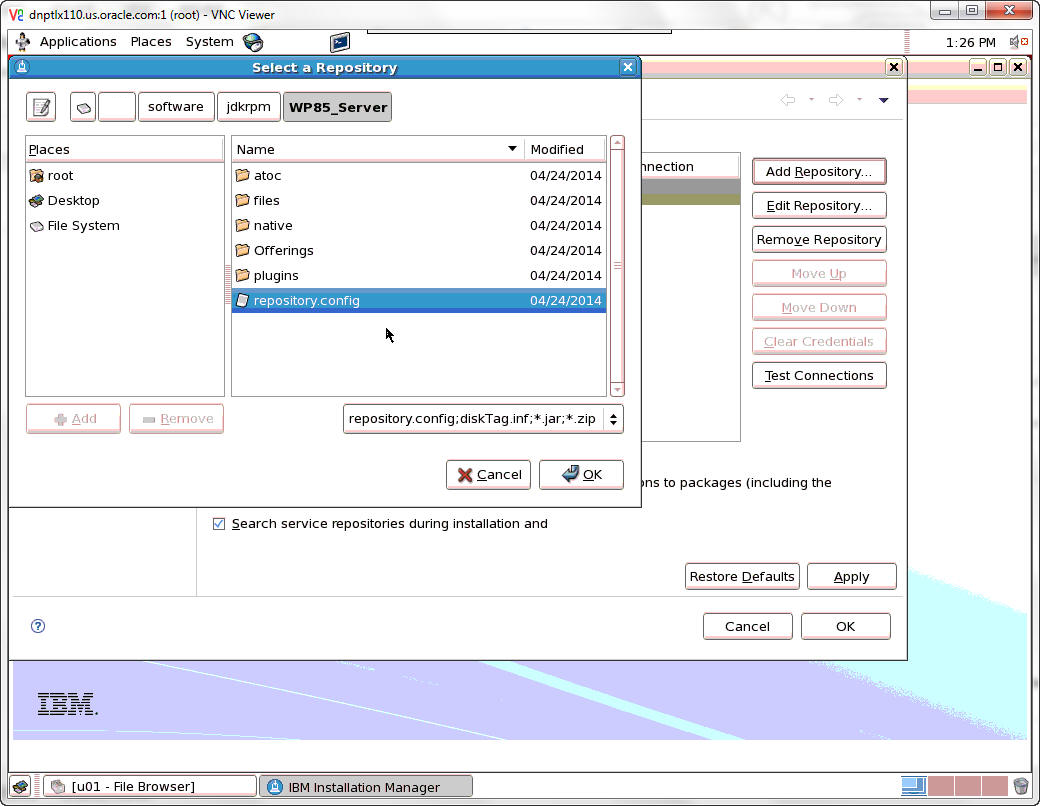
Select a Repository by clicking on repository.config. and then click OK.
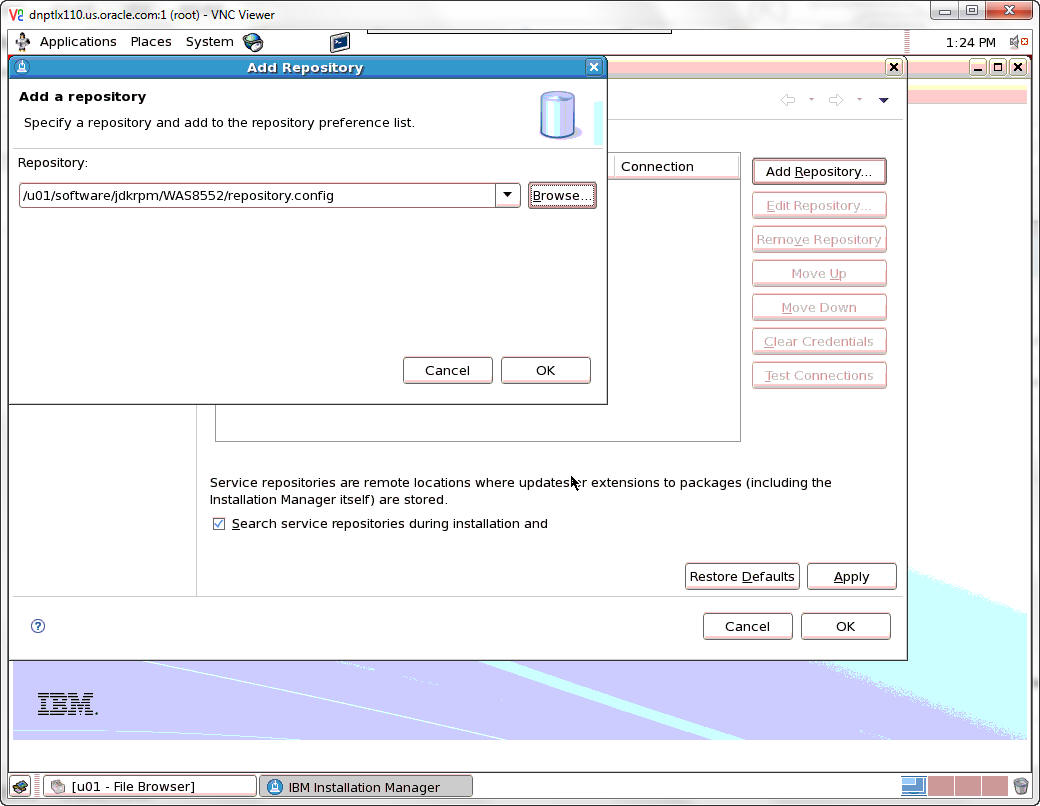
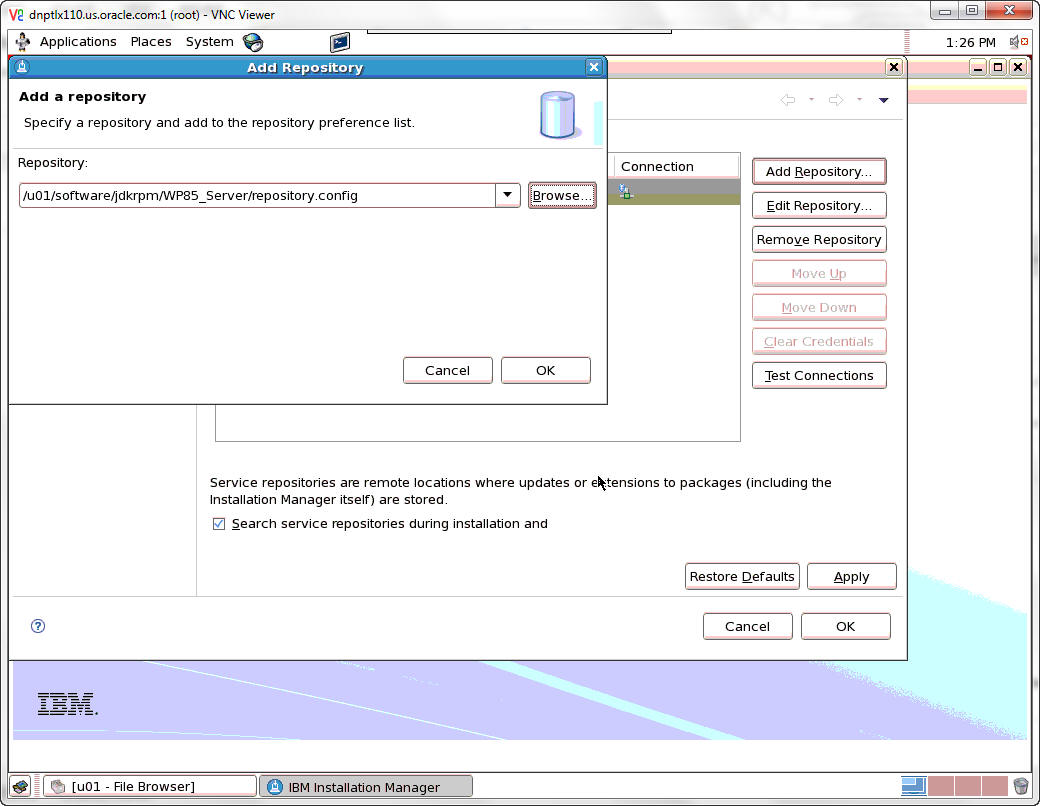
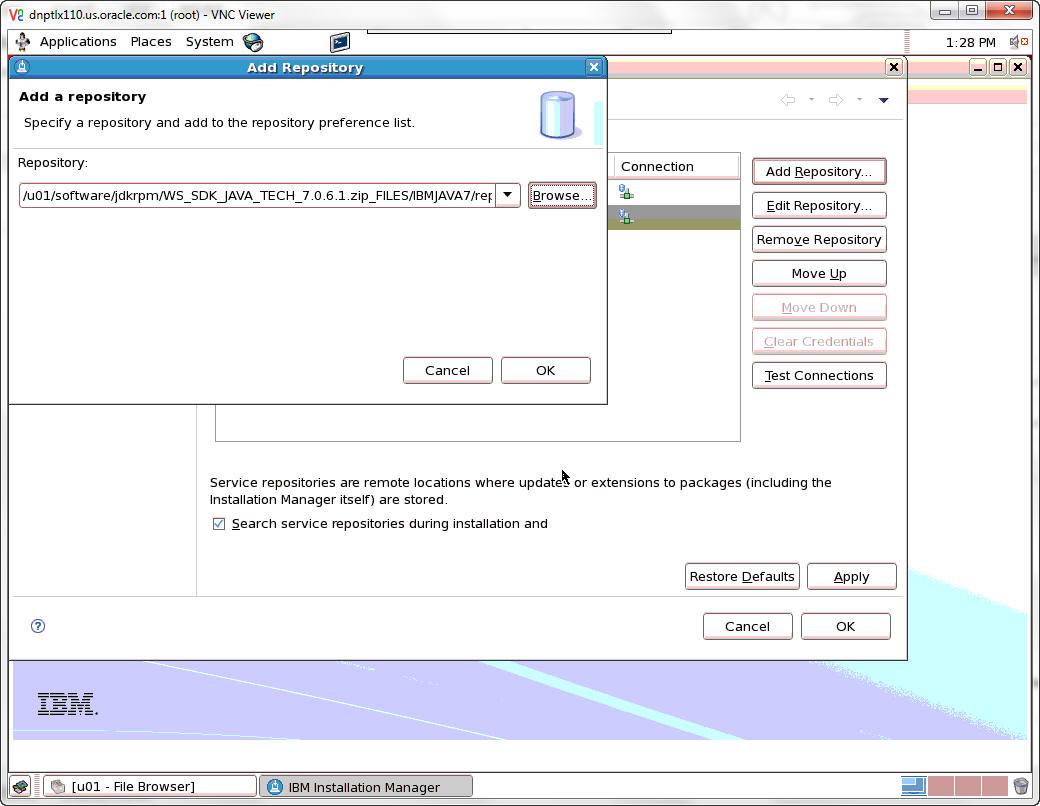
Enter the repository path to add a repository and then click OK.
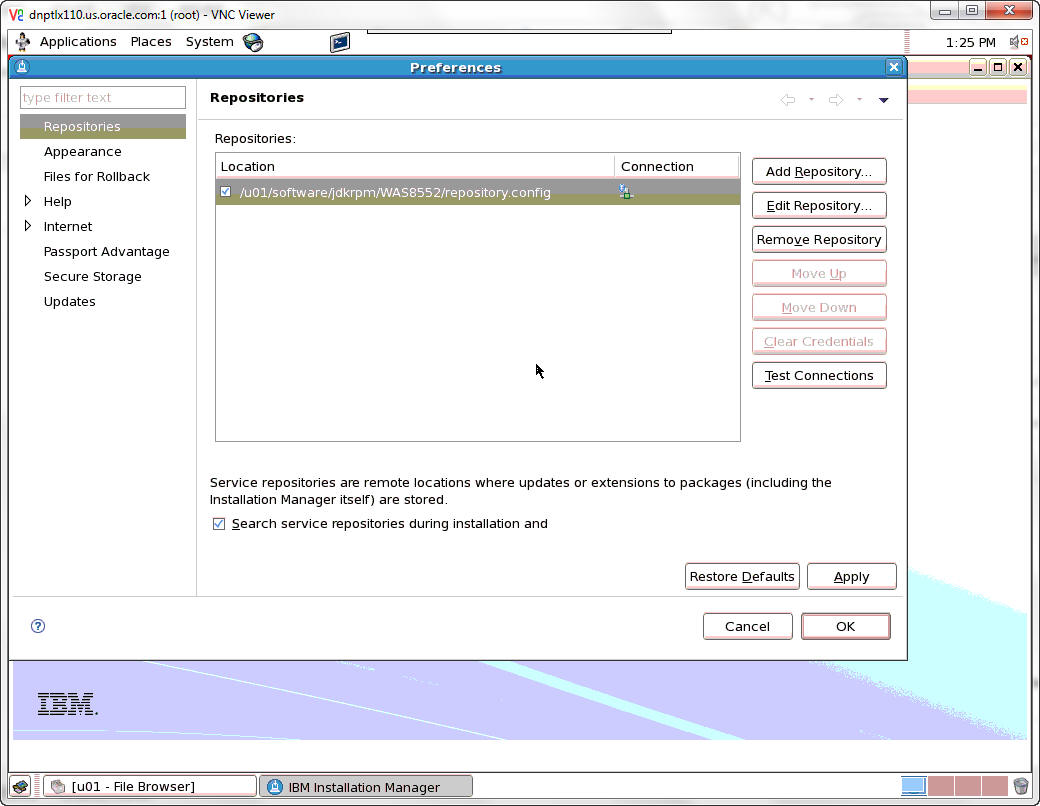
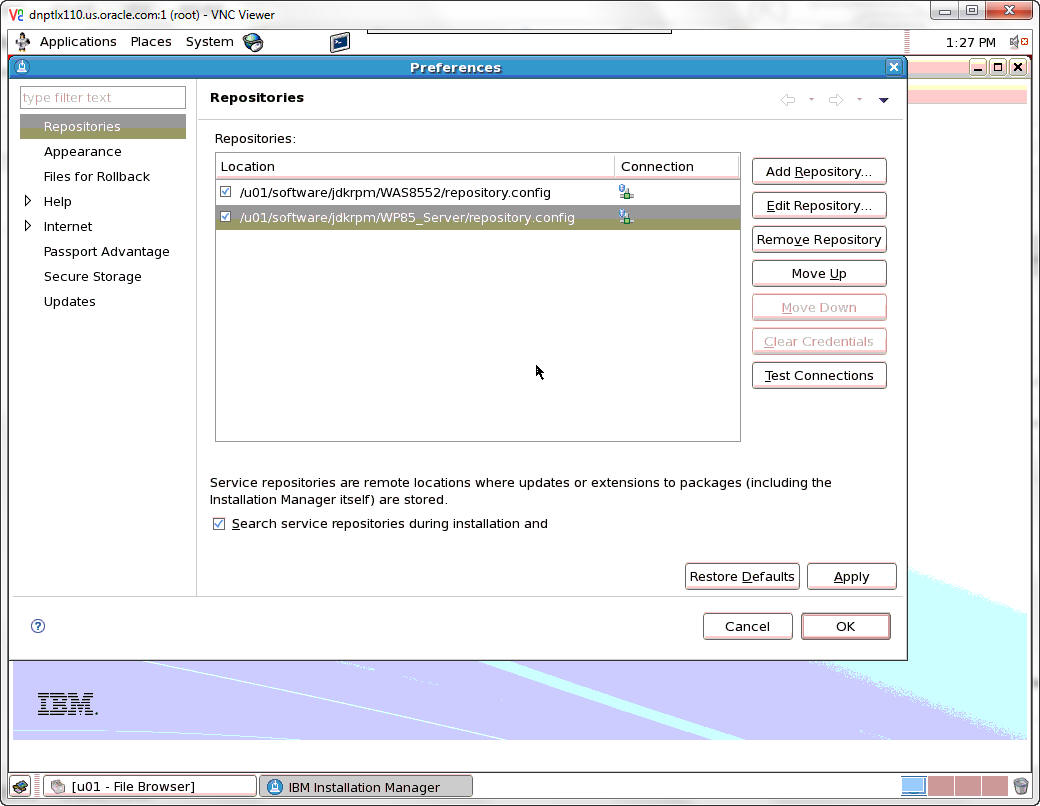
Repeat the process to add another repository. Click the Add Repository button.
Select repository.config. and then click OK.
Enter the repository path to add a repository and then click OK.
Repeat the process to add another repository. Click the Add Repository button.
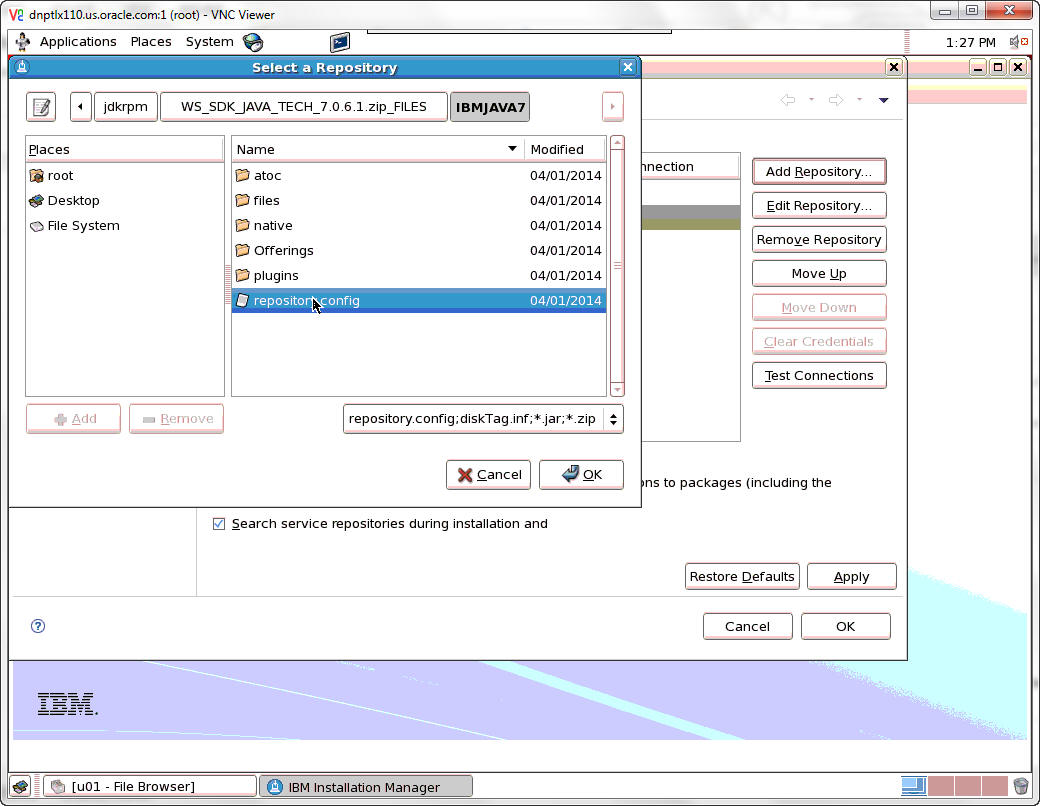
Select repository.config. and then click OK.
Enter the repository path to add a repository and then click OK.
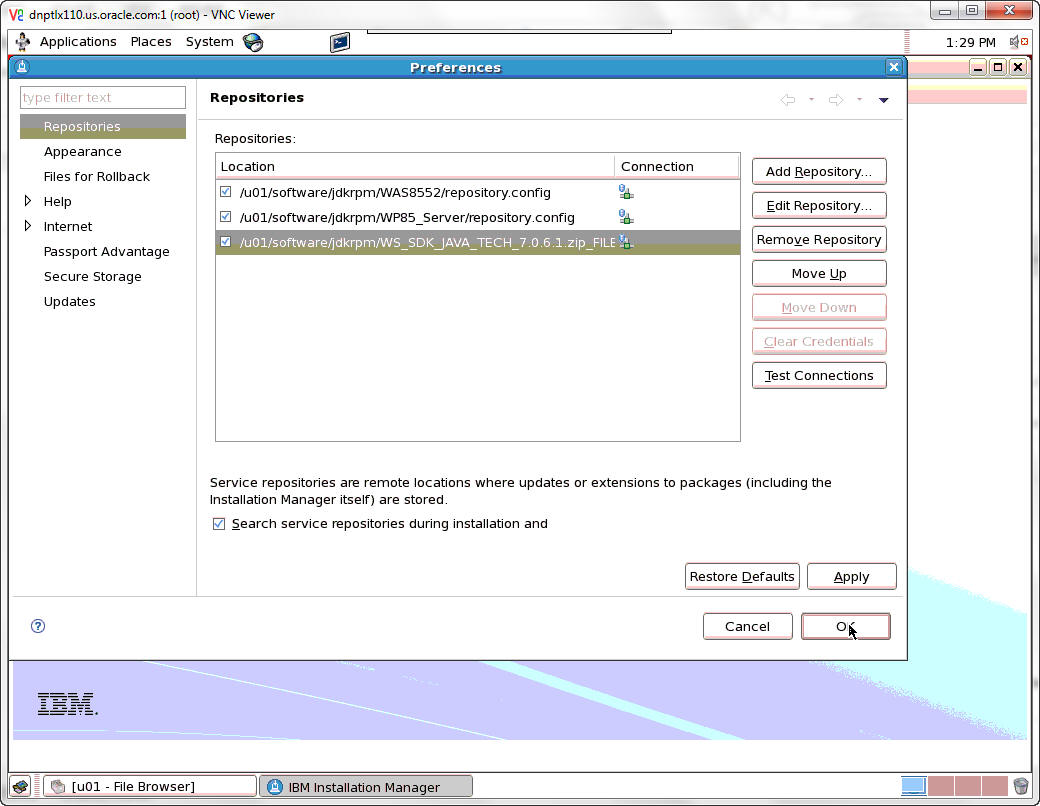
Add any additional repositories. When finished, click OK.
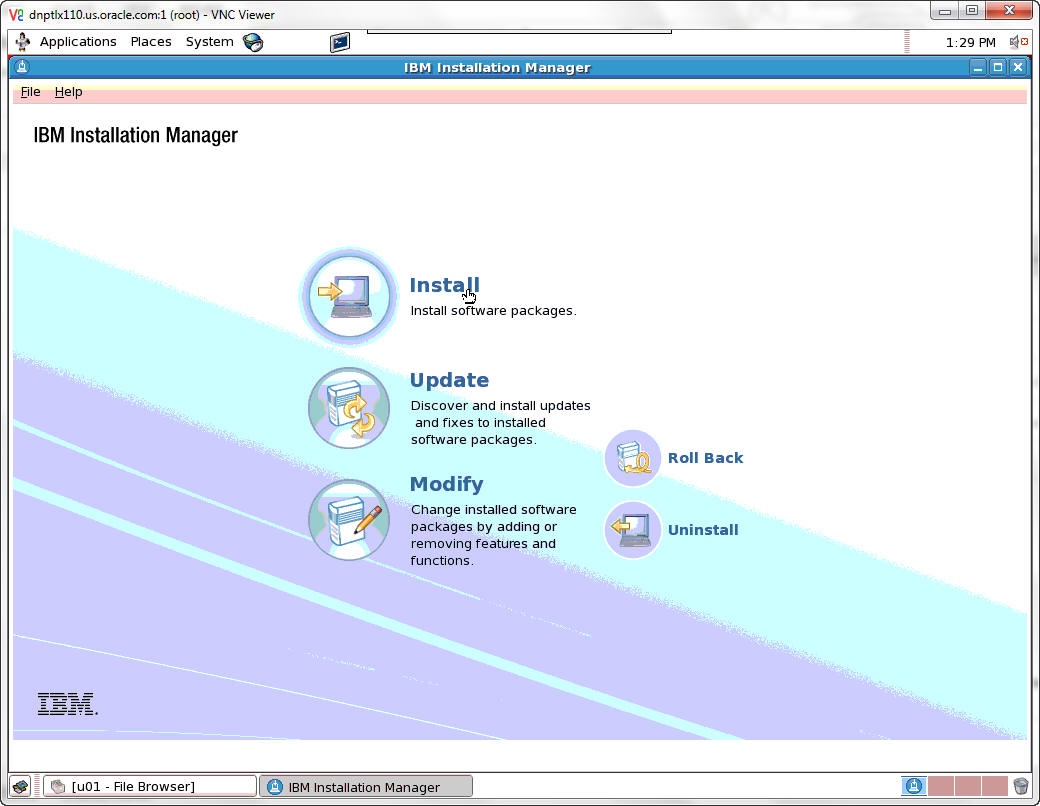
Select Install.
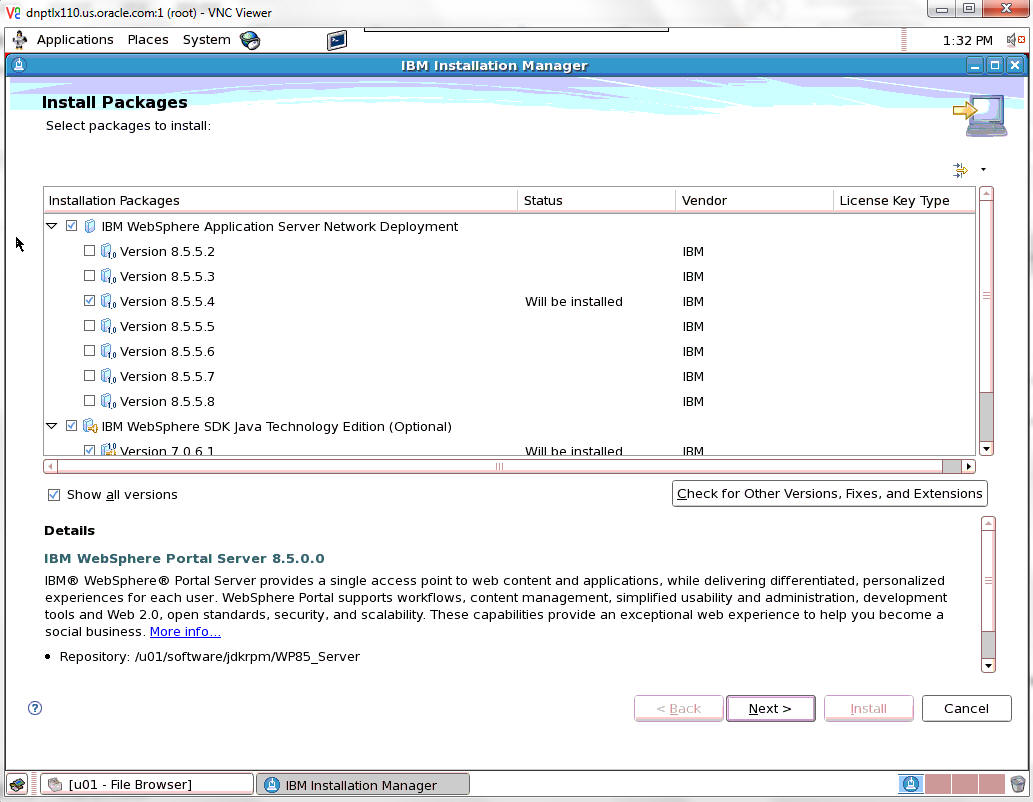
Select the packages and the versions to be installed.
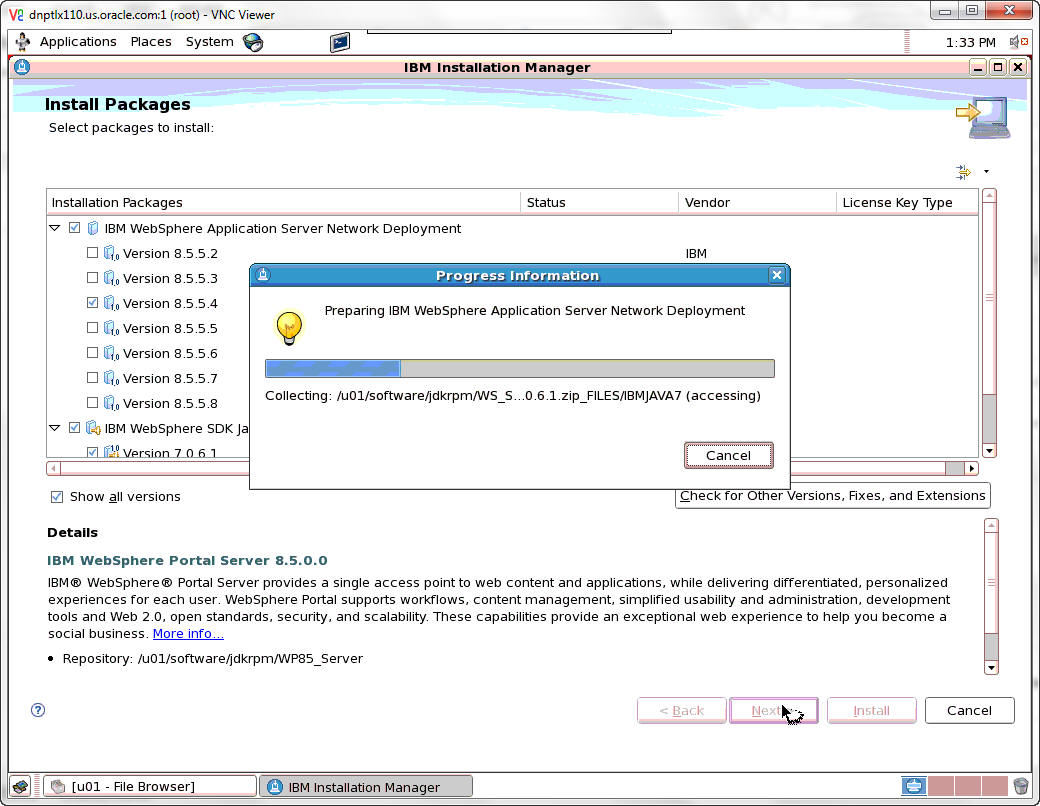
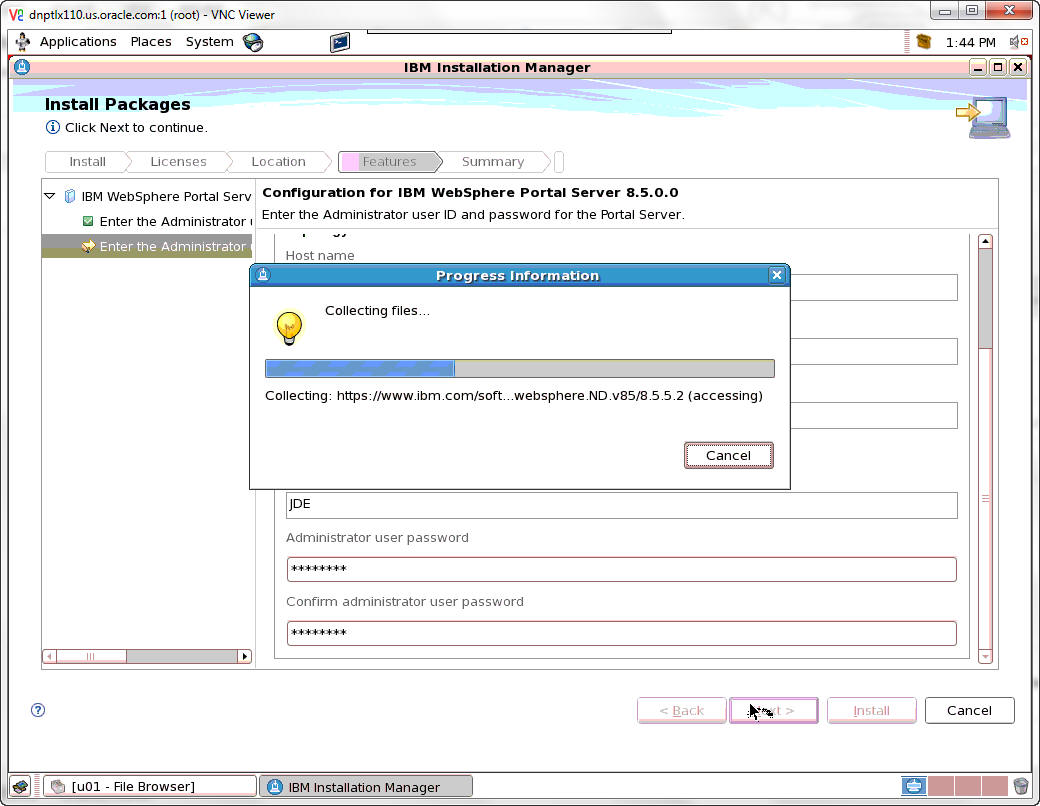
A popup Progress Information window will appear.
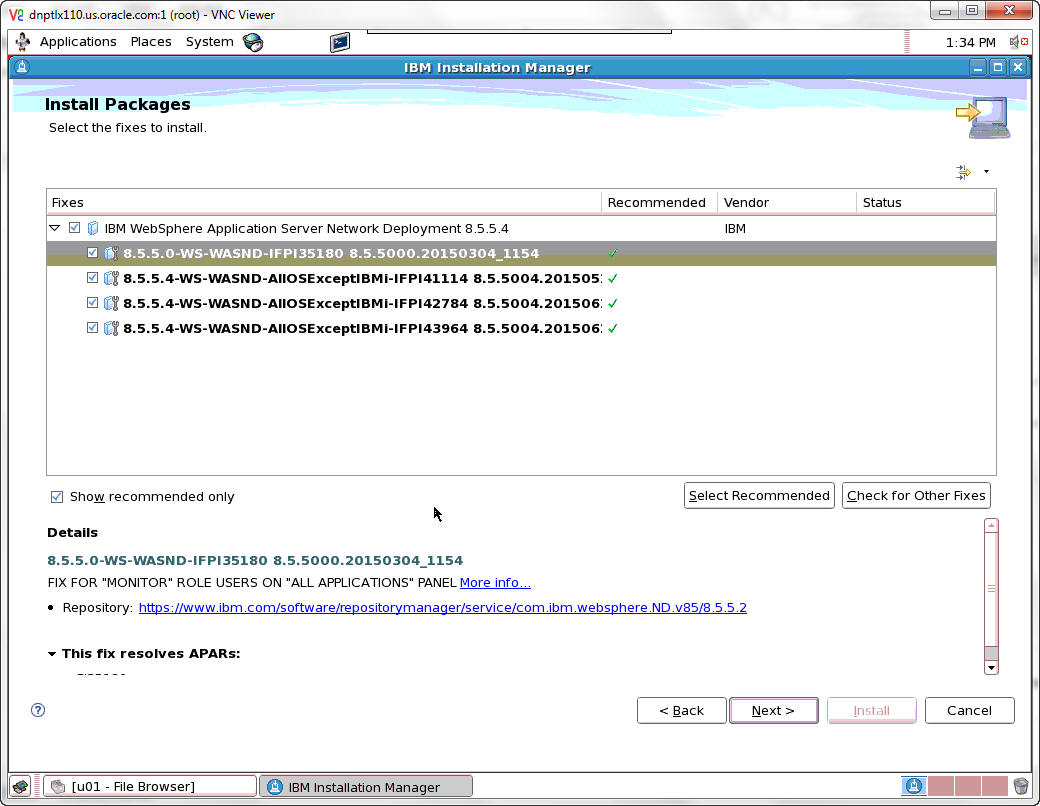
Select the fixes to be installed.
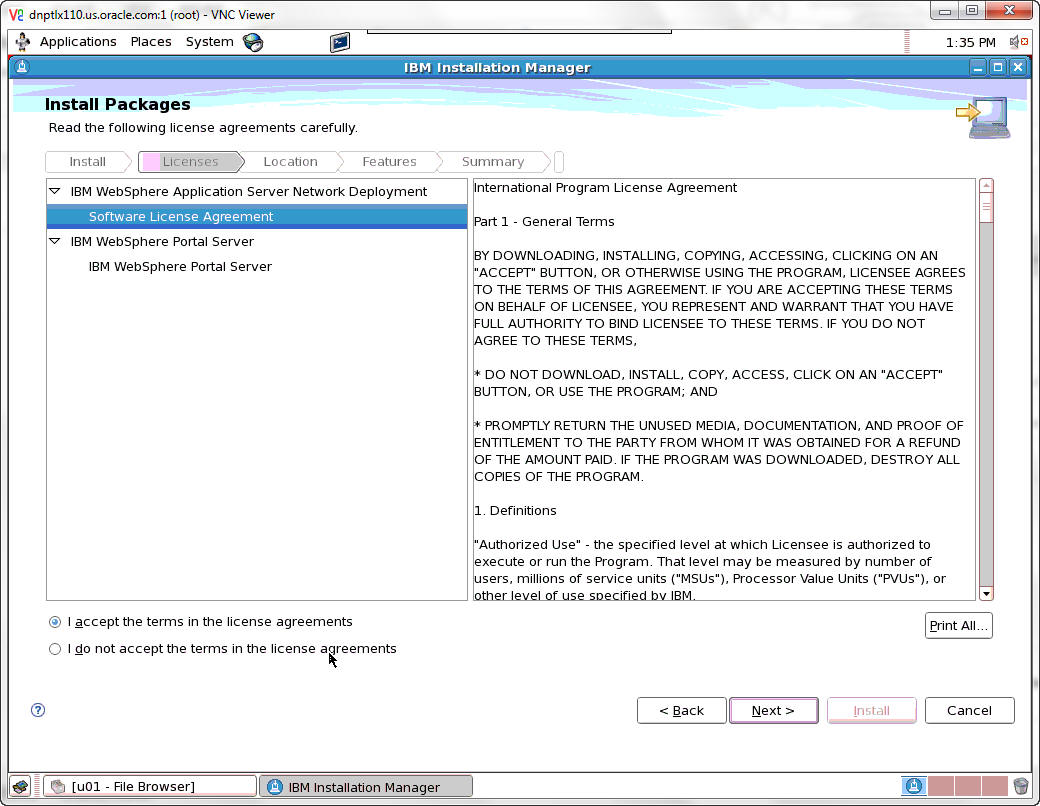
Accept the license agreement terms and click the Next button.

If it is not already listed, enter the Shared Resources Directory and click Next.
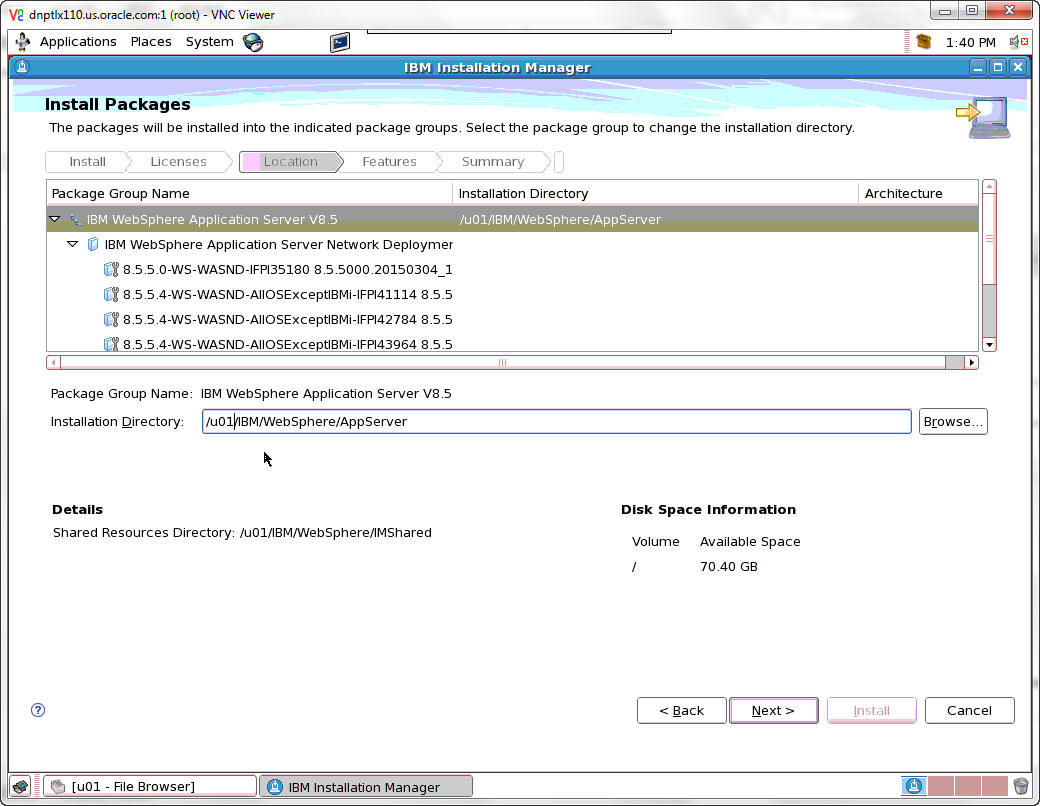
If it is not already listed, enter the Installation Directory and click Next.
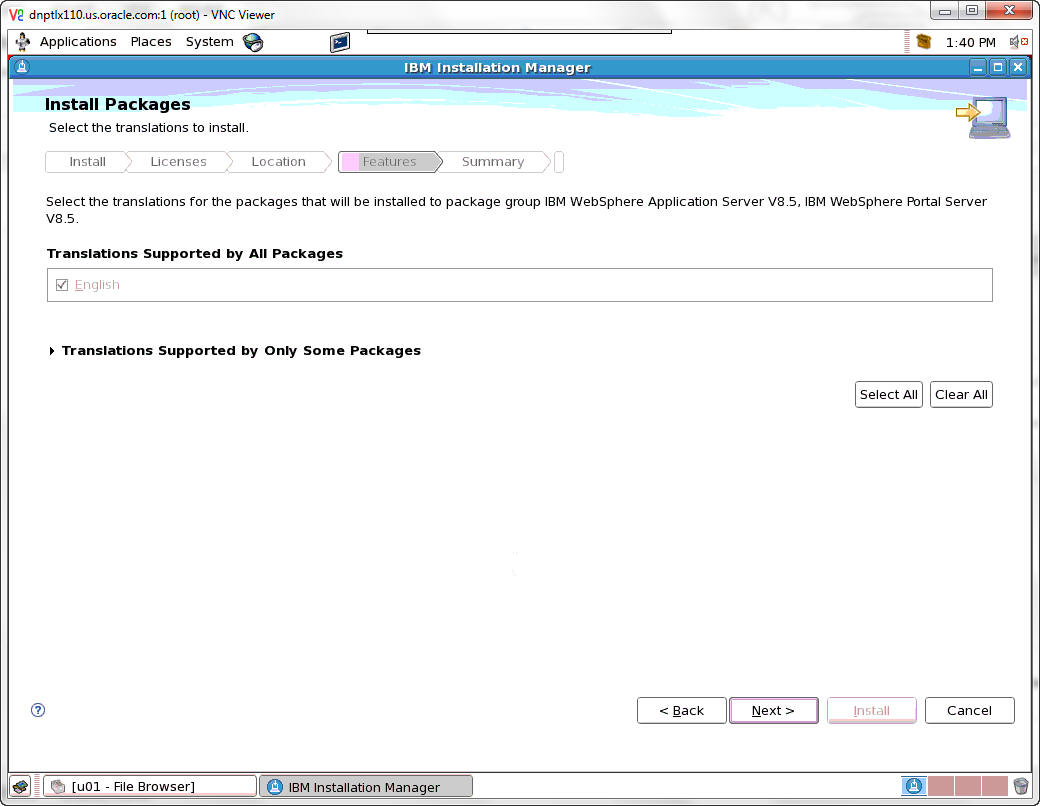
Select the translations to install and click Next.
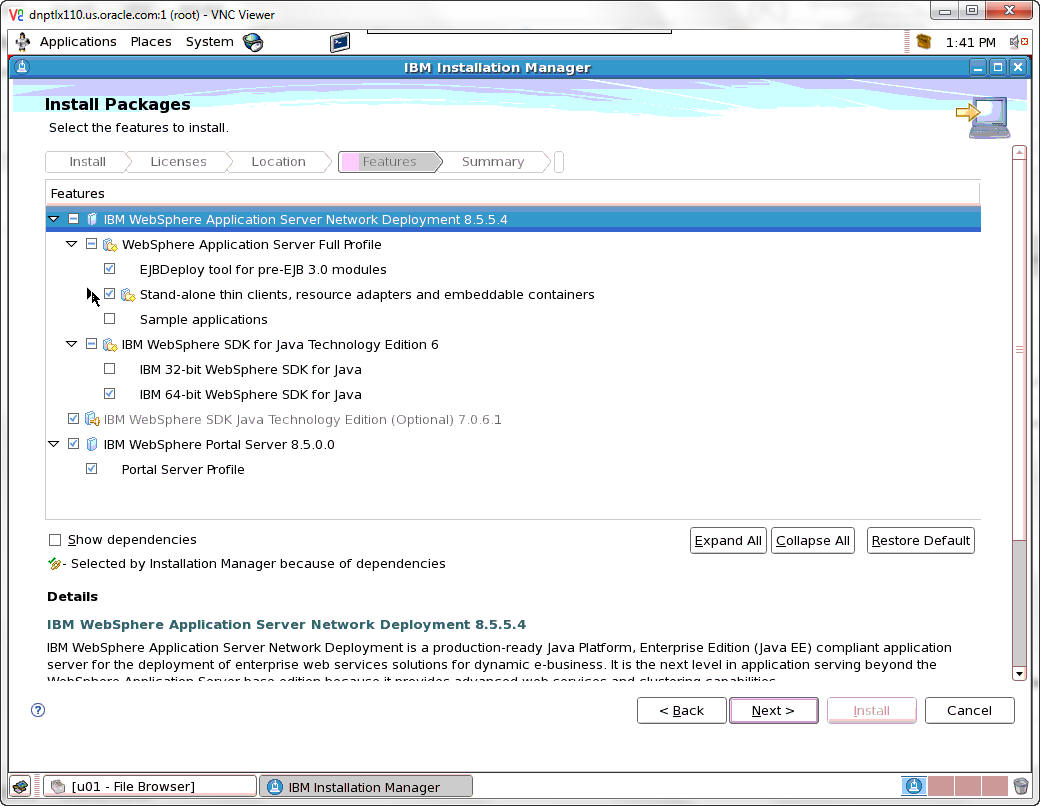
Select the features to install and click Next.
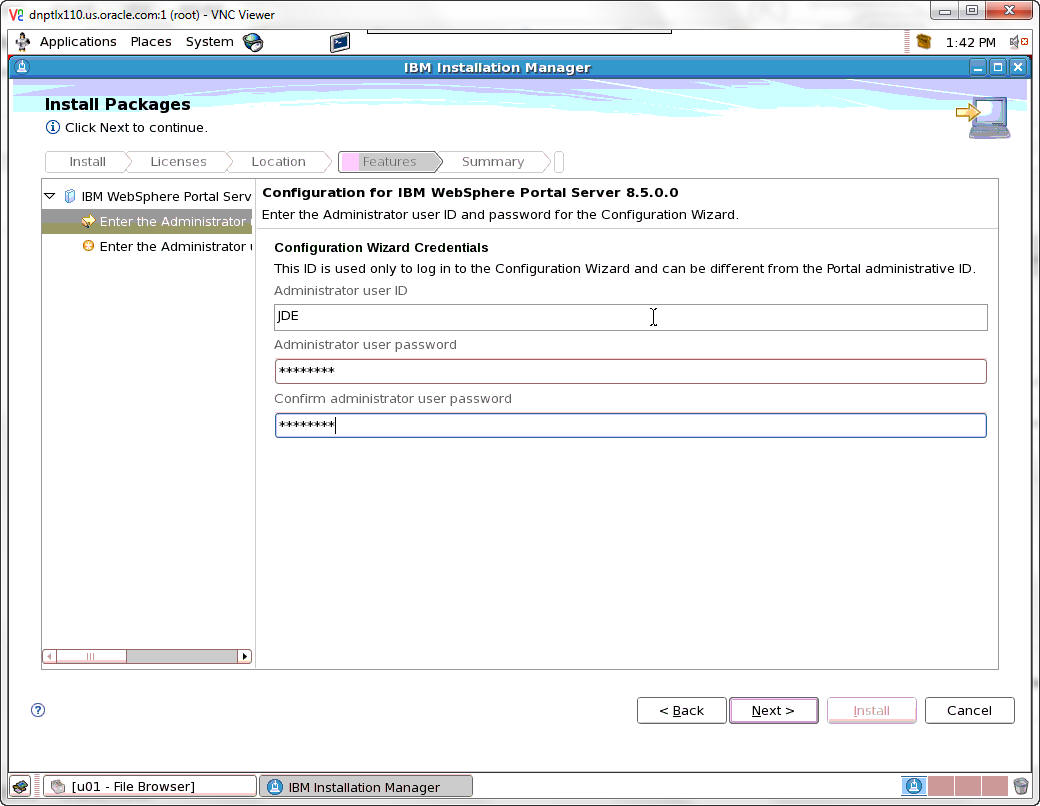
On the security screen for the administration user ID and password, WebSphere Portal enables security by default. It is not possible and/or recommended to disable security. Complete these fields:
Field
Description
Administrative User ID
Enter the user ID that you assign for the Portal administrator. For example:
wpsadmin
This user is used for Stopping Services after the Portal installation is completed. It is not related to any user IDs used to access the operating system.
Administrative Password
Enter the password for the Administrative User defined in the previous field.
Confirm Password
Confirm the password you entered in the previous field.
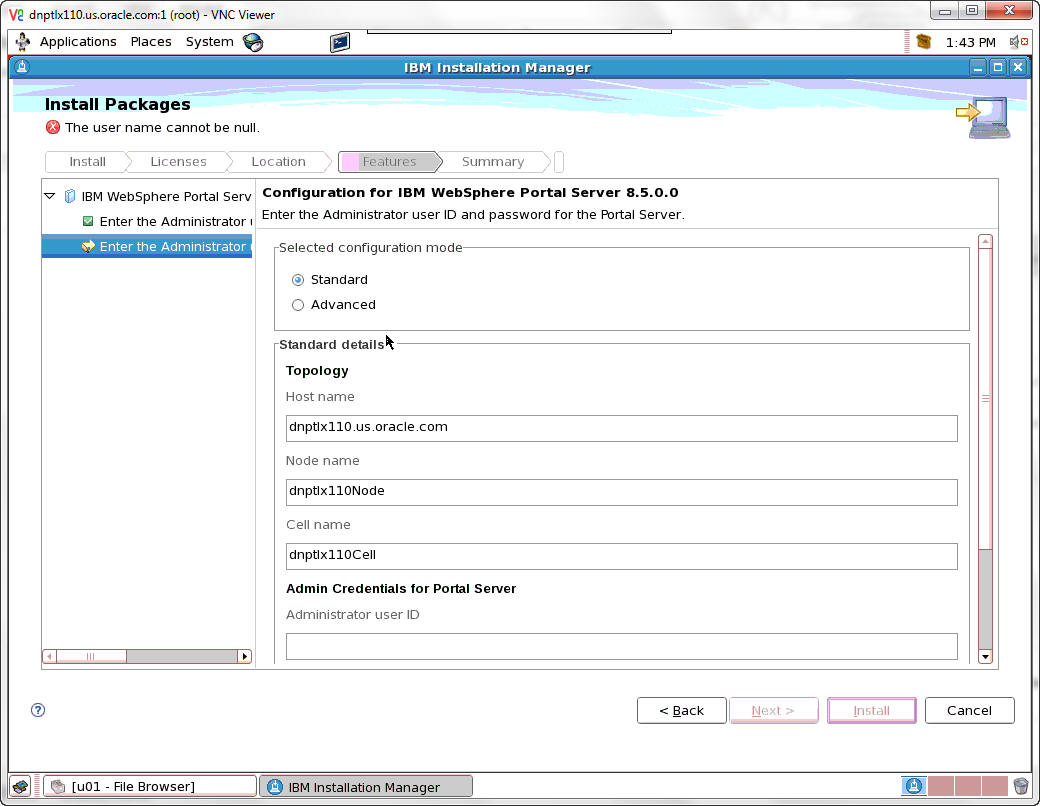
Enter the Administrator Credentials.
Field
Description
Node name
Enter a unique Node name for this installation of WebSphere Portal and Lotus Web Content Management.
The Node name is used to identify the server. Having a unique node name is important when configuring a federated, production environment.
Do not use names that contain special characters (i.e _ underscore..etc.).
Host name
Enter the fully-qualified Host name for this installation of WebSphere Portal and Lotus Web Content Management. The Host name must include the fully-qualified domain name (for example, hostname.example.com). Do not use a local host or a loopback address.
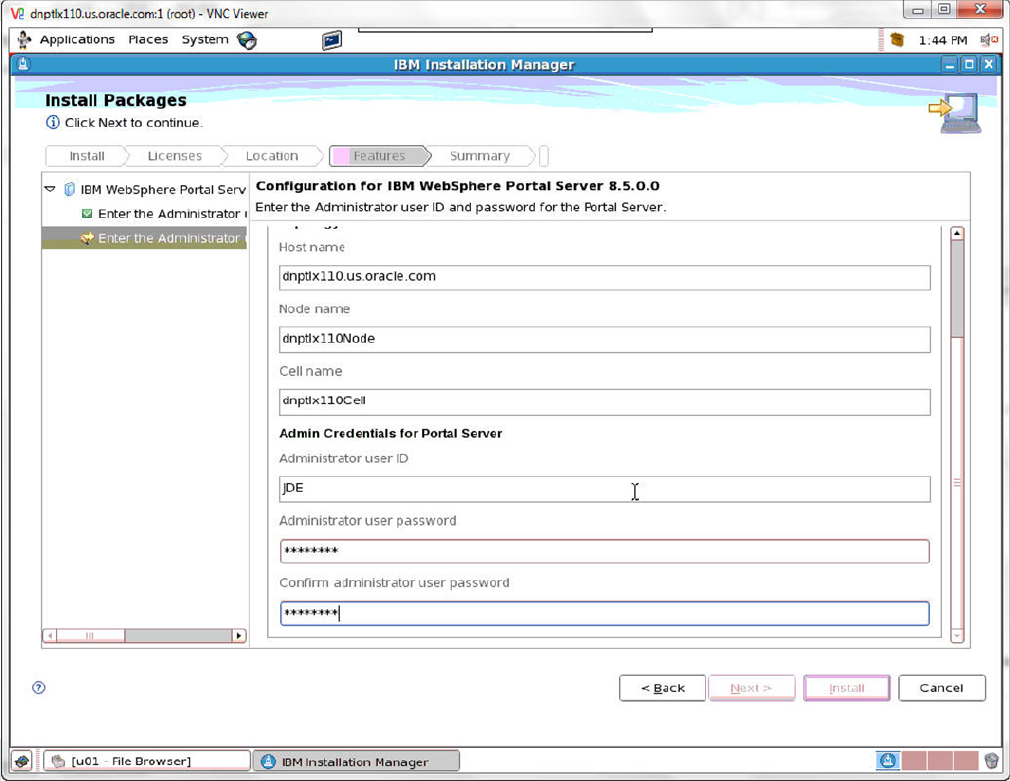
Scroll down to complete the information. When finished click Next.
When the information is complete, the Install button becomes available. Click Install.
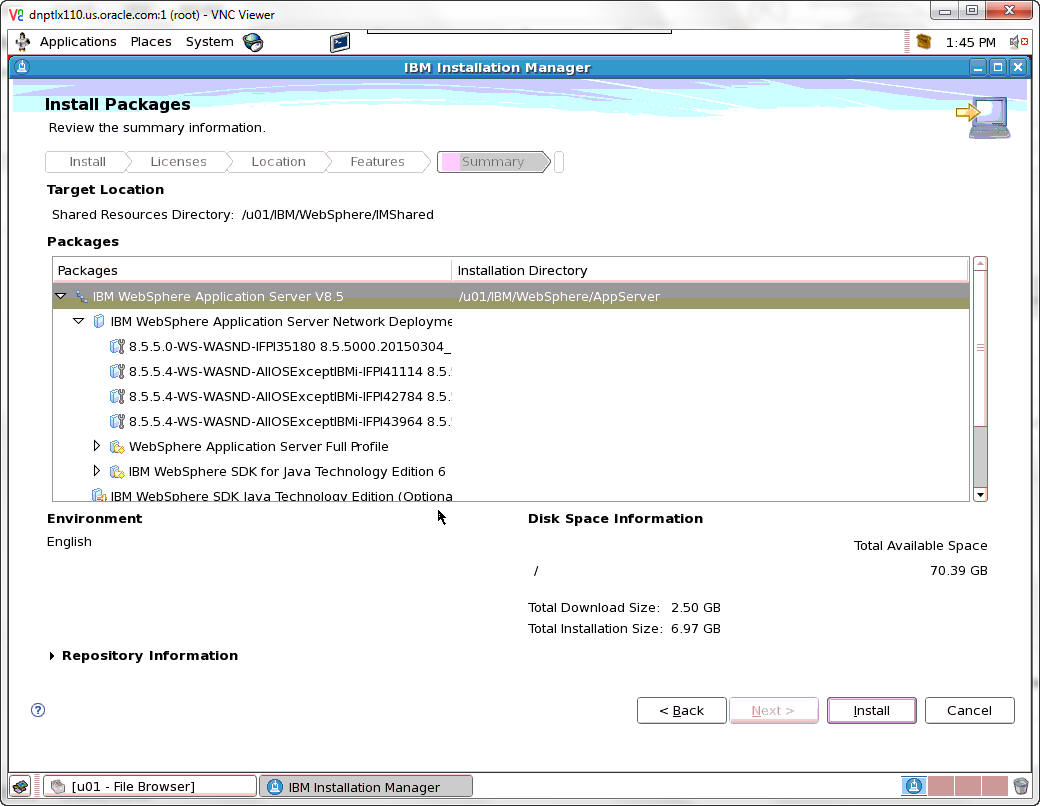
When the summary information is complete, the Install button becomes available. Click Install.
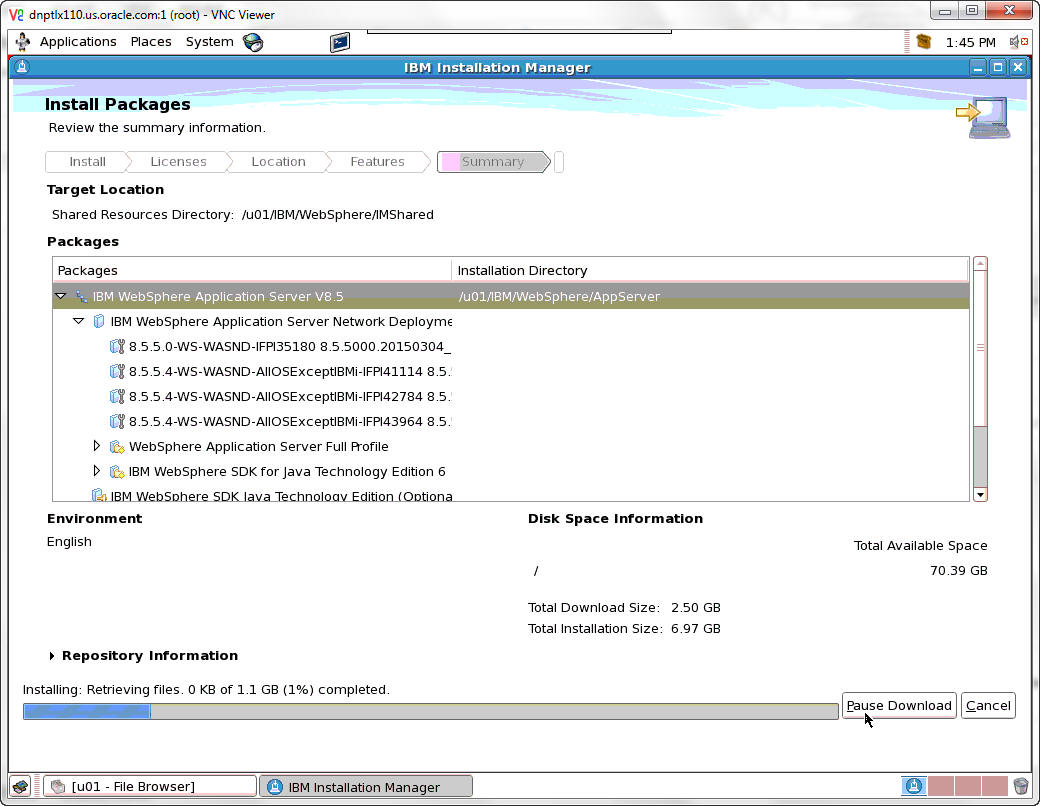
A progress bar will appear along the bottom of the screen.
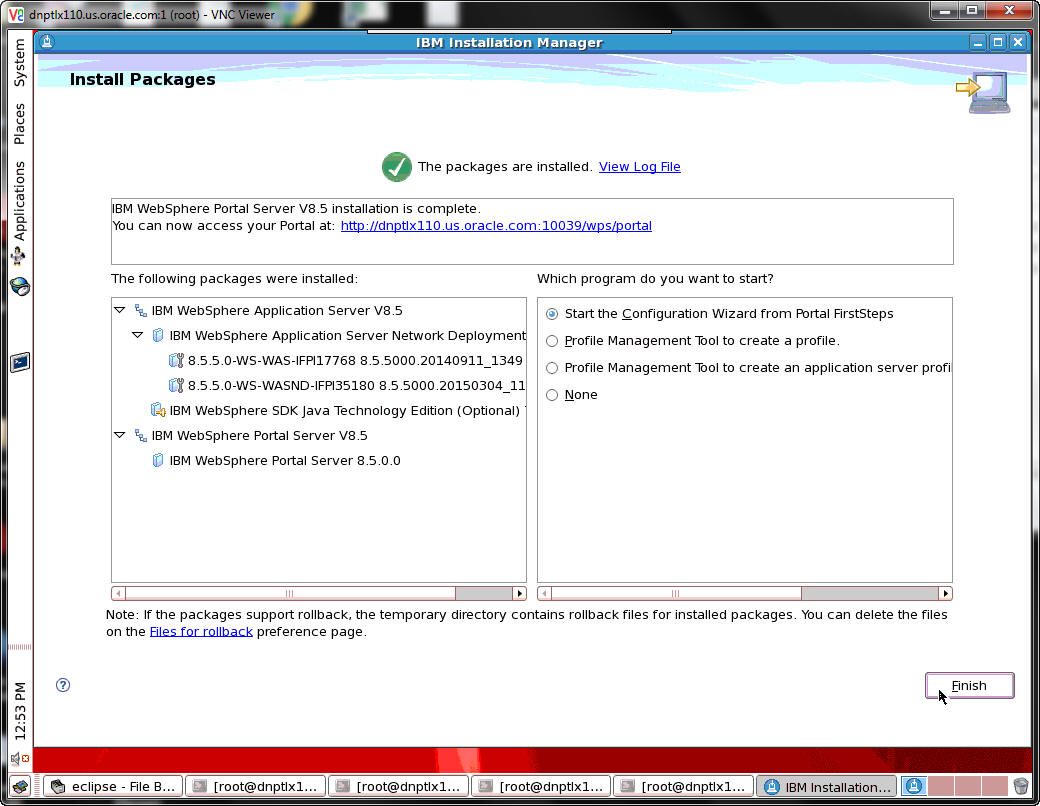
A summary screen will appear when the install is complete. Click Finish.
This completes the successful installation of WebSphere Portal 8.5.