Installing WebSphere Express 8.5.5 or WebSphere 9.0
Use this procedure to install WebSphere Express 8.5.5 or WebSphere 9.0.
Run the IBM Installation Manager from the directory in which you extracted the components for WebSphere 8.5.5 or WebSphere 9.0 (as described in the preceding section entitled: Obtaining WebSphere Express 8.5.5, WebSphere for Developers 8.5.5, or WebSphere 9.0).

On IBM Installation Manager, click Install.
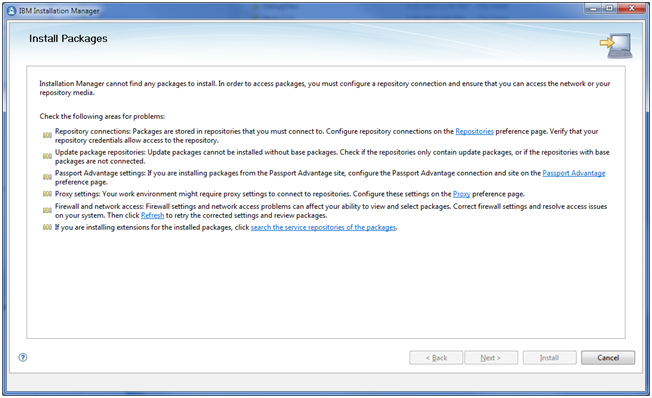
If you get the above screen, click the Repositories link to go to the Repositories preference page.
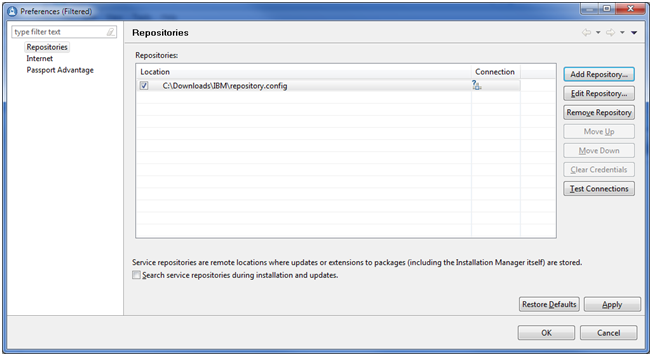
On the Repositories Preferences screen, click the Add Repository button and select the checkbox for the location of the r
epository.configin the directory where you extracted the WebSphere installation files.Click the OK button.

On Install Packages, Select Packages to install, turn on the checkbox next to IBM WebSphere Application Server - Express, IBM WebSphere Application Server for Developers, or IBM WebSphere Application Server, whichever is applicable to your implementation.
Note:The WebSphere Express and WebSphere for Developers screens are branded identically.
Note:For WebSphere 9.0, the installer screens shown on this screen will display Version 9.0 instead of Version 8.5.5.0.
Click the Next button.
On Install Packages, International Program License Agreement, click the radio button to accept the license agreement.
Optionally, you can click the Print All… button to print the license agreement.
If you do not accept the license agreement, the installation process is terminated.
Click the Next button.
On Install Packages, Package Selection, turn on this radio button:
Create a new package group
You can enter an alternate installation directory in the Installation Directory field.
Click the Next button.
On Install Packages, Select Translations, select the checkbox(es) next to the language(s) that you want to install.
Click the Next button.
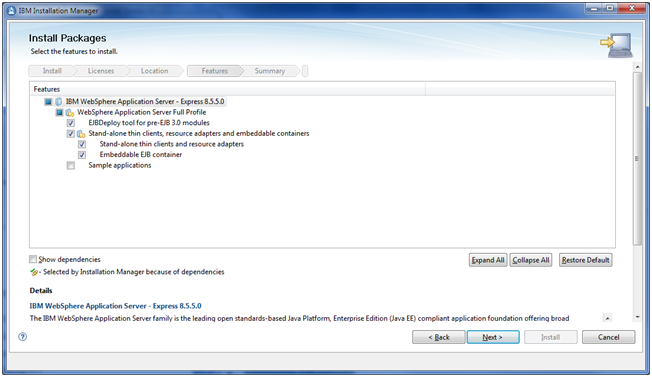
On Install Packages, Select Features, you can accept the default values which should include the selection of these features:
WebSphere Application Server Full Profile
EJBDeploy tool for pre EJB 3.0 modules
Stand-alone thin clients, resource adapters and embeddable containers
Stand-alone thin clients and resource adapters
Embeddable EJB container
Note:For WebSphere 9.0, the installer screens shown on this screen will display Version 9.0 instead of Version 8.5.5.0.
Click the Next button.
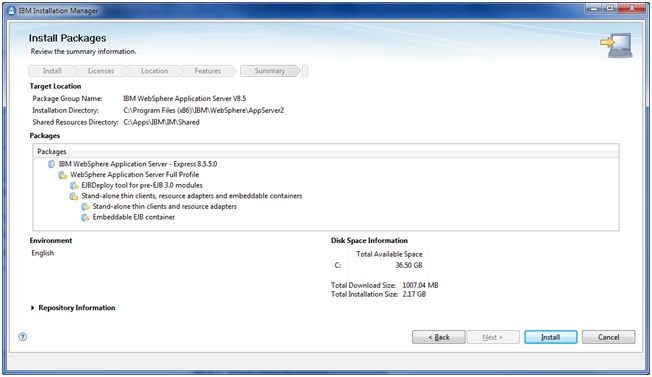
On Install Packages, Summary Information, review all the information on this screen, using the scroll bar if necessary.
Click the Install button.
Note:For WebSphere 9.0, the installer screens shown on this screen will display Version 9.0 instead of Version 8.5.5.0.