Creating a Profile
You must now create a WebSphere Express, WebSphere for Developers, or WebSphere 9.0 profile.
For WebSphere 9.0, the installer screens shown on this screen will display Version 9.0 instead of Version 8.5.5.0.
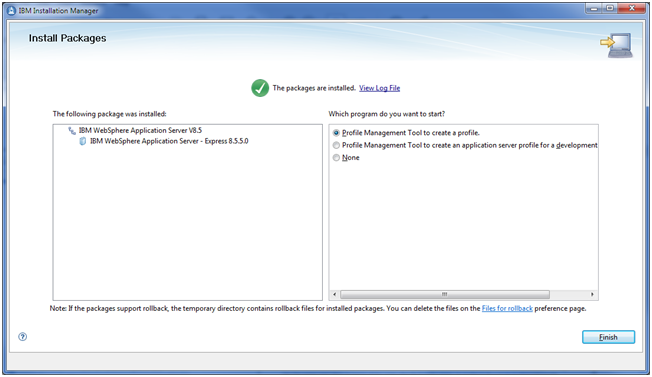
On Install Packages, Packages are Installed, in the right-hand pane entitled: Which program do you want to start?, turn on this radio button:
Profile Management Tool to create a profile
Click the Finish button.
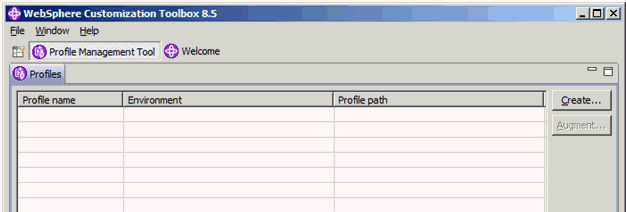
On WebSphere Customization Toolbox 8.5.5 or 9.0 Profile Management Toolbox, click the Create… button.
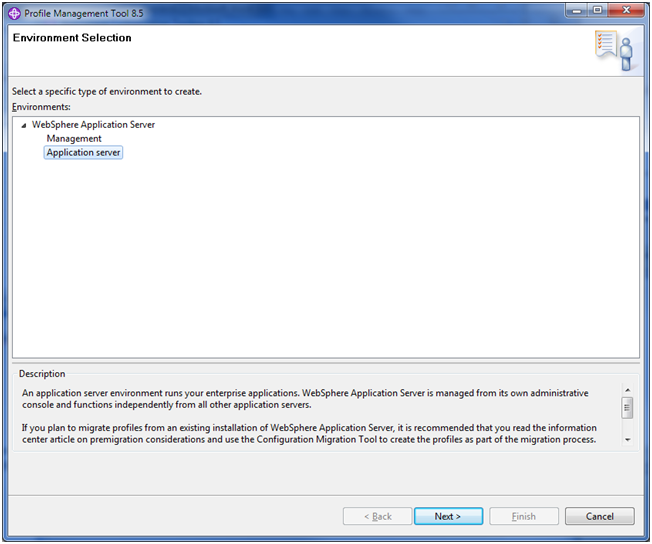
On Environment Selection, select the Application Server node.
Click the Next button.
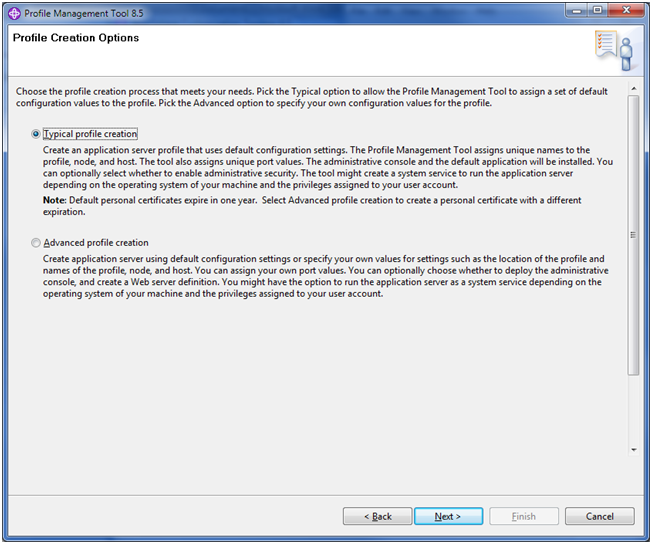
On Profile Creation Options, click this radio button:
Typical profile creation
Click the Next button.
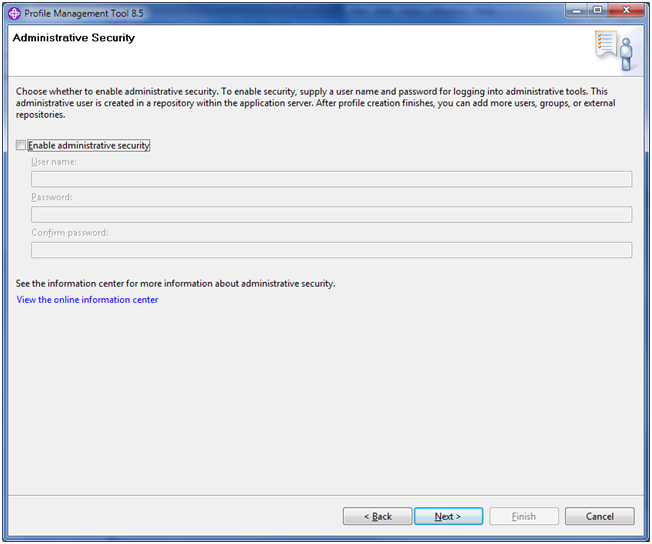
On Administrative Security, click the checkbox to turn off (disable) Enable administrative security.
Caution:The JD Edwards EnterpriseOne Development Client does not support secured profiles.
Click the Next button.
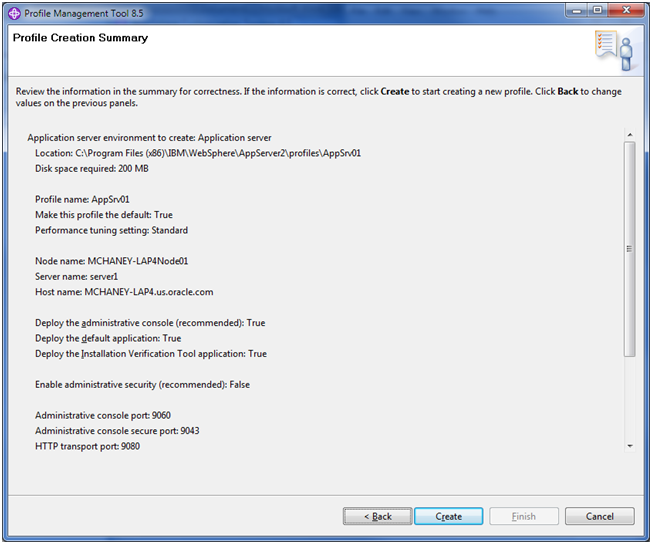
On Profile Creation Summary, review the information for correctness. If the information is correct, click the Create button to start creating a new profile. Click the Back button to change values on the previous panels.

On Profile Creation Complete, you can optionally click the checkbox for Launch the First Steps console to launch the First steps console to verify the installation. The First Steps console is shown below, where the first step is Installation Verification.

If you launched the First steps wizard, click Exit to return to the WebSphere Customization Toolbox.
On WebSphere Customization Toolbox, with the newly created profile displayed, choose File > Close to close the Toolbox application.