- User's Guide
- Books
- Working with Books
- Importing Books into Smart View
- Selecting and Editing the POV
Selecting and Editing the POV
When importing a book into Oracle Smart View for Office, you may be prompted to select members for the POV.
-
In the Select POV dialog, make selections in the
drop-down lists for each dimension.
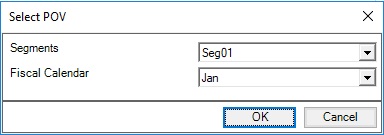
In the following example Select POV dialog, selections were made for the Segments and Fiscal Calendar dimensions.

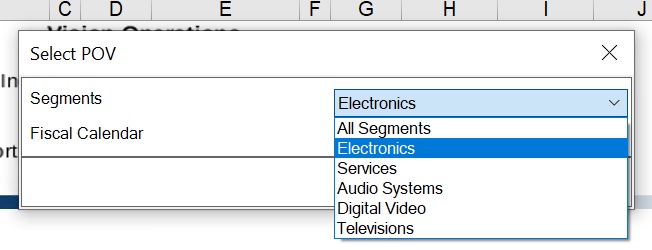
If aliases are specified for dimensions in the report, you will see the member aliases in the drop-down selection list in the Select POV dialog. In the following example, when changing the POV for the Segments dimension, aliases are displayed for Segment members rather than a product code:

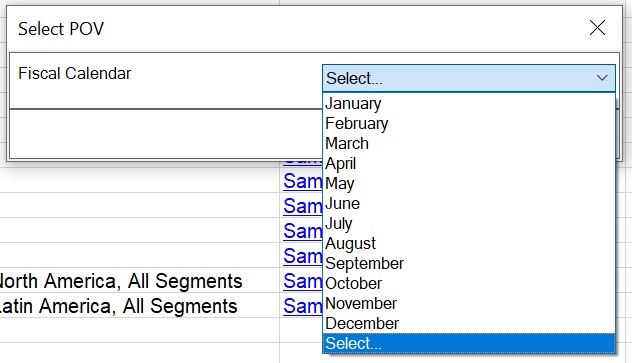
If the Books designer has enabled Member Selection, then choose the Select option in the drop-down list to launch the Member Selection dialog; for example:

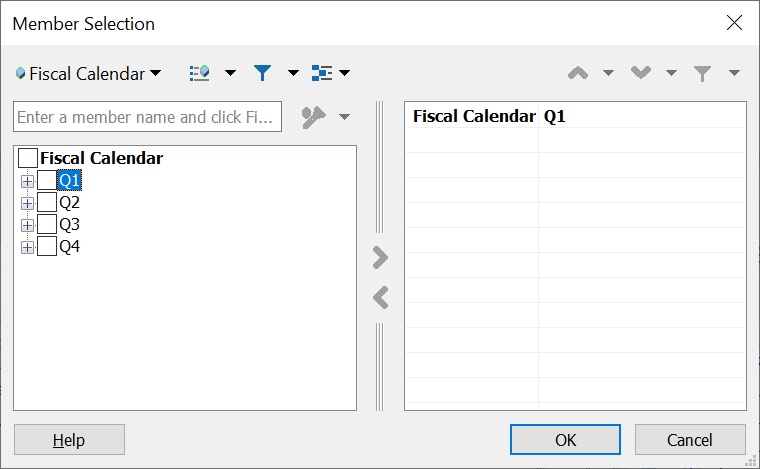
After choosing the Select option above, the Member Selection dialog is displayed. In this example, the Books designer chose to provide access to all members in the Fiscal Calendar dimension, and Q1 is chosen:

After selecting a member, click OK to close the Member Selection dialog, then click OK in the Select POV dialog.
-
When finished making POV selections, click OK.
The process of importing the book into Smart View begins.
Continue with step 4 in Importing Books into Smart View.
-
To change the POV for the current Book:
-
Click the Edit POV button in the Books ribbon.

Note:
If a Book contains any reports with relational tables, then the Edit POV action in the Smart View ribbon is disabled for such books. -
In the Select POV dialog, make selections in the drop-down lists for each dimension, and then click OK.
In the following example Select POV dialog, selections were made for the Segments and Fiscal Calendar dimensions.

If aliases are specified for dimensions in the report, you will see the member aliases in the drop-down selection list in the Select POV dialog. In the following example, when changing the POV for the Segments dimension, aliases are displayed for Segment members rather than a product code:

If the Books designer has enabled Member Selection, then choose the Select option in the drop-down list to launch the Member Selection dialog; for example:

After choosing the Select option above, the Member Selection dialog is displayed. In this example, the Books designer chose to provide access to all members in the Fiscal Calendar dimension, and Q1 is chosen:

After selecting a member, click OK to close the Member Selection dialog, then click OK in the Select POV dialog.
A message notifies you that refresh operation with the newly-selected POV values is in progress. Click OK in the message. The Jobs Console will display a new job row. You can check the status of the job and download the Book once the job is completed. The newly-downloaded Book will show the updated results that reflect the new POV values.
-